Alien Plant Life

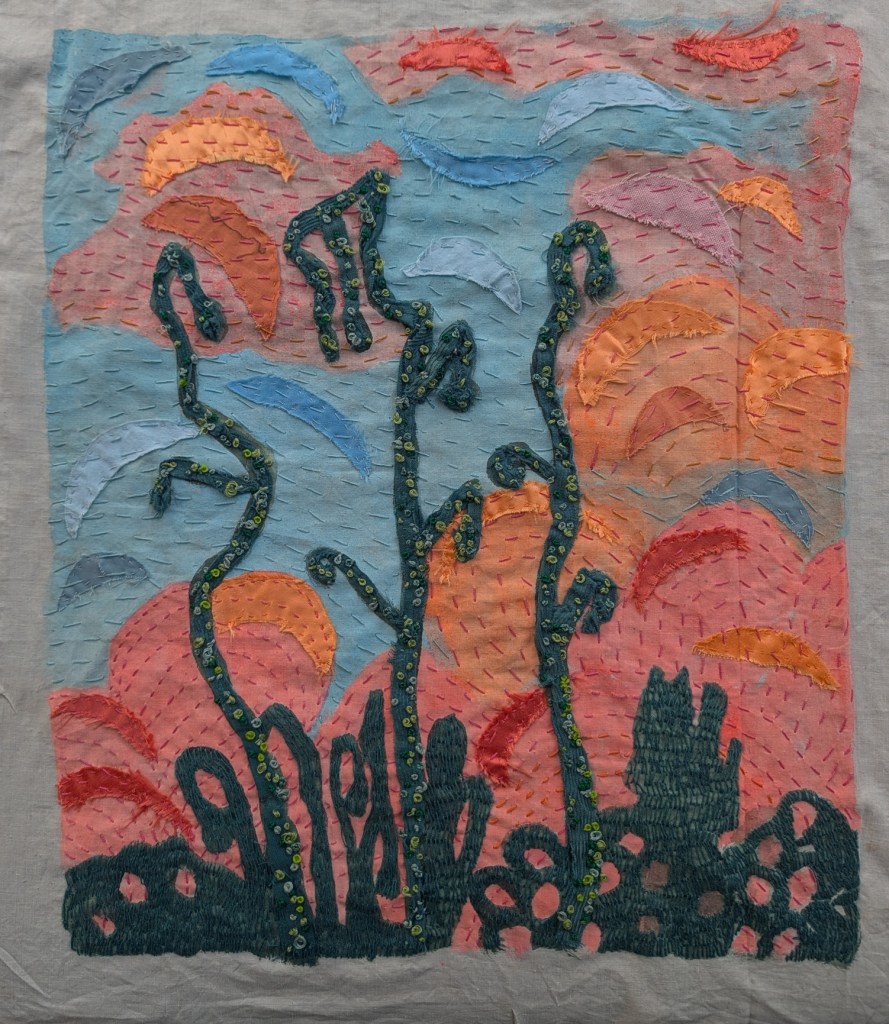
I finished this piece today. I’ve been working on it for awhile. I’ve titled it Alien Plant Life. It’s about 15 inches across x 17.5 inches tall (about 38cm x 43cm). It’s a mixed media textile piece on muslin, using fabric paint, fabric scraps and stitching. It started from a watercolor painting I had created, and grew from there.

Here is the original watercolor:
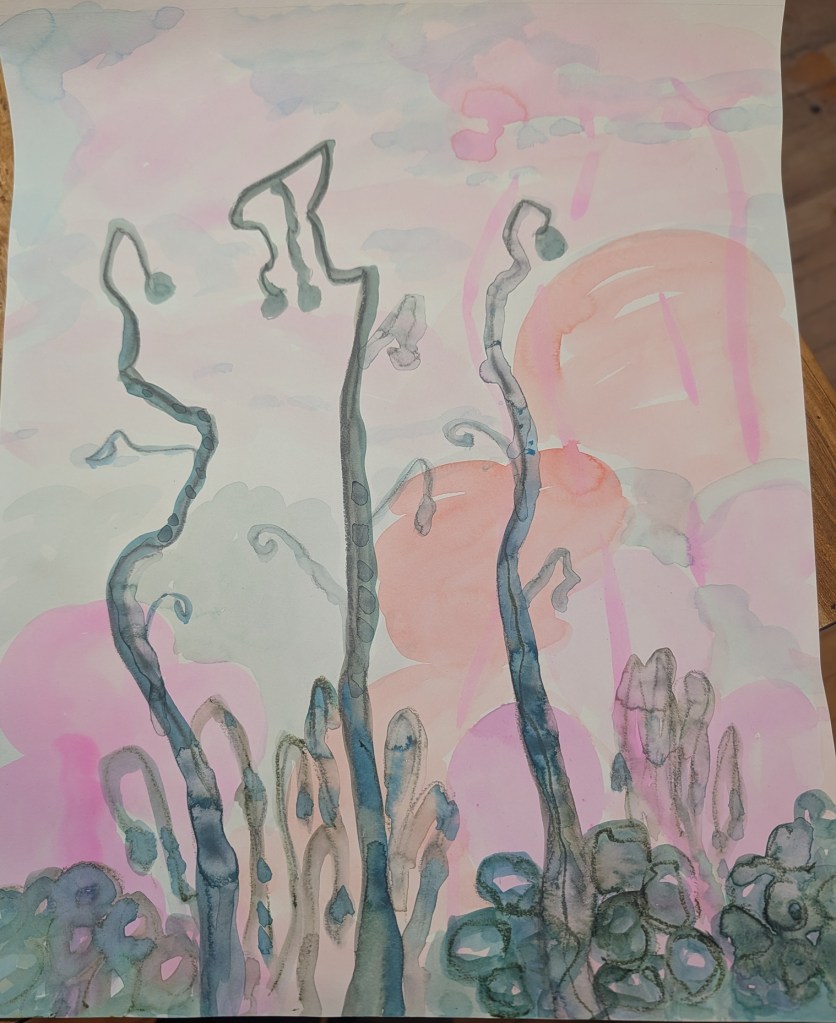
This painting was an exploration of some plant ideas I had been working on. I really liked how this had turned out, and had been starting to explore working in ways that bring all my various media work together – mixed media, painting, fabric art. I really like paint and collage but wanted a way to tie it into my textile art practice. I decided to recreate the painting as a textile art piece.

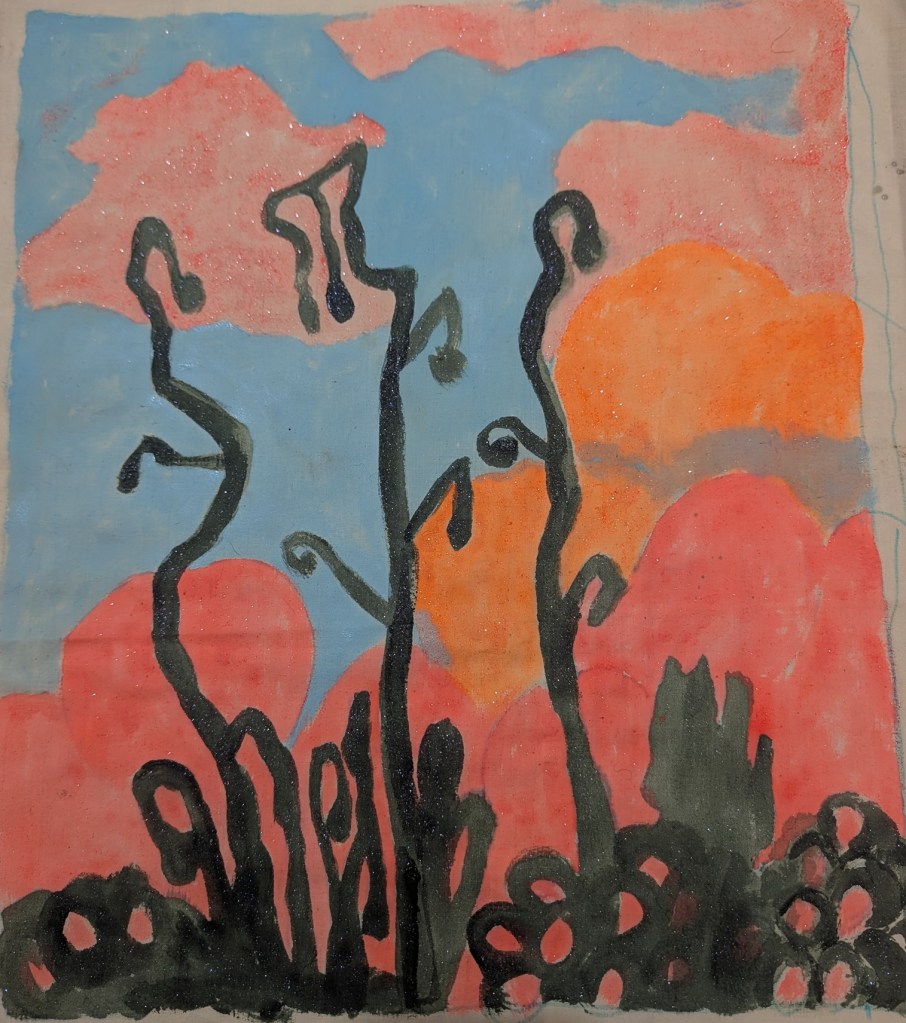
I first traced the painting onto muslin and then painted with fabric paint:
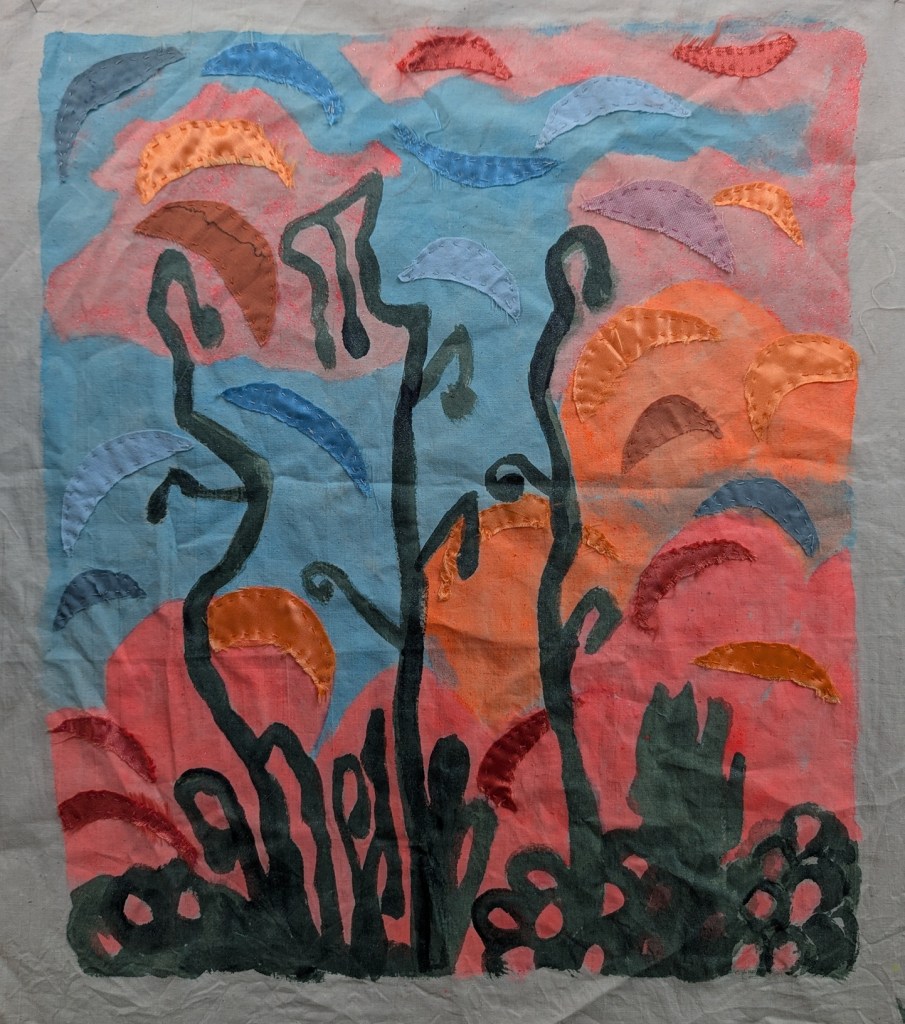
I then added fabric to the background in spots, to add some interest to the clouds and sky in the background:
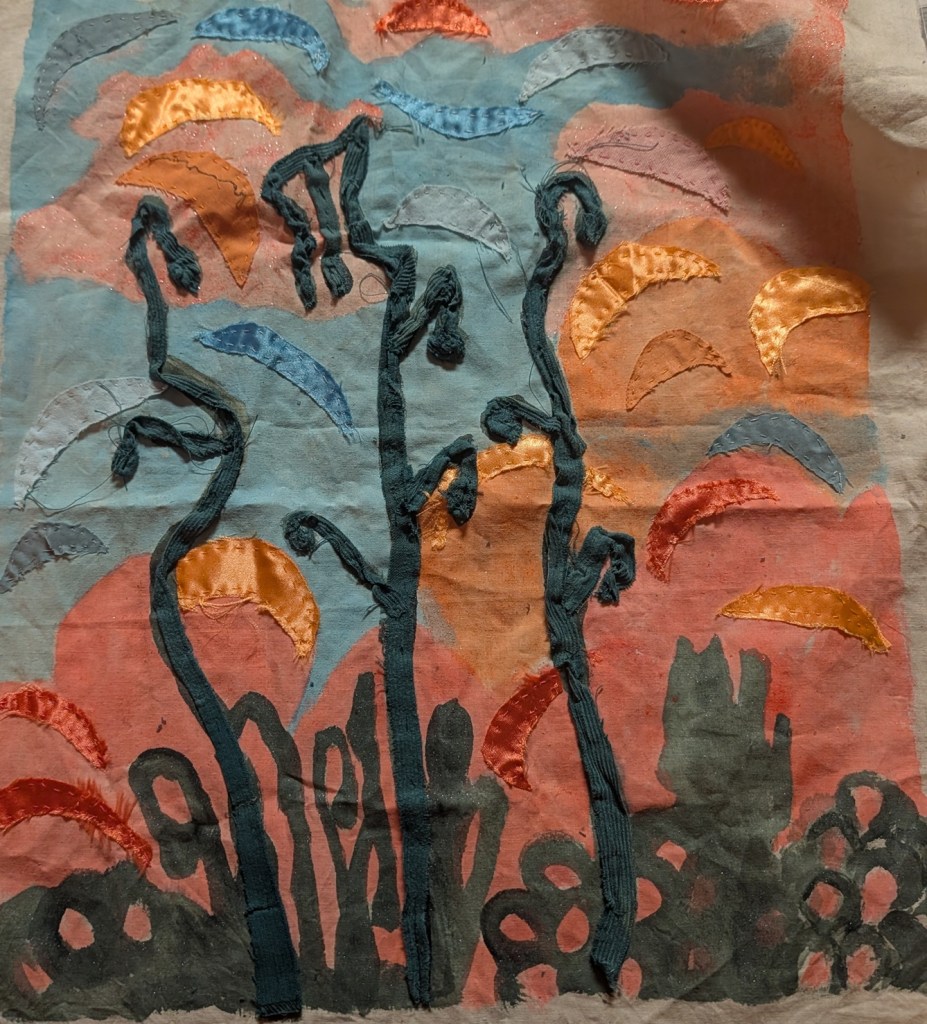
I added corduroy strips to the larger plants in the foreground:
I then added a lot of stitching. Some straight stitch / kantha stitch for the sky:
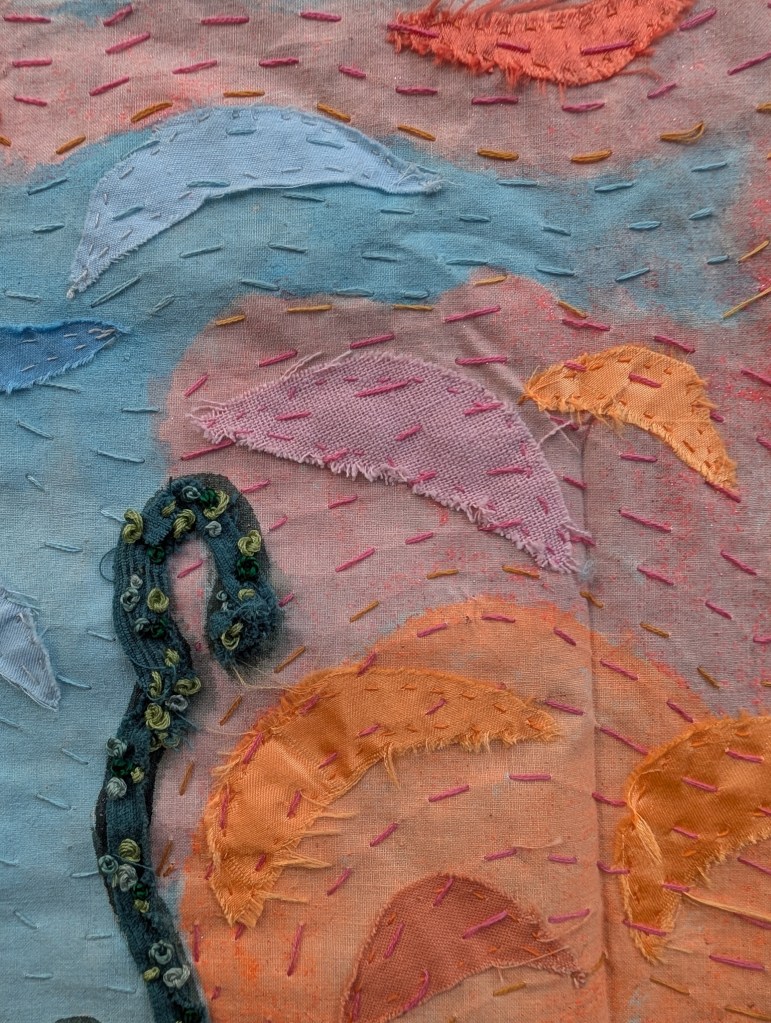
I stitched the plants in the background with a sort of straight stitch (not sure if that is the correct term for what I did here.) I also added a lot of French knots, to make sort of suckers or flowers on the larger plants.
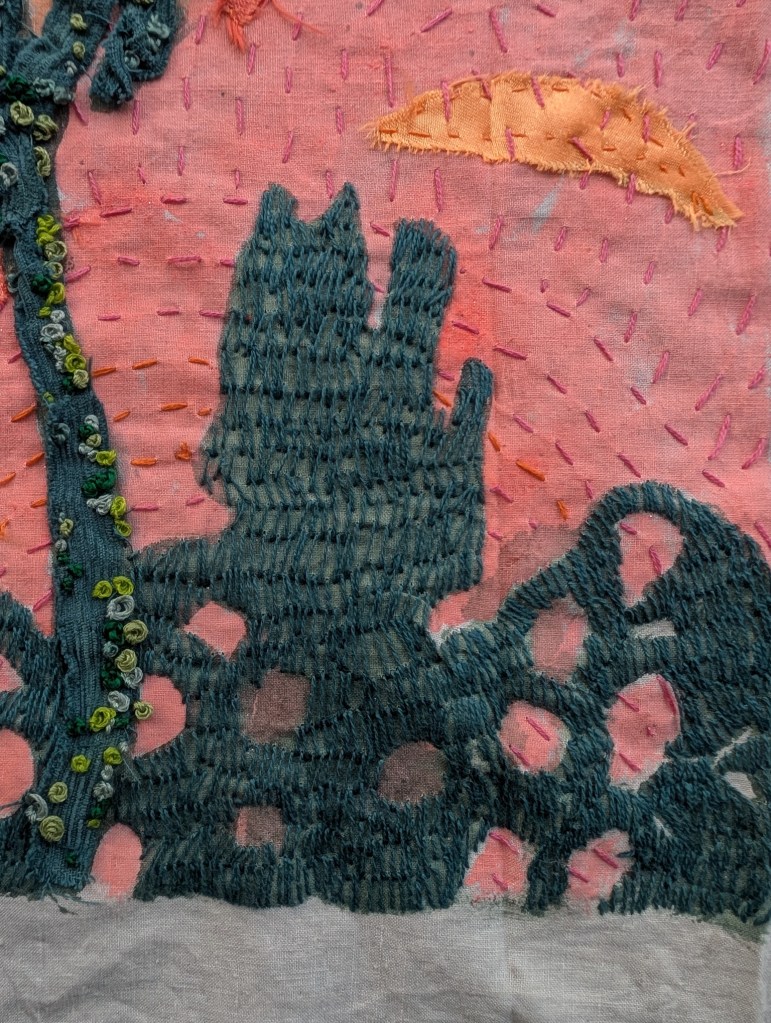
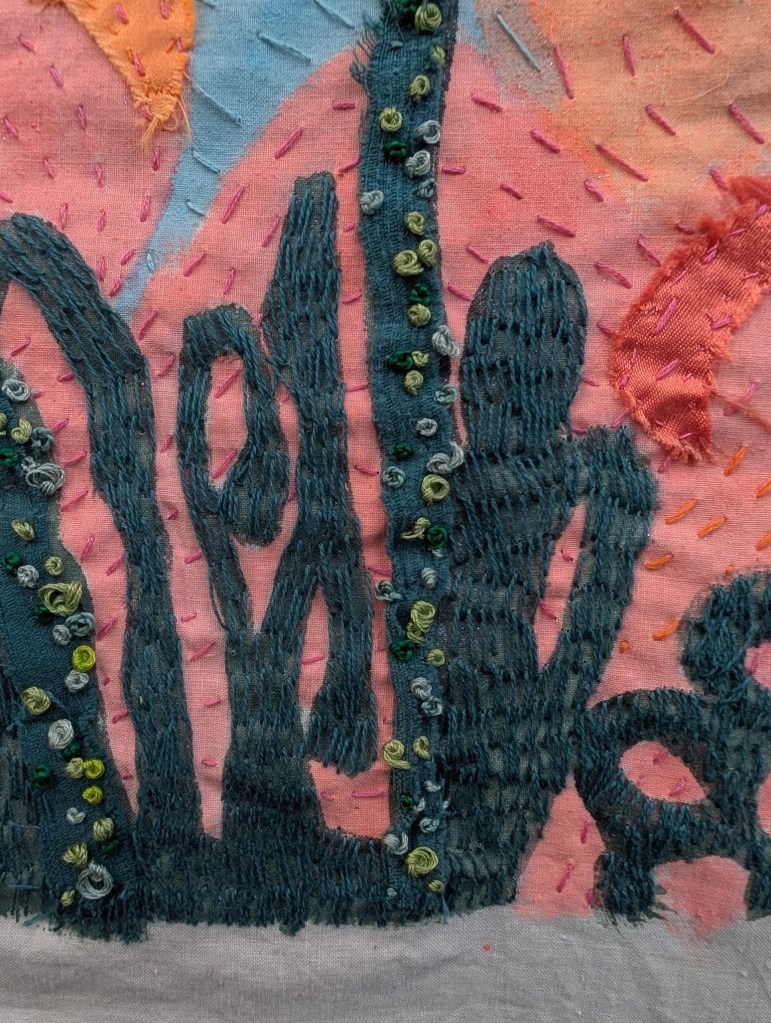
Here is the final again. I am really pleased with how it turned out:
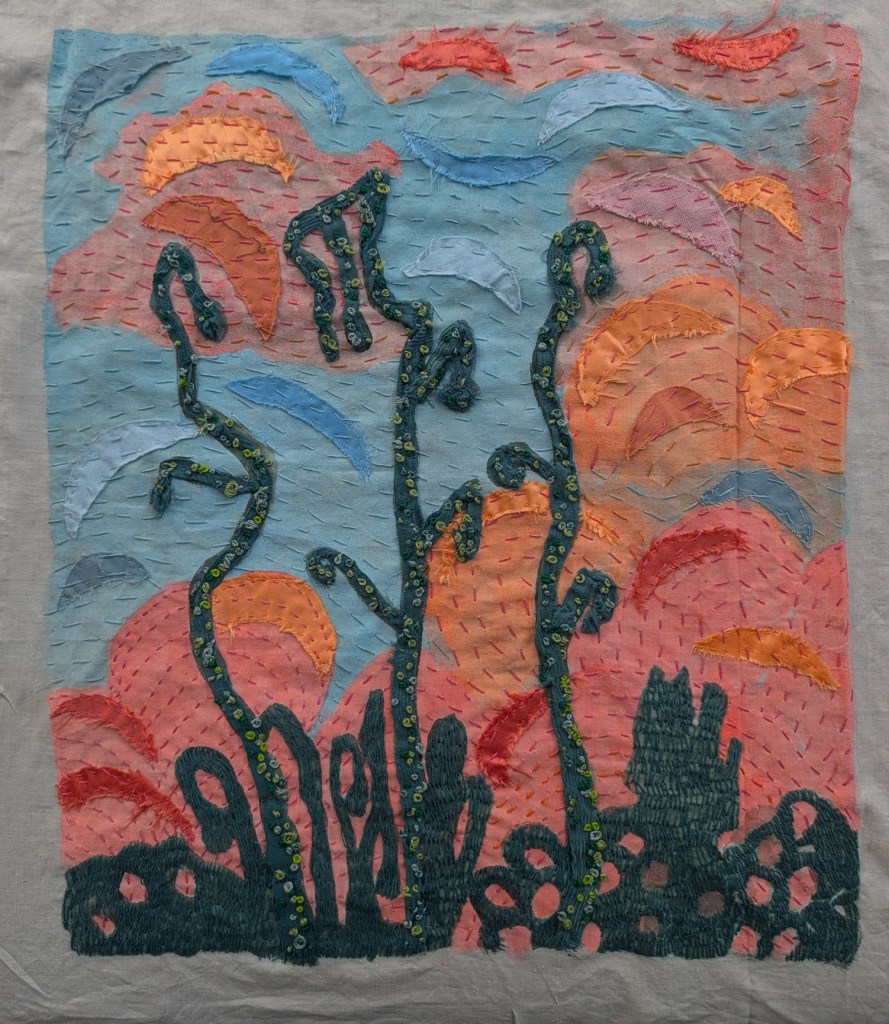
I will do some more like this – using painting and paper collage for a design process that I then use to develop into textile pieces. The size of this was a bit daunting, so I will probably work a bit smaller next time. I may also take available frame sizes into account, I didn’t plan for what sizes are available so I may have to customize something for this size – I’m planning on putting some wood together to stretch it on for display.

I hope you enjoyed reading about the process. What are some ways you may have interpreted the painting for translating to a fabric piece?
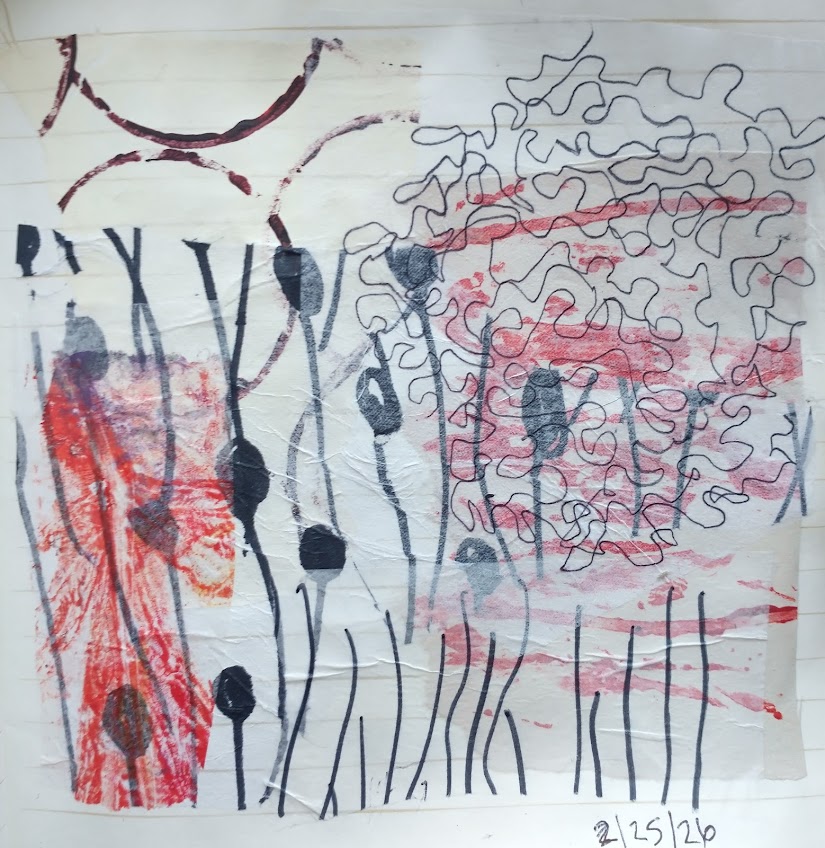
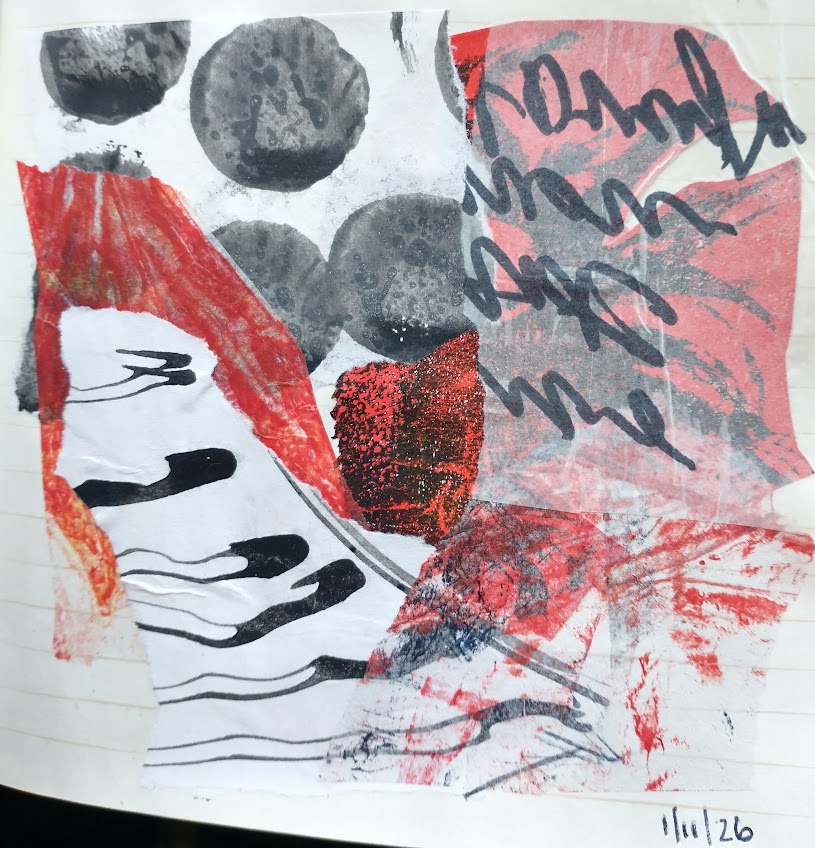
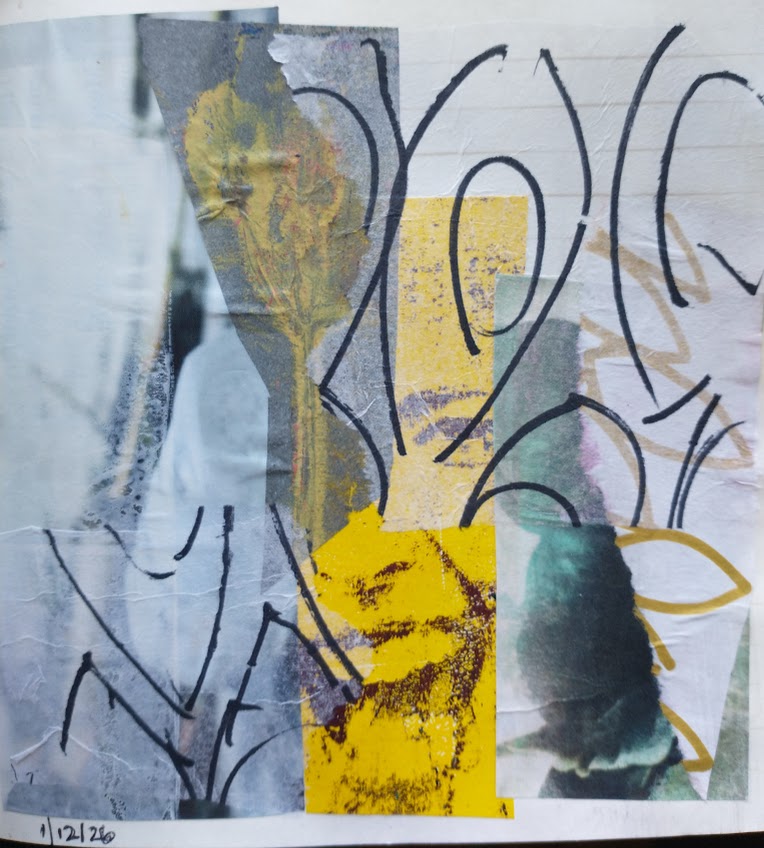
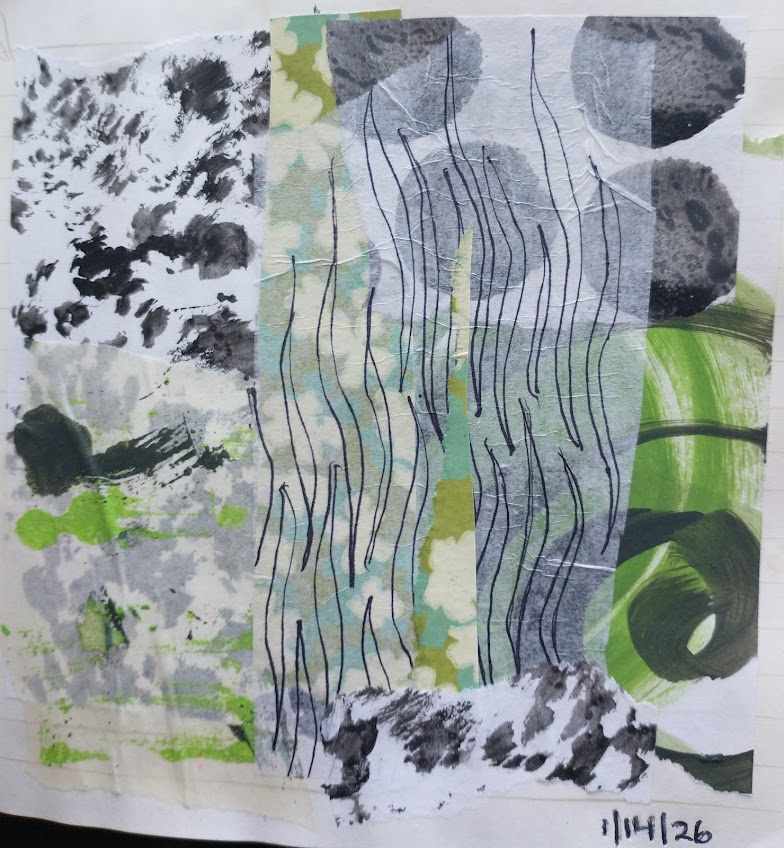
Daily collage practice 2026 – Part 6

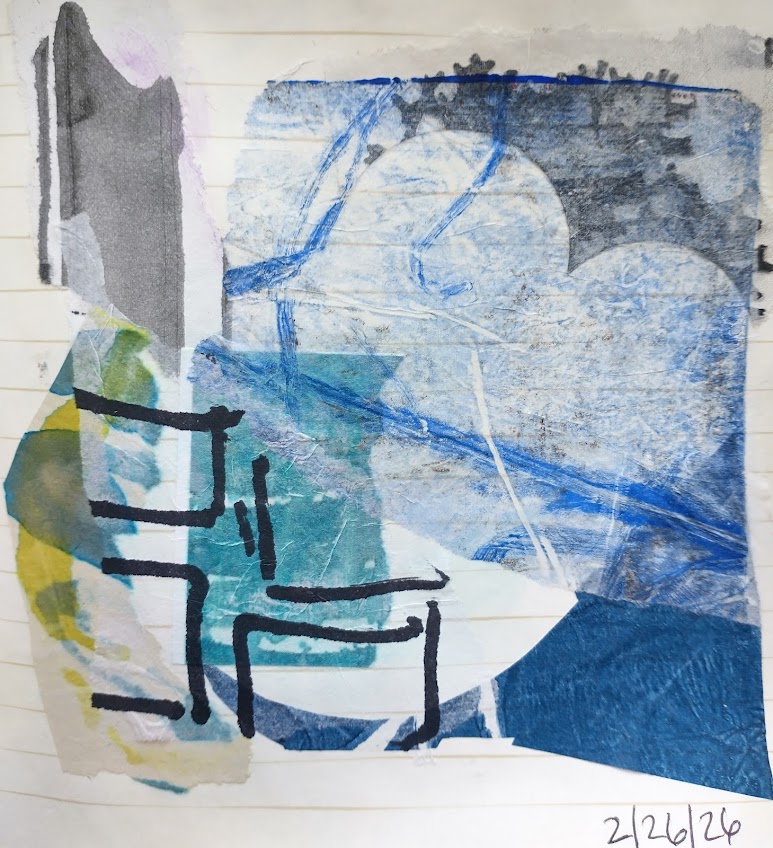
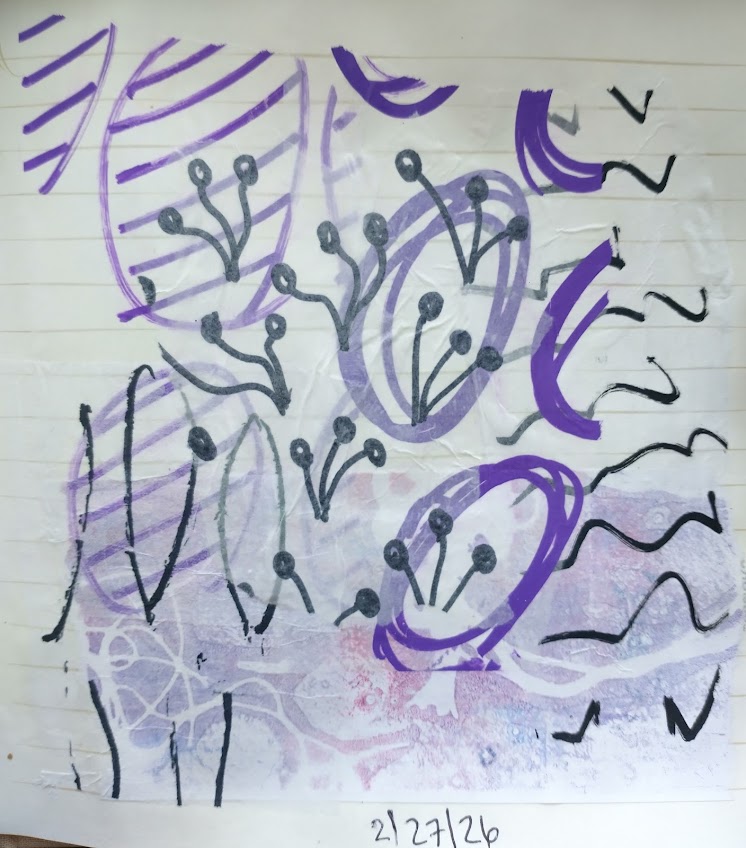
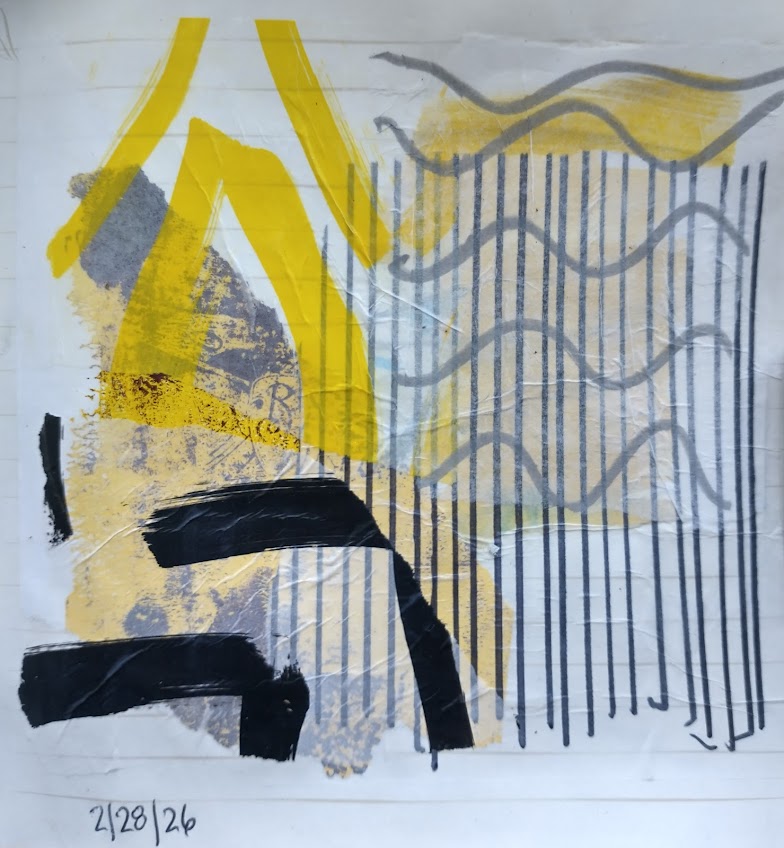
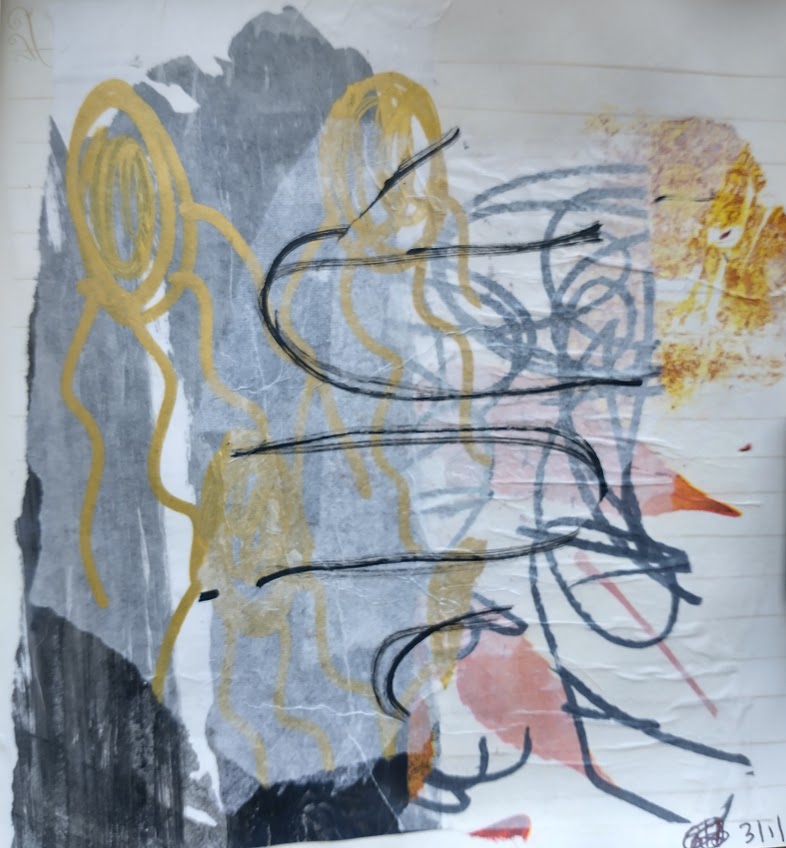
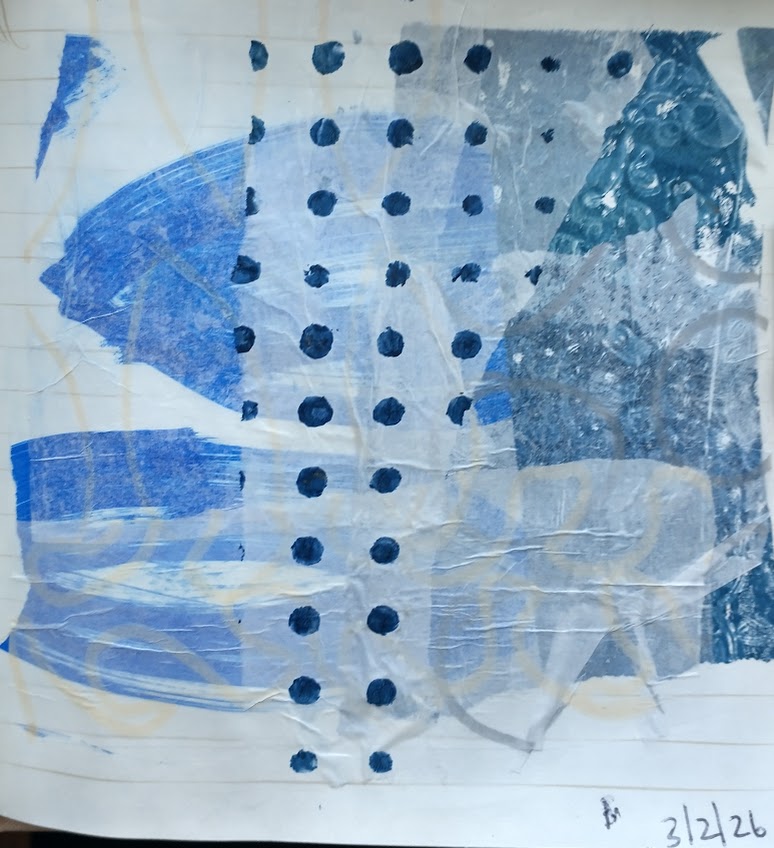
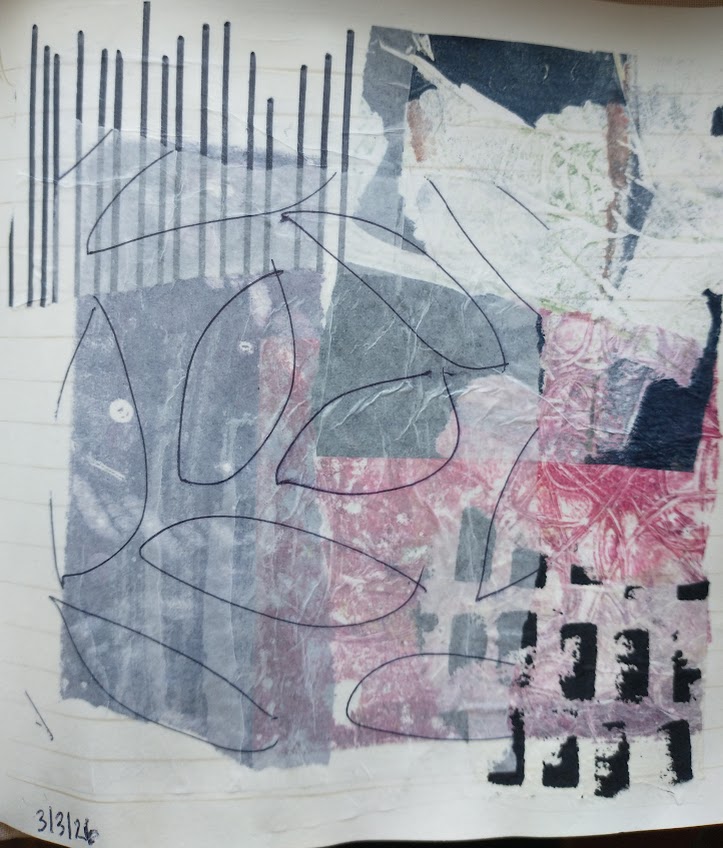
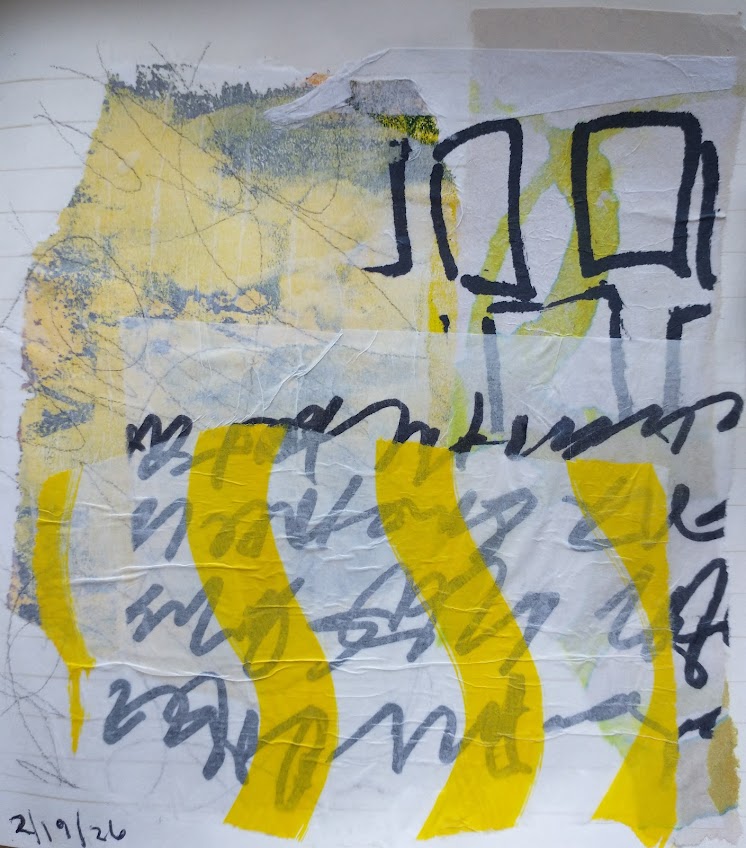
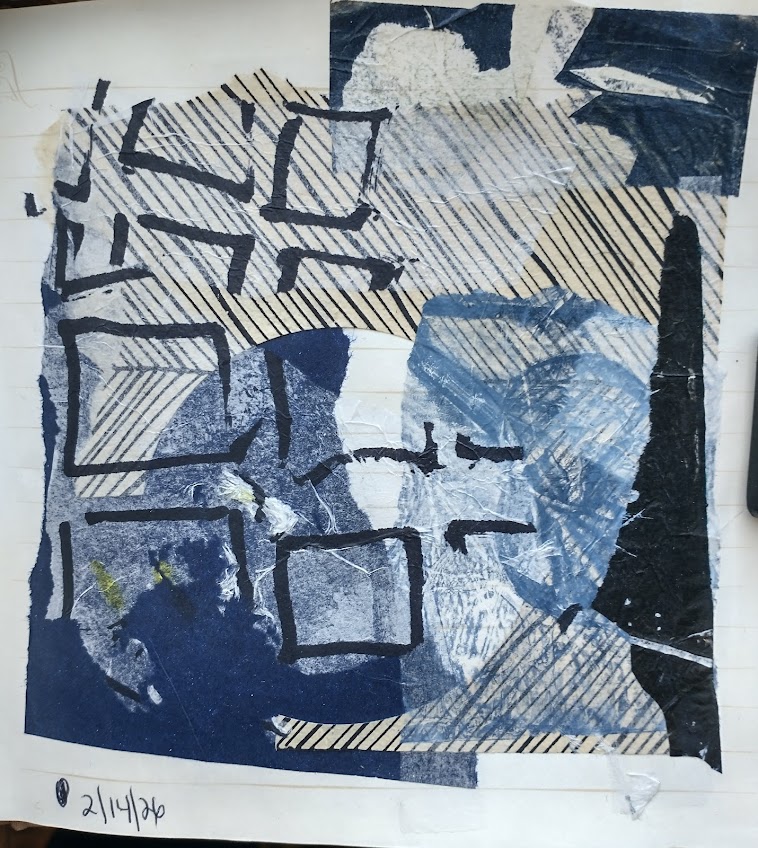
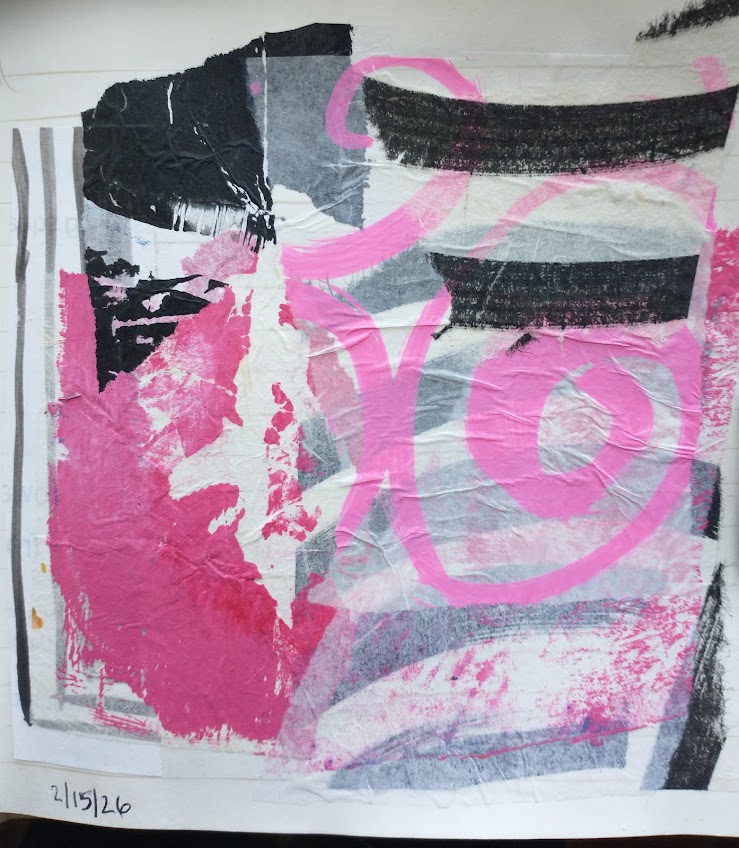
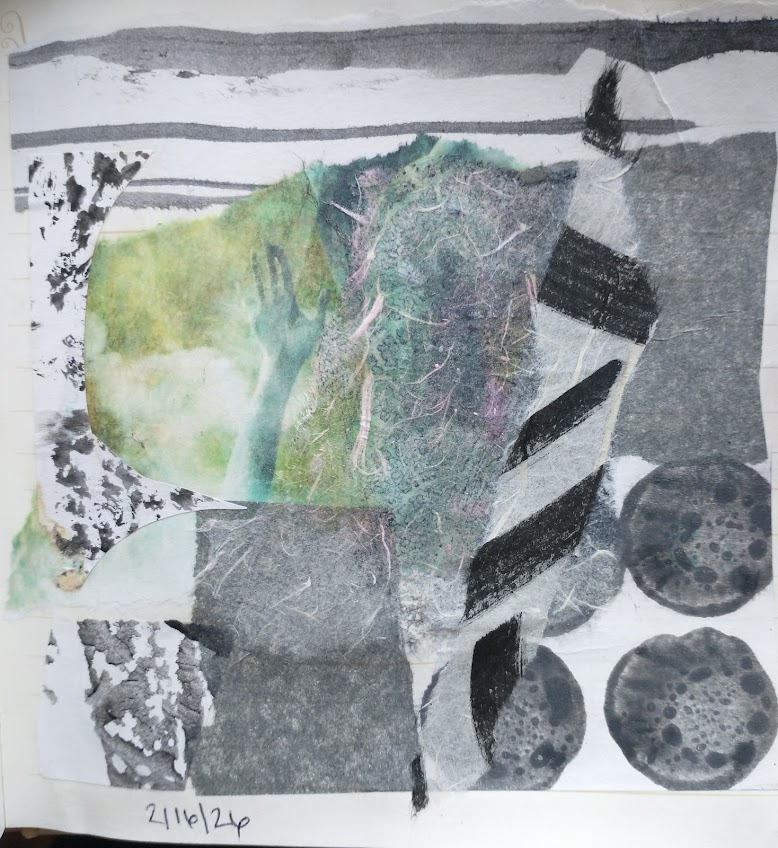
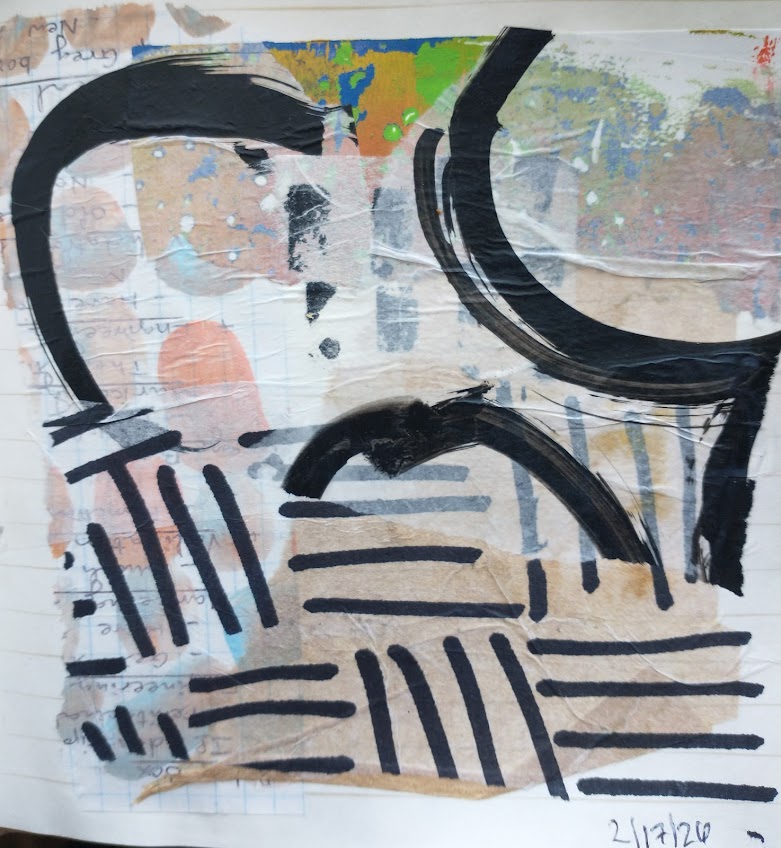
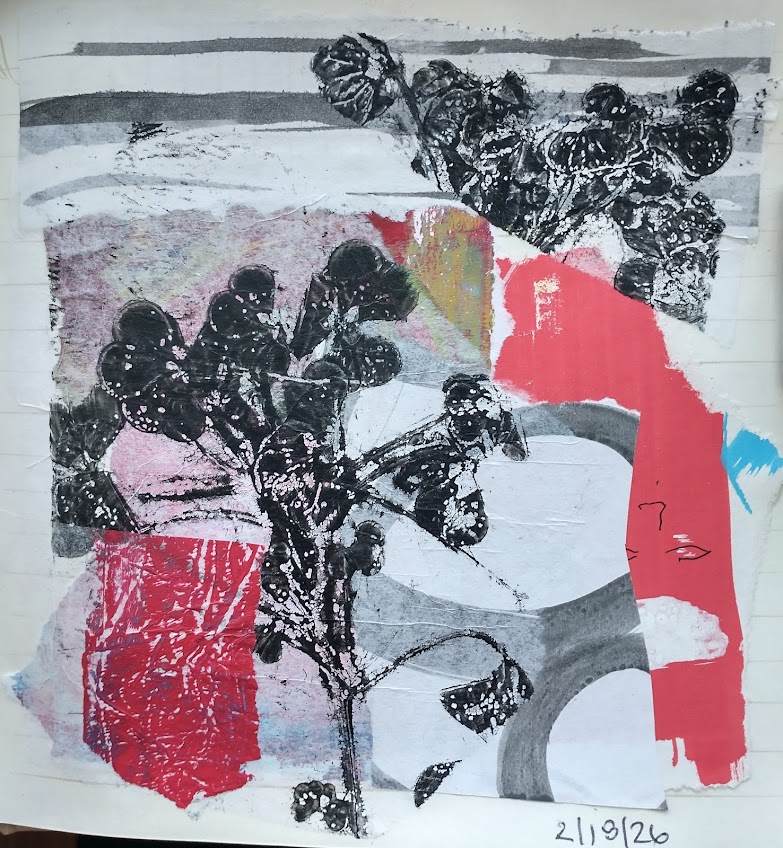
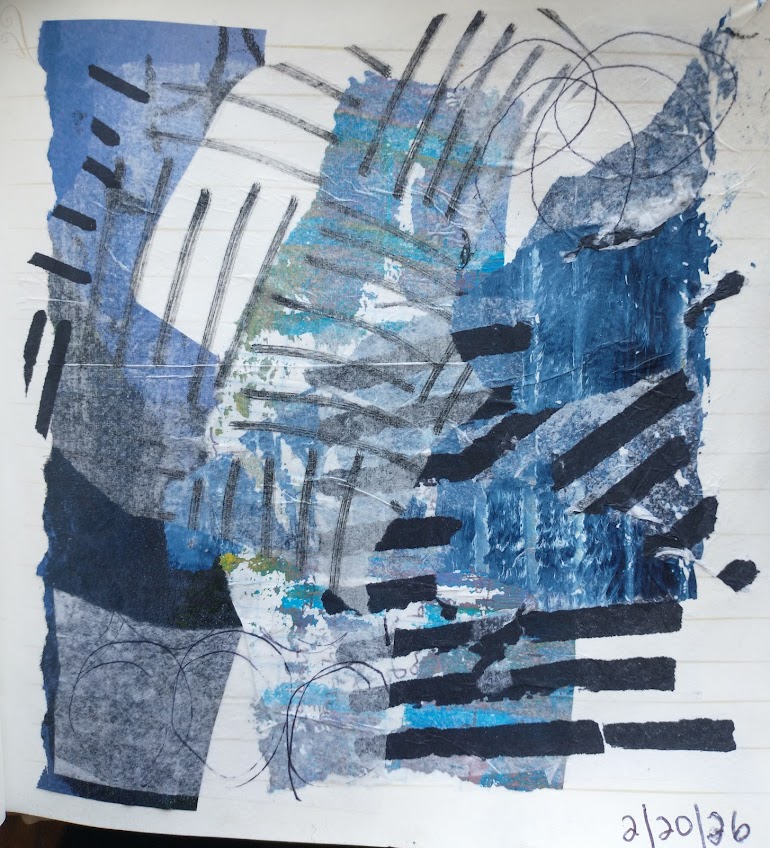
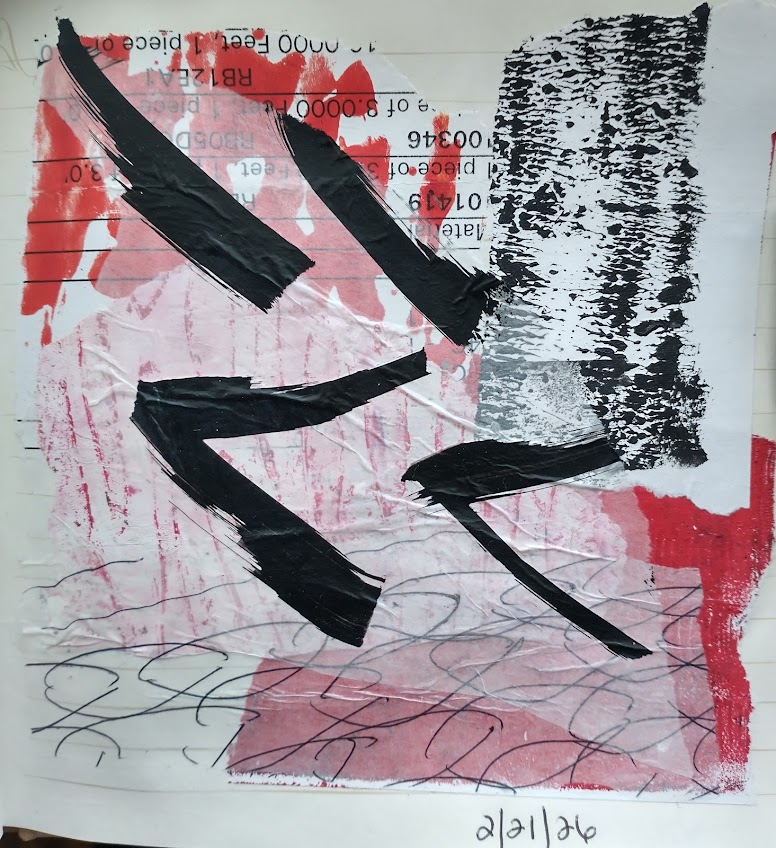
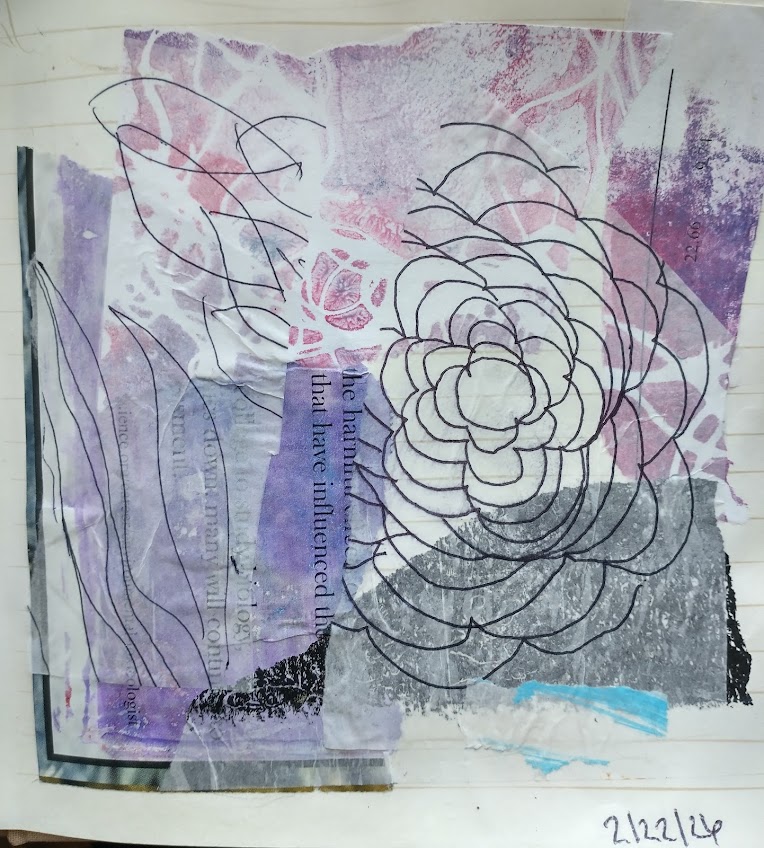
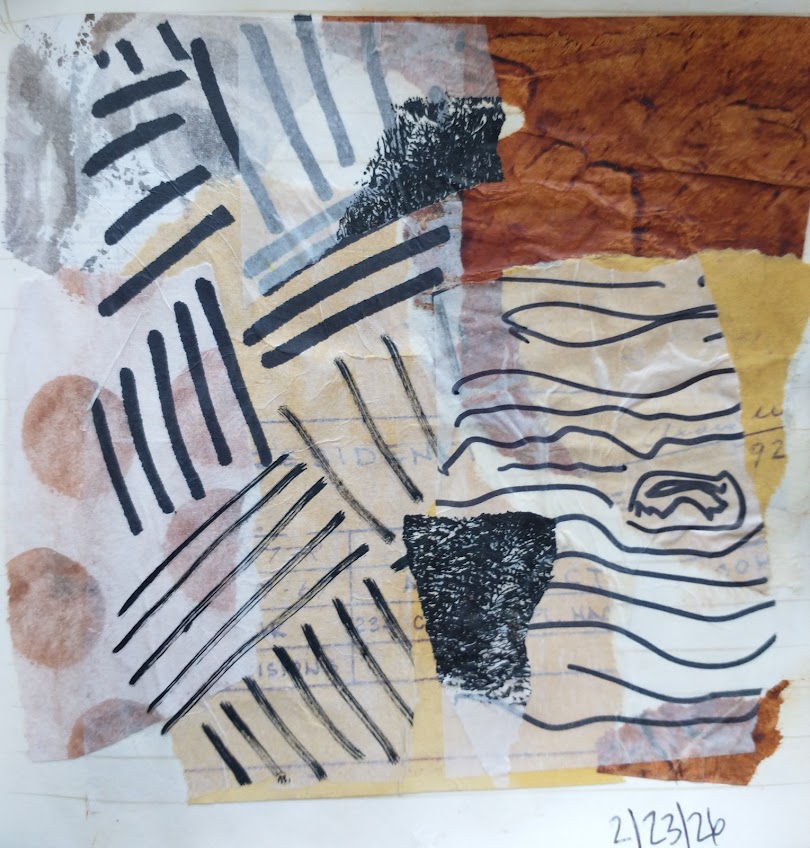
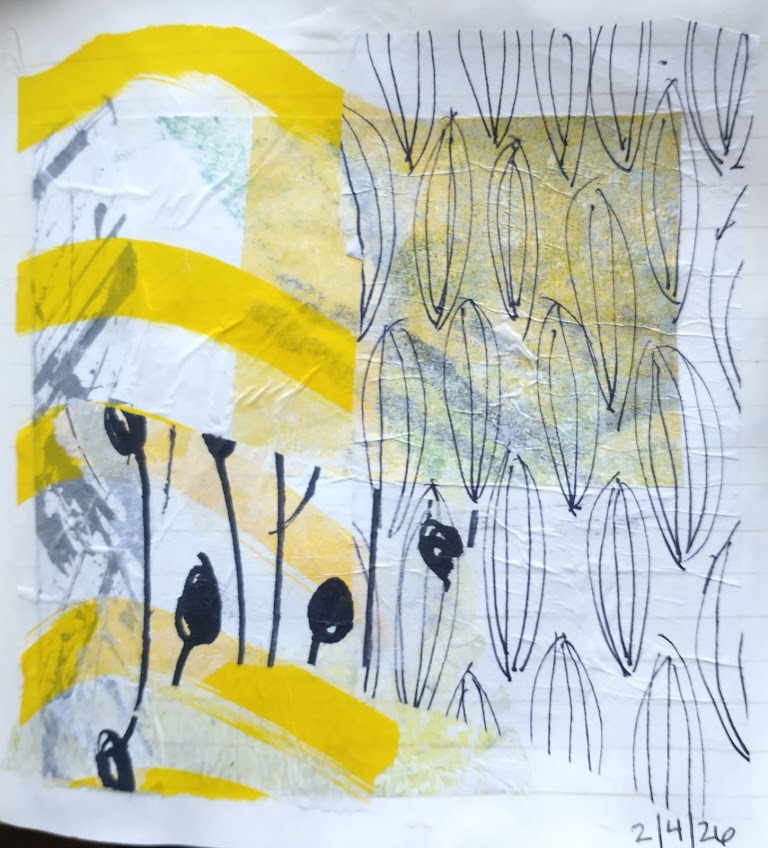
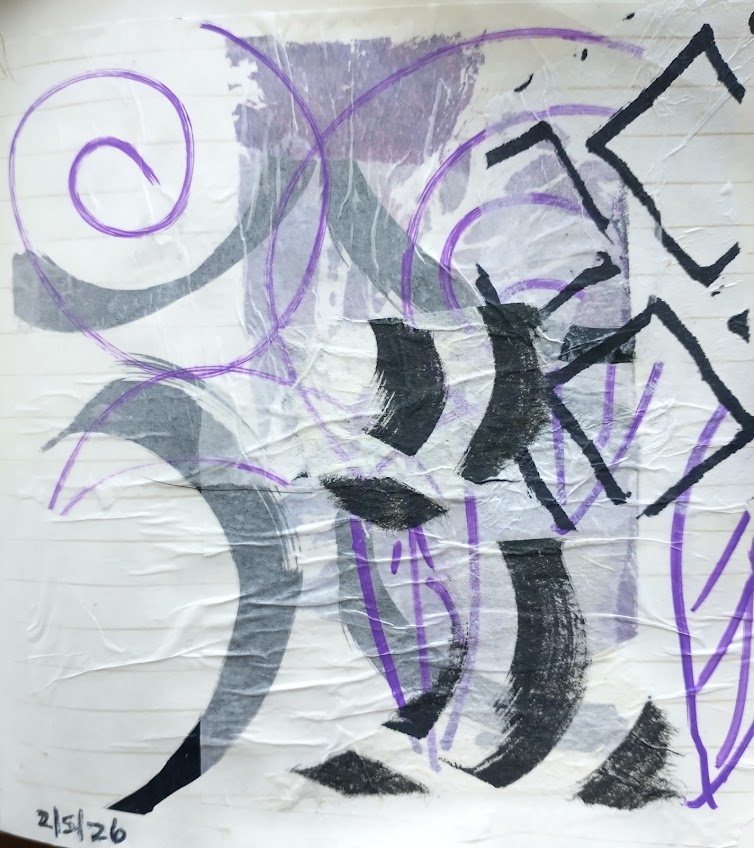
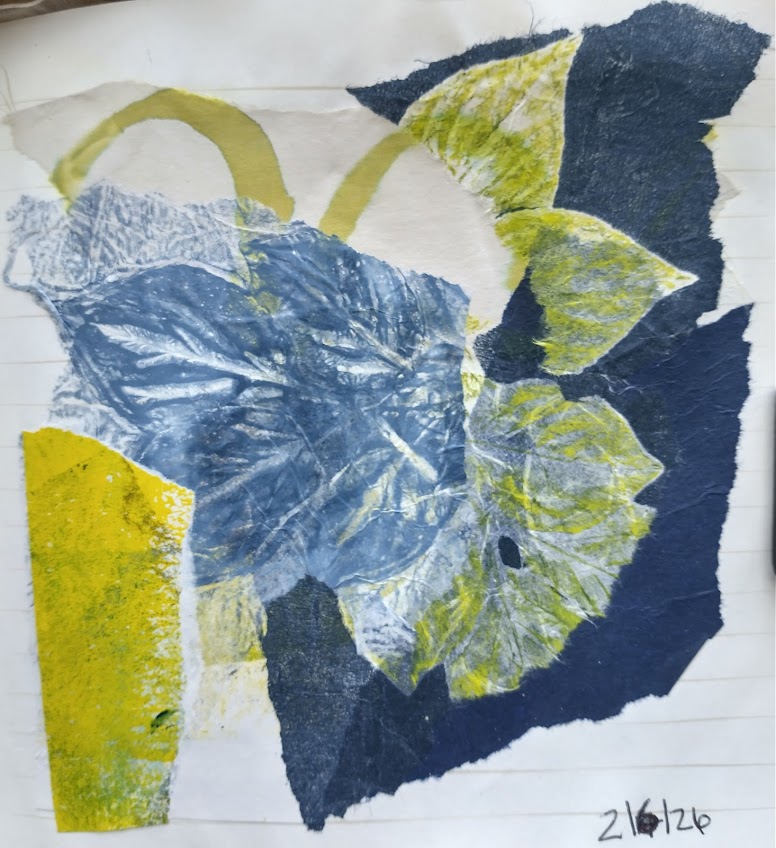
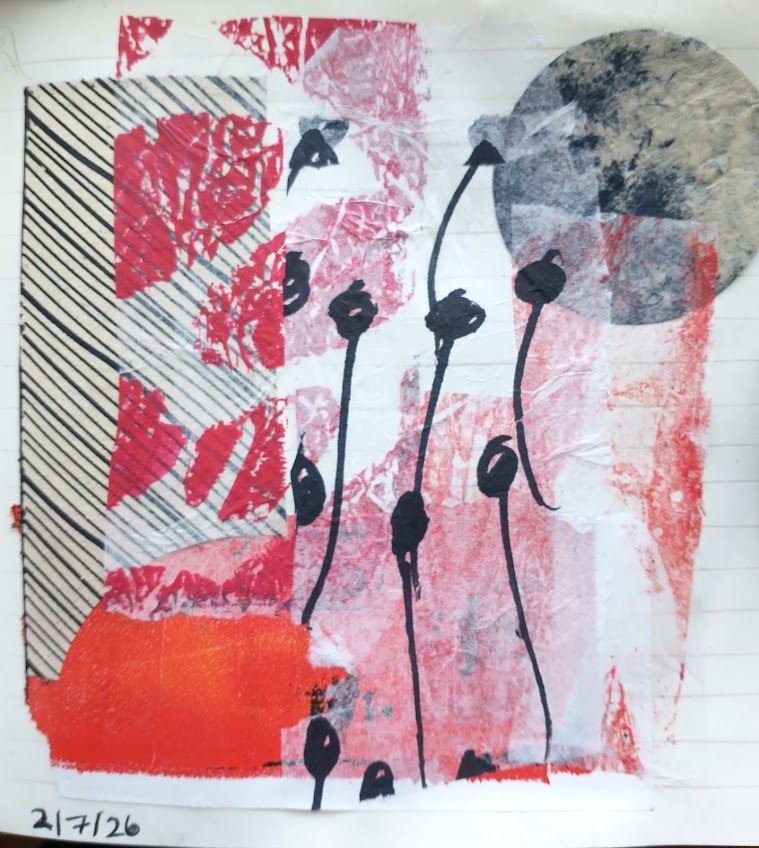
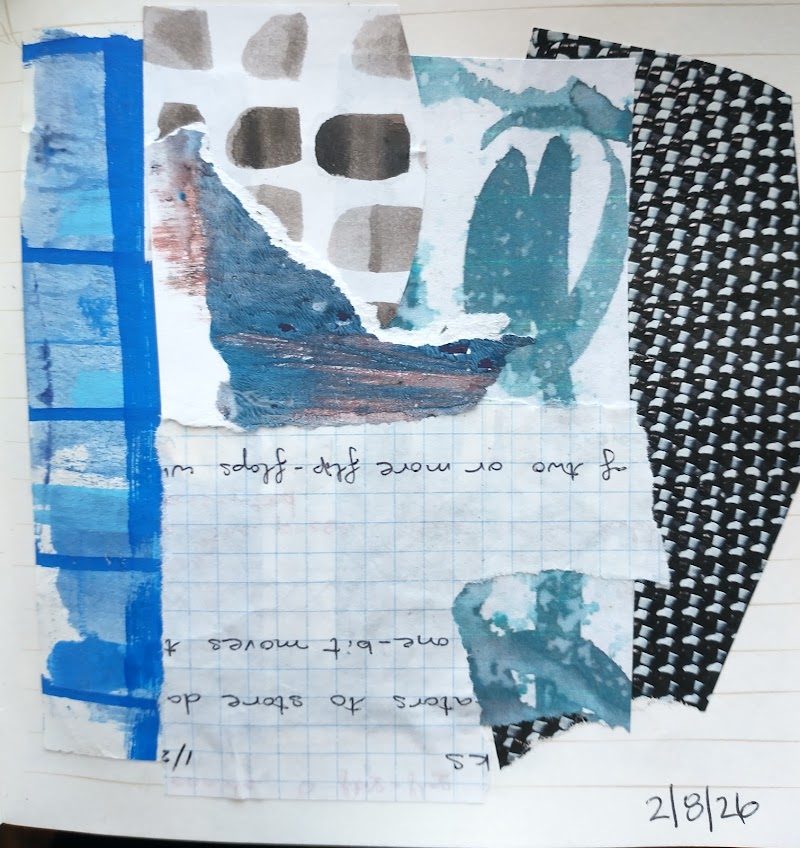
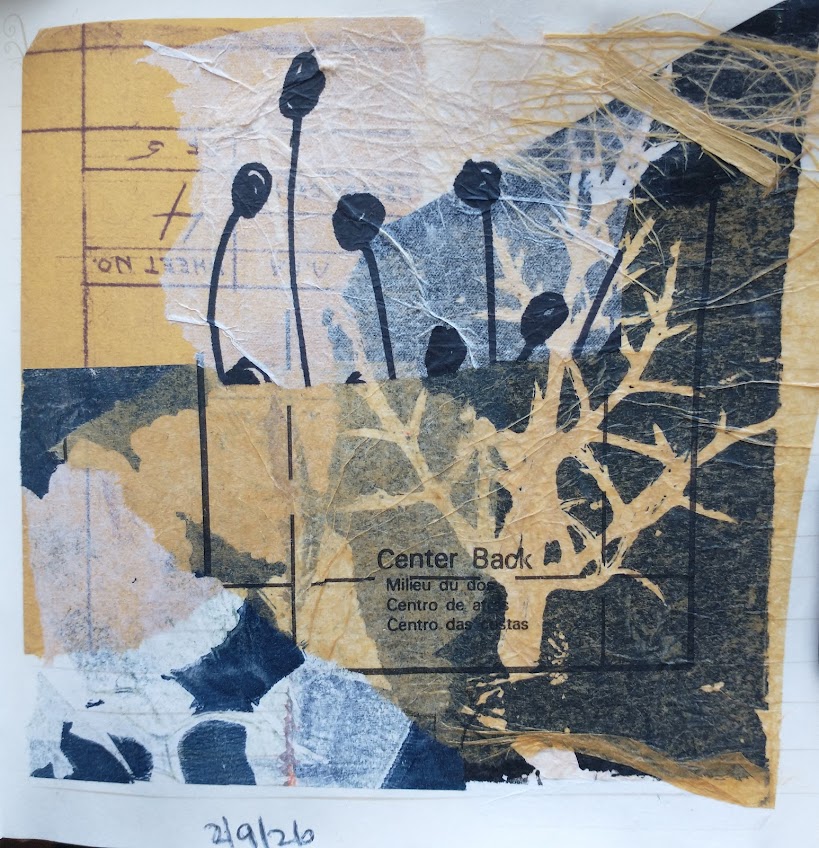
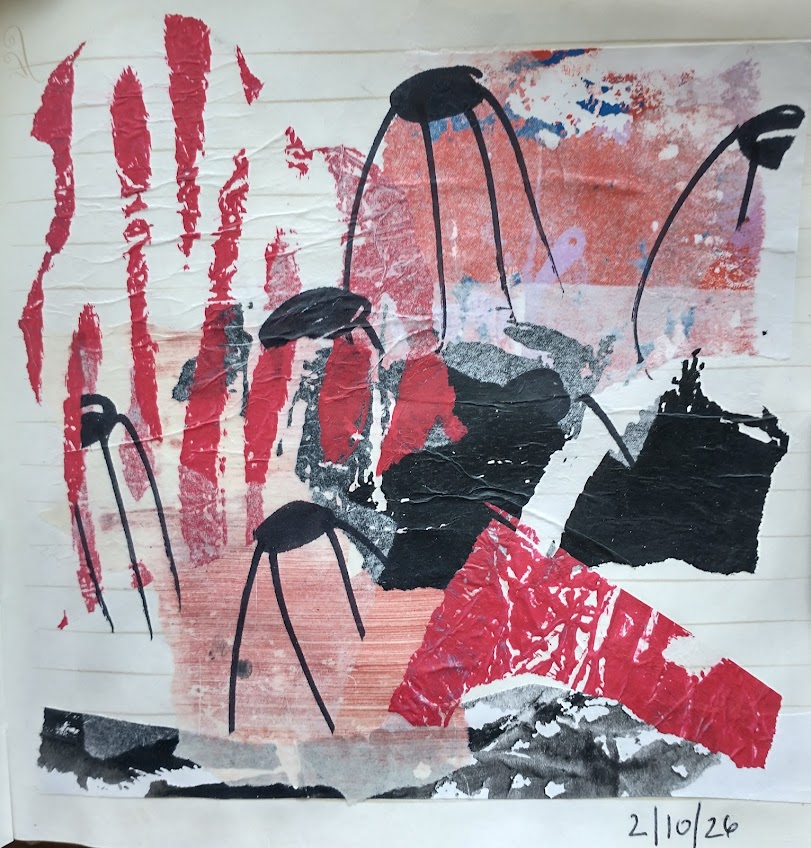
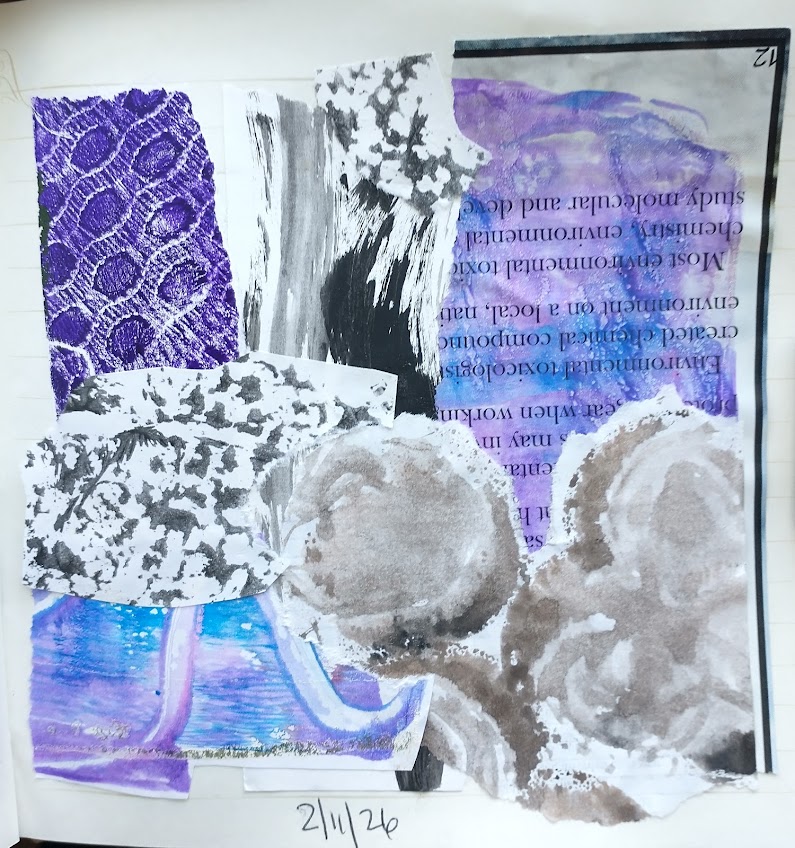
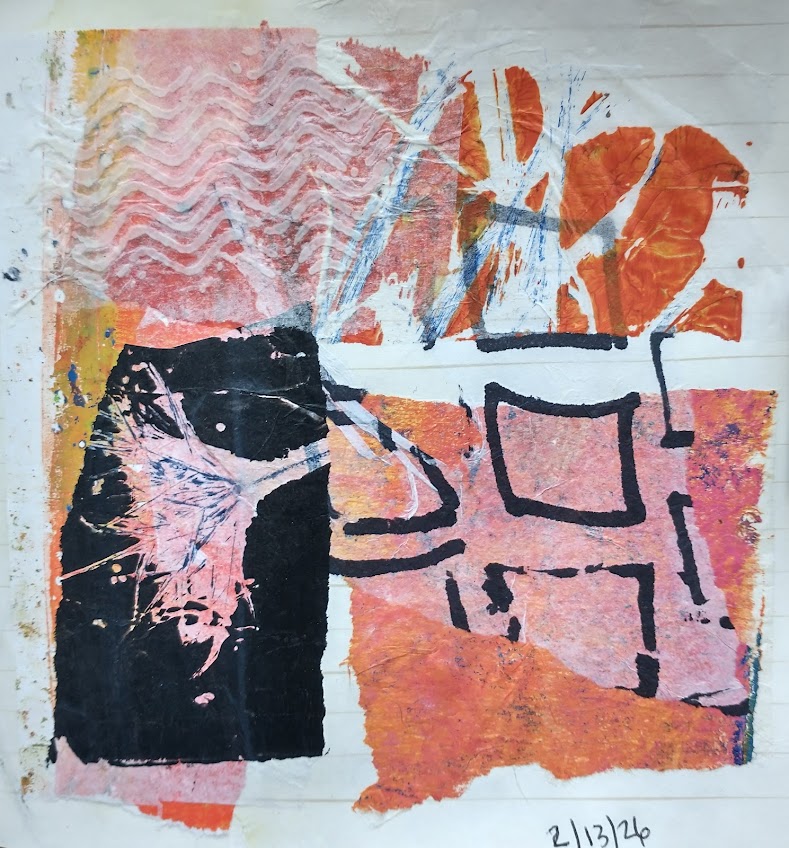
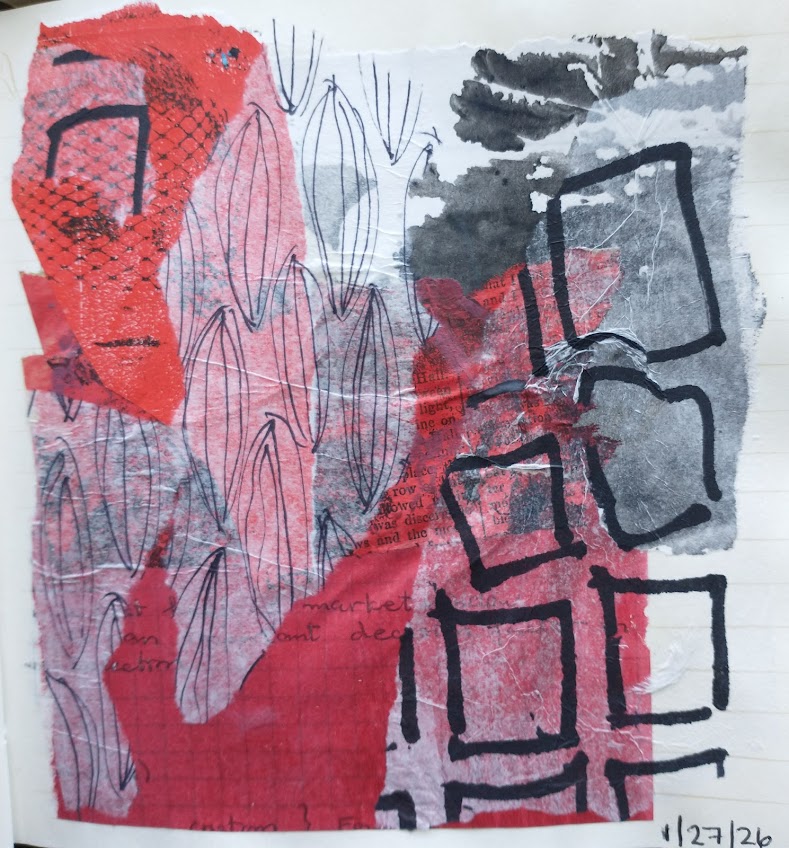
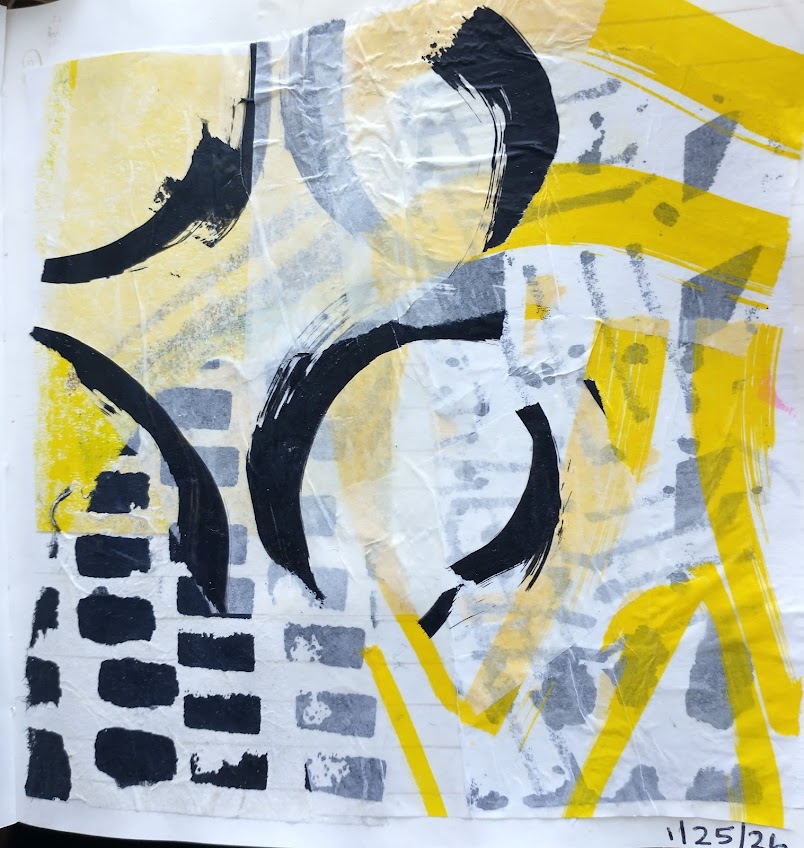
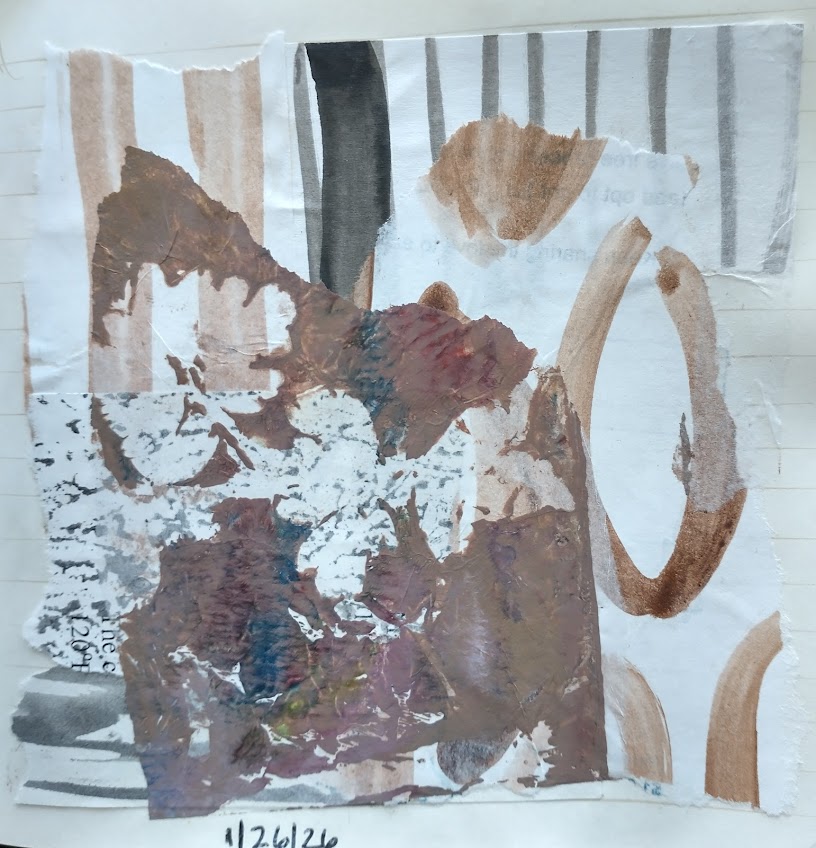
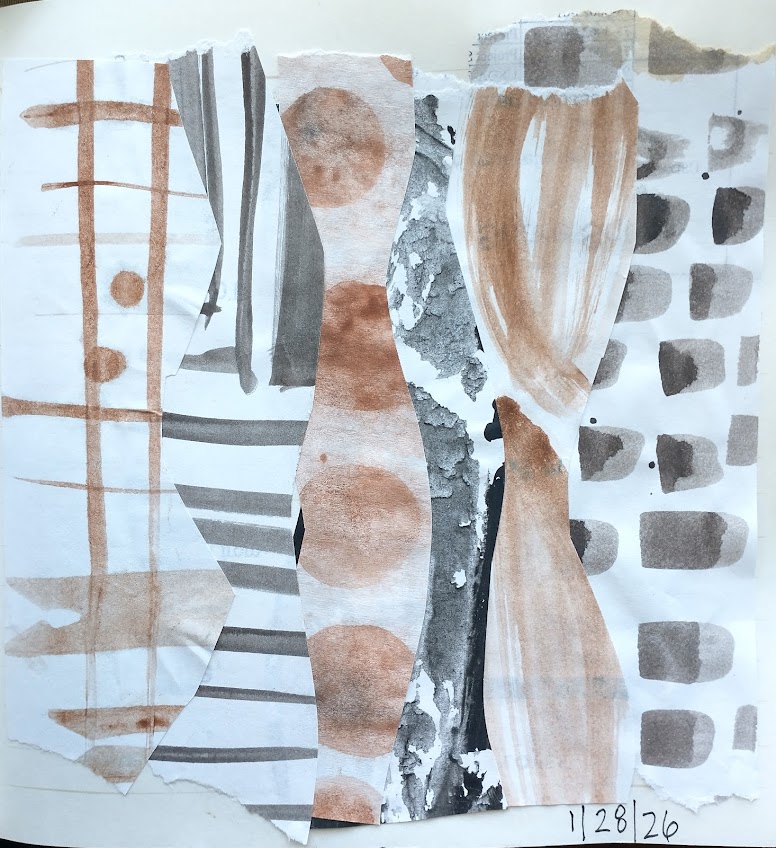
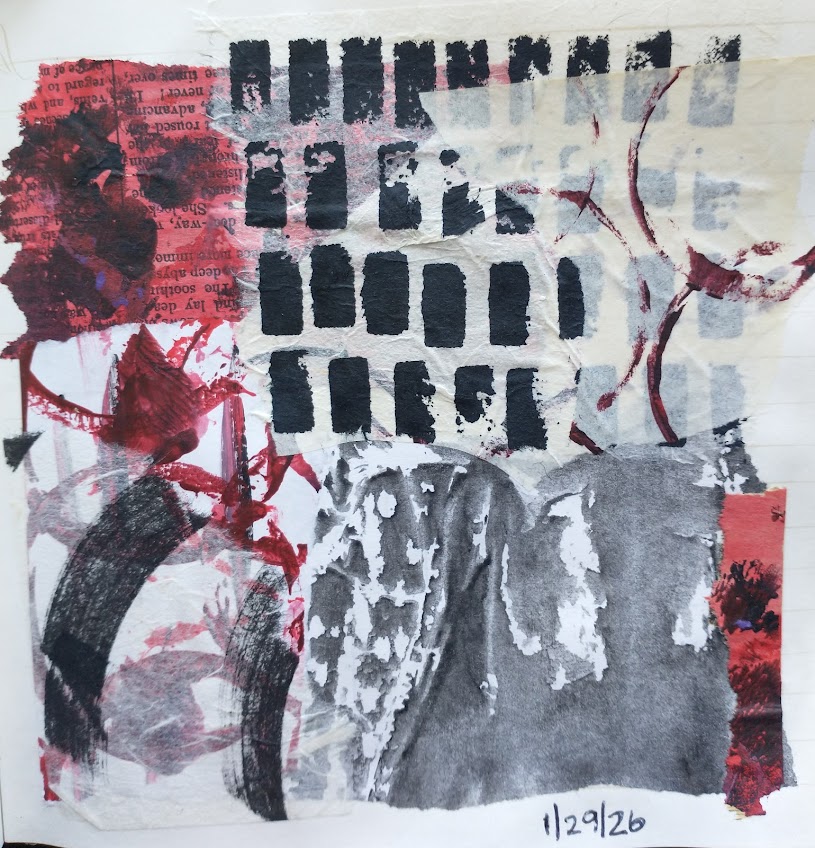
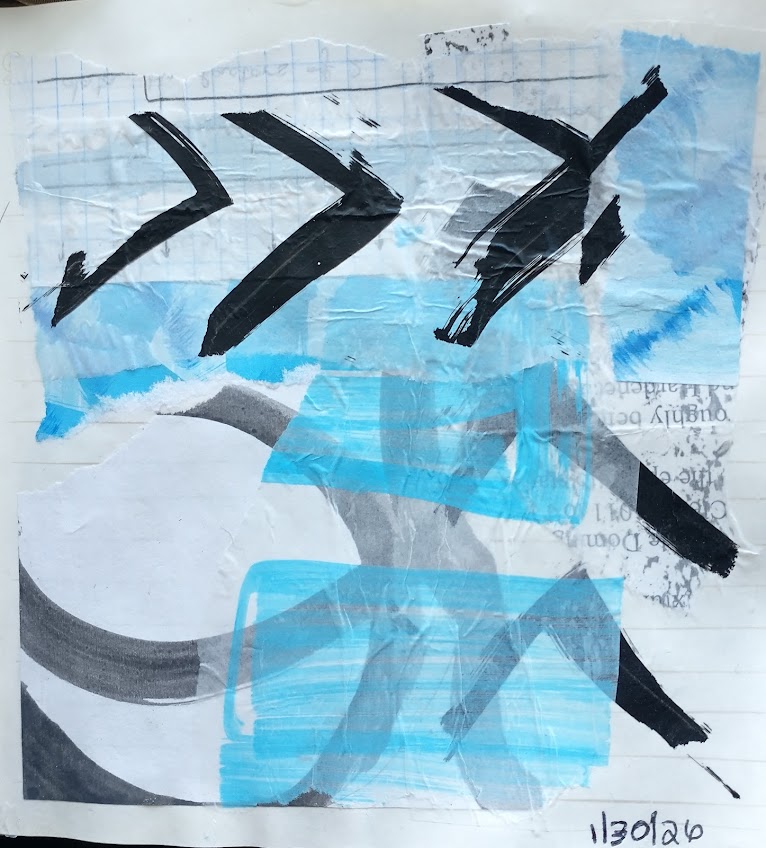
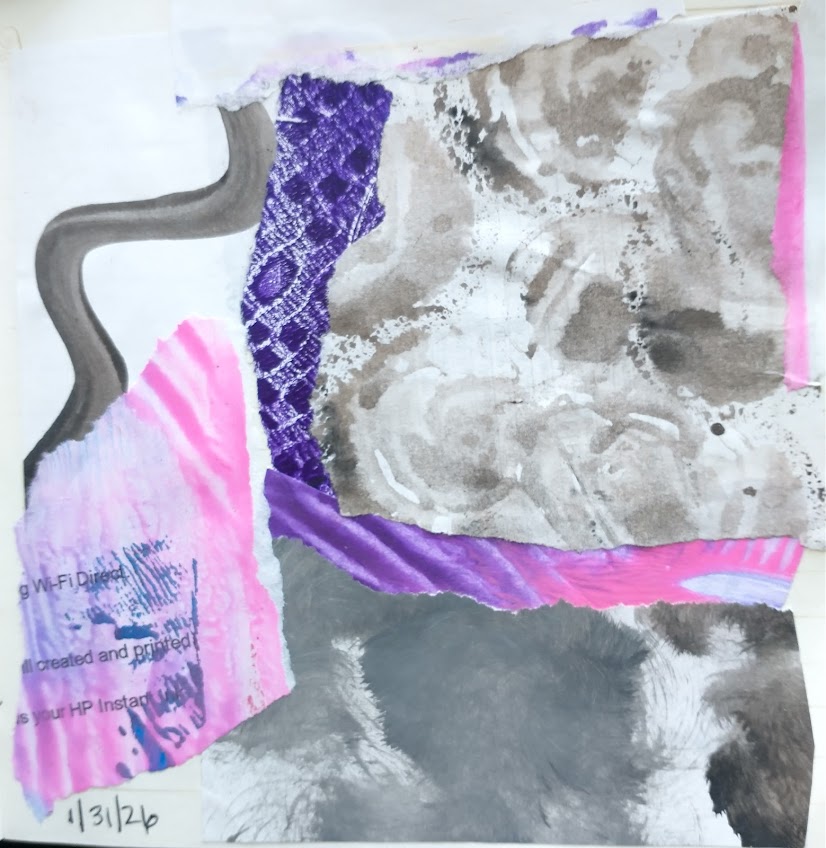
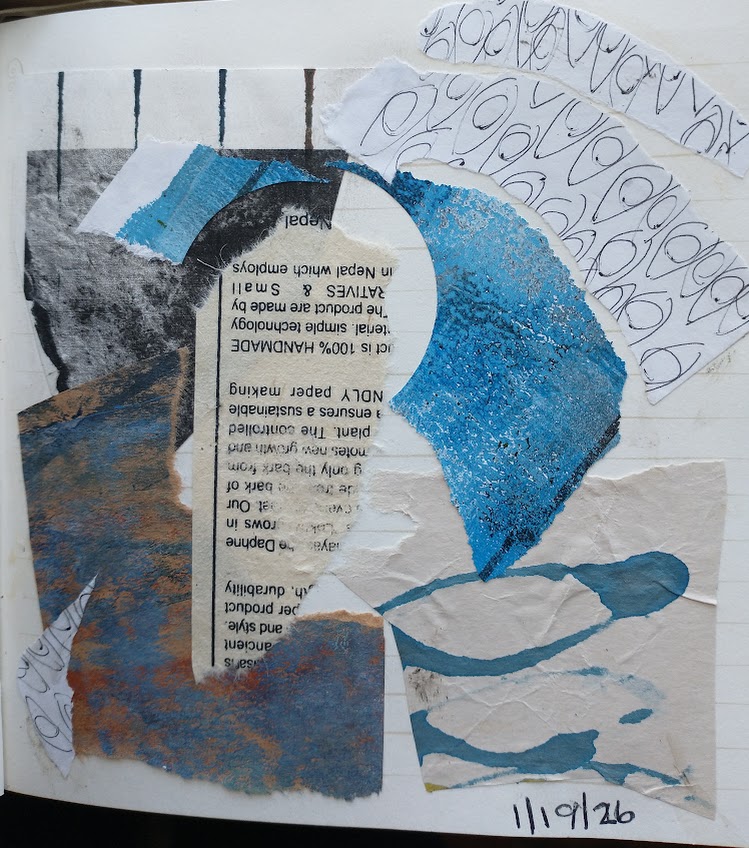
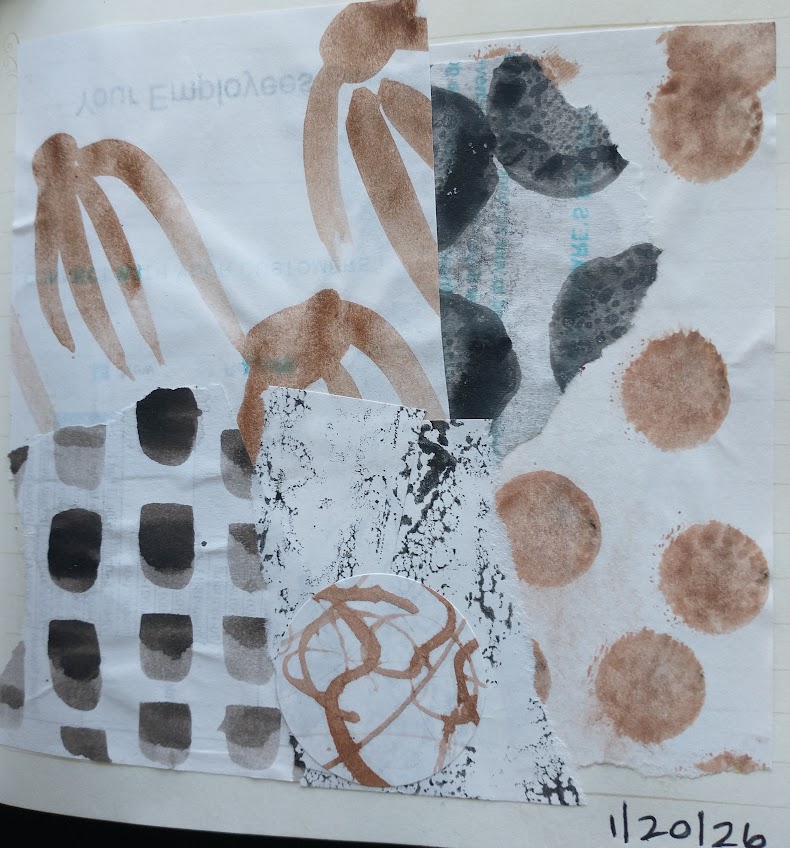
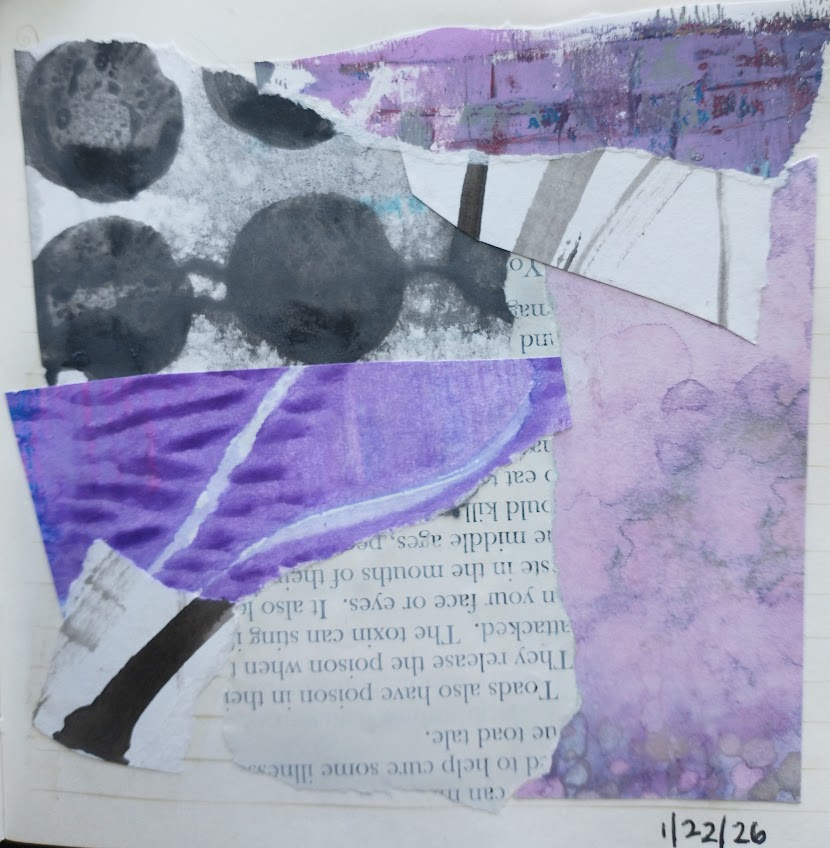
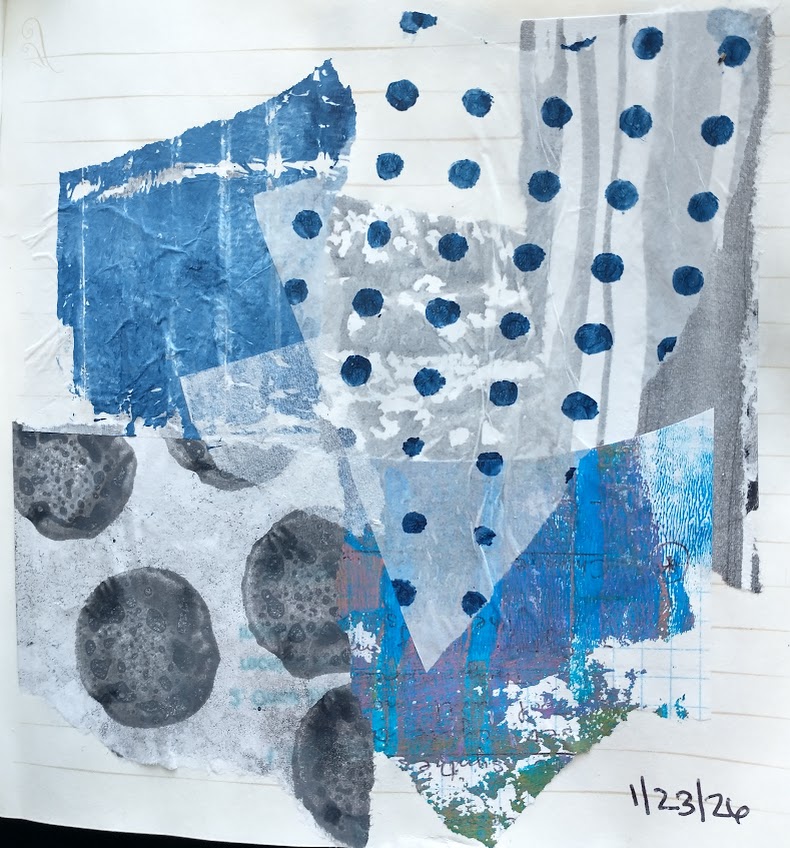
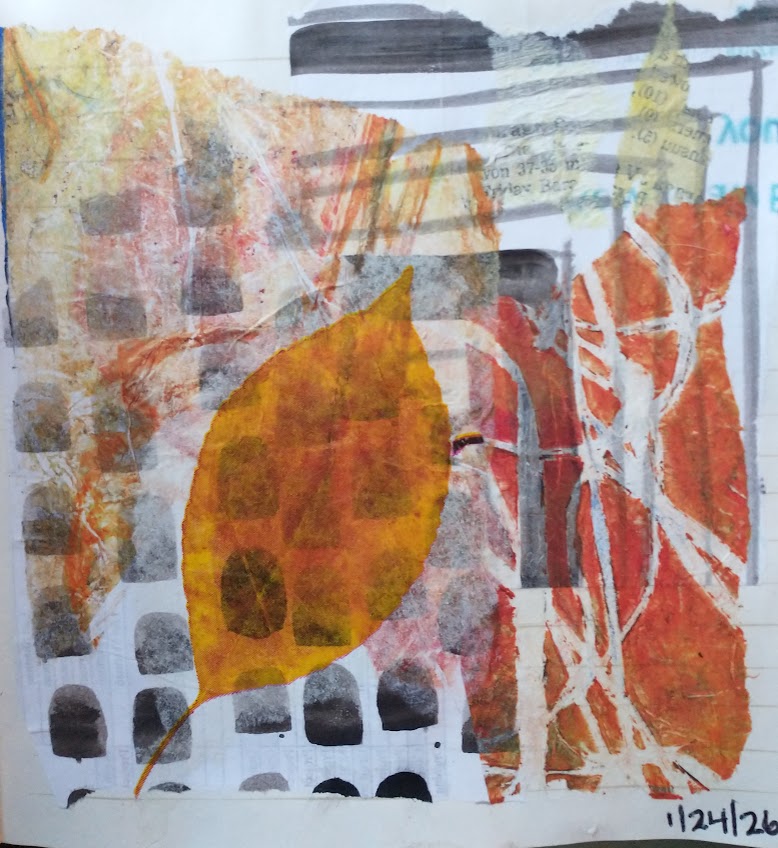
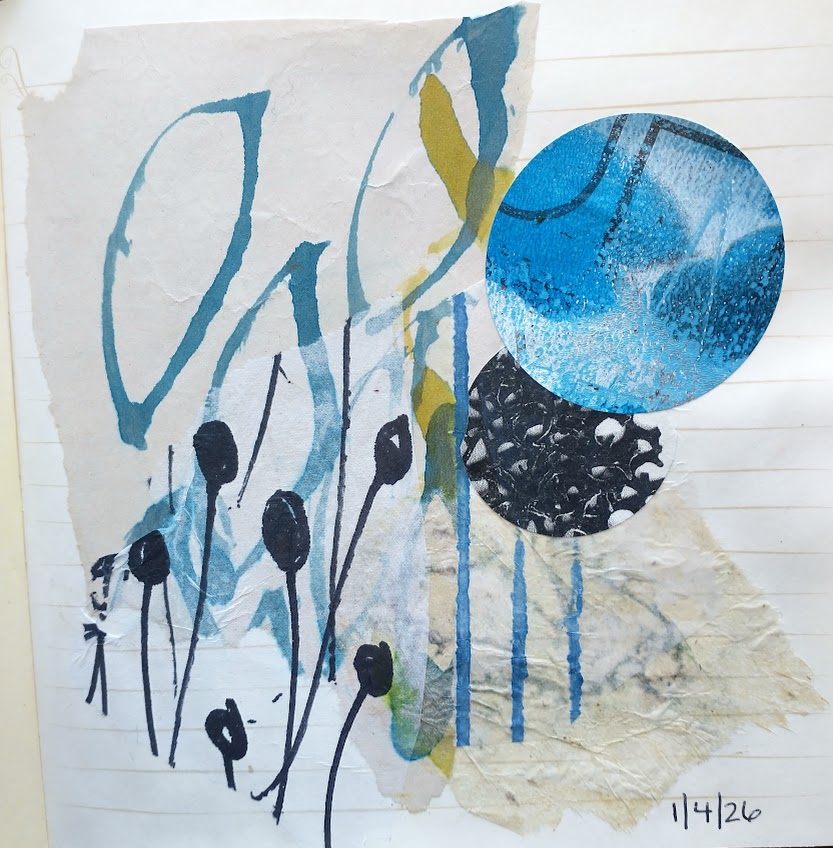
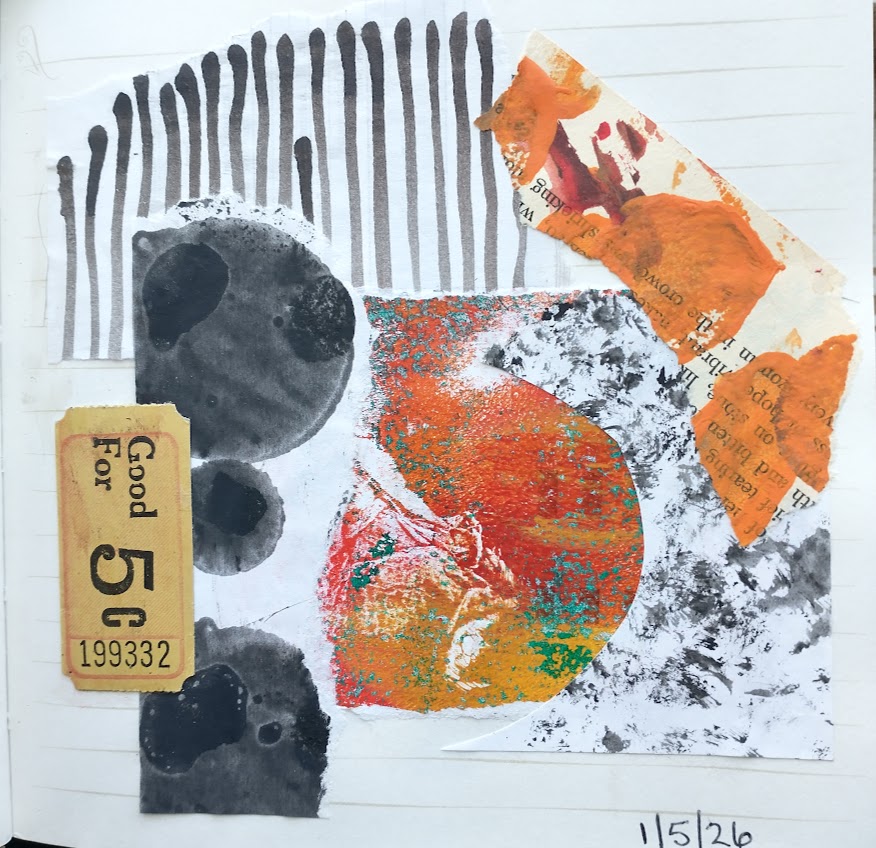
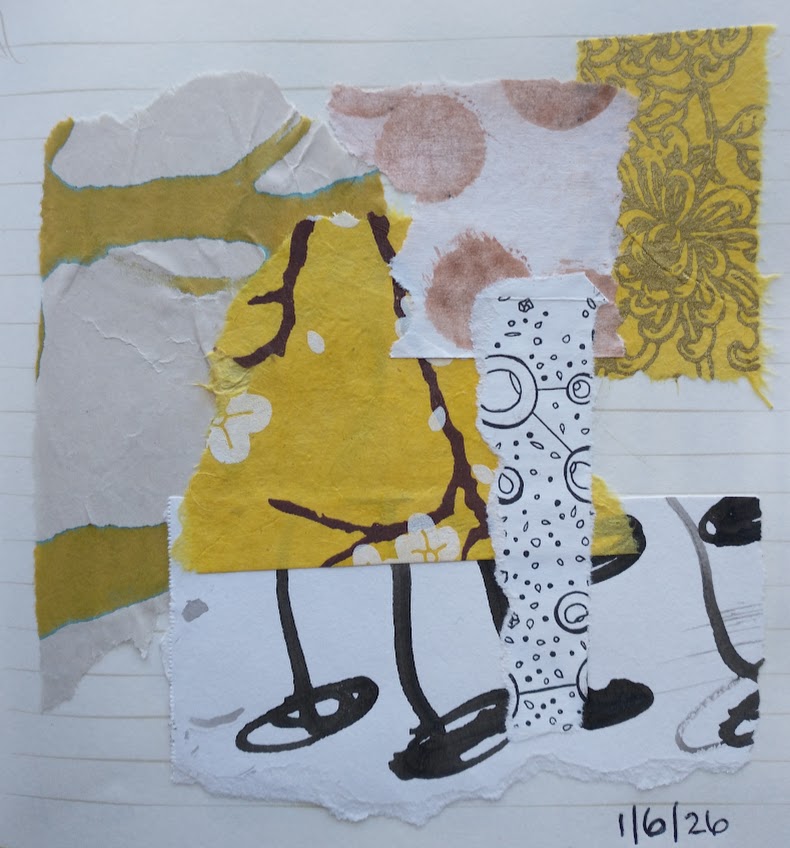
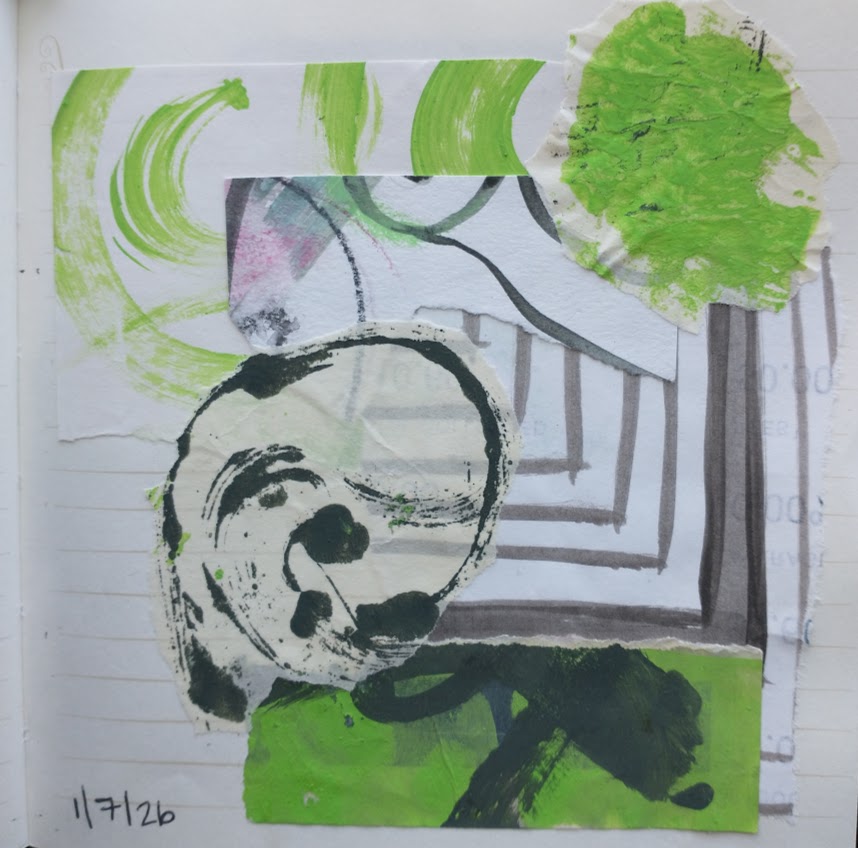
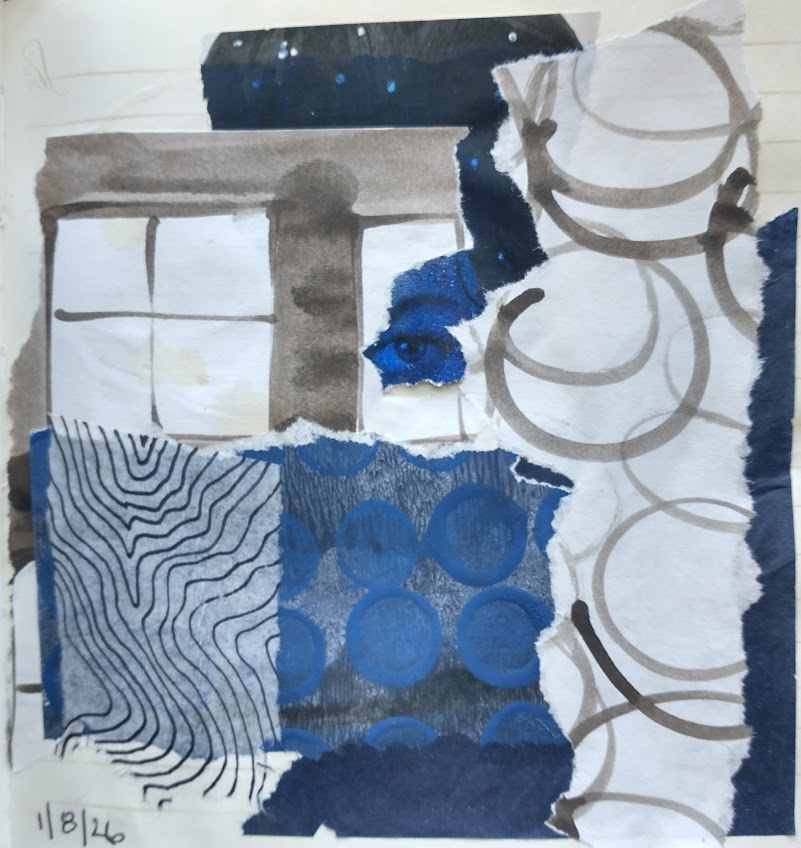
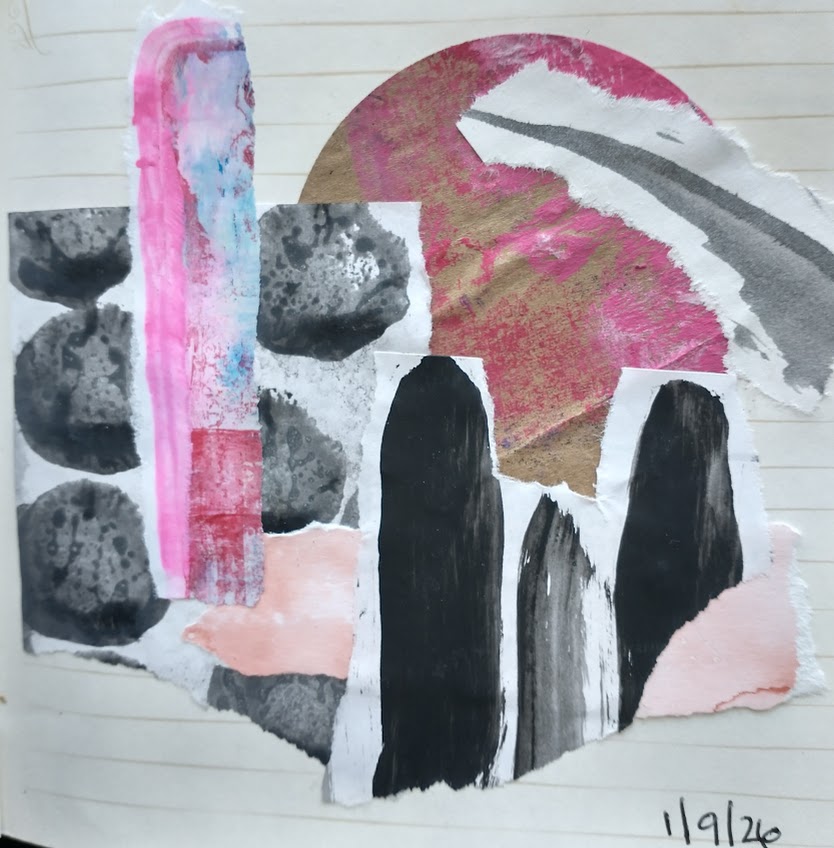
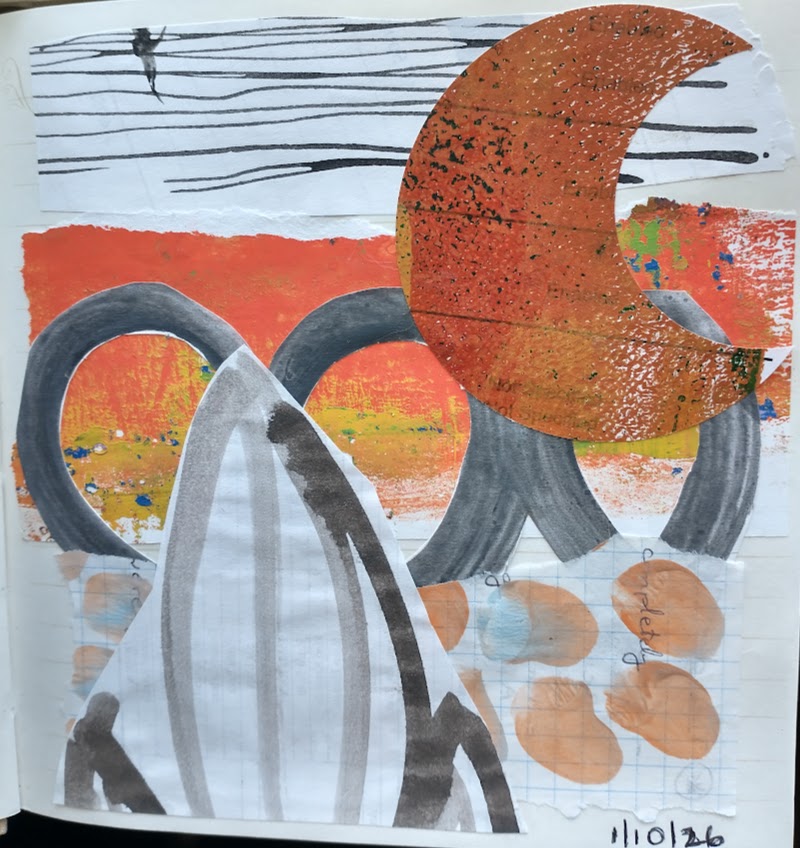
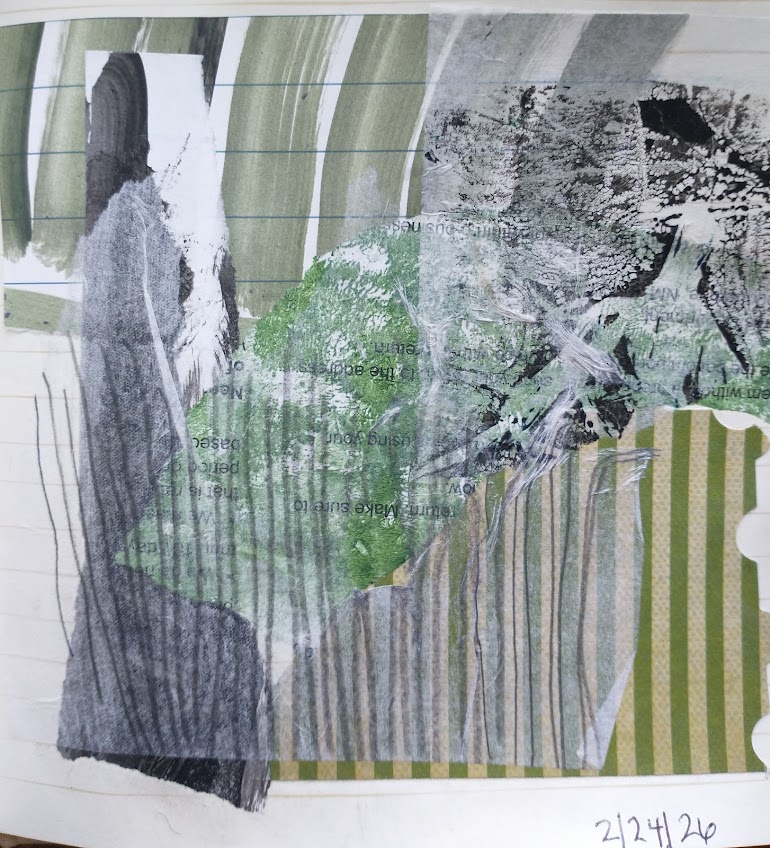
Info about this series: At the beginning of the year, I found a little notebook at a thrift shop, and decided to try to do a daily collage to fill it. I created 58 daily collages. I am really proud of the work I did. Not all of the pieces are as successful as the others but they all turned out good in my eyes. Another artist online (I cannot remember who) was talking about using a 3 plus 3 prompt – 3 papers of one color family, and 3 neutrals. So that was my prompt for this series. There are a few pieces where I split one of the papers and repeated it but the prompt was still mainly followed. Most of the papers were created by me with a few exceptions. The collage papers were painted with acrylic paint or ink, or drawn with marker or pen, or made using my gel plate. Some are regular (non-see through) paper, many are tissue or rice papers. I did not add any embellishments besides the pasted paper. This post is part 6 of 6 posts showing all 58 collages in the series. I hope you enjoy.

Thank you for checking out my series. If you have missed any installments make sure to check out the last few days’ posts.

Daily collage practice 2026 – Part 5

Info about this series: At the beginning of the year, I found a little notebook at a thrift shop, and decided to try to do a daily collage to fill it. I created 58 daily collages. I am really proud of the work I did. Not all of the pieces are as successful as the others but they all turned out good in my eyes. Another artist online (I cannot remember who) was talking about using a 3 plus 3 prompt – 3 papers of one color family, and 3 neutrals. So that was my prompt for this series. There are a few pieces where I split one of the papers and repeated it but the prompt was still mainly followed. Most of the papers were created by me with a few exceptions. The collage papers were painted with acrylic paint or ink, or drawn with marker or pen, or made using my gel plate. Some are regular (non-see through) paper, many are tissue or rice papers. I did not add any embellishments besides the pasted paper. This post is part 5 of 6 posts showing all 58 collages in the series. I hope you enjoy.

Thanks for taking a look, I hope you enjoy my collage art. Be sure to check out the other posts in this series.

Daily collage practice 2026 – Part 4

Info about this series: At the beginning of the year, I found a little notebook at a thrift shop, and decided to try to do a daily collage to fill it. I created 58 daily collages. I am really proud of the work I did. Not all of the pieces are as successful as the others but they all turned out good in my eyes. Another artist online (I cannot remember who) was talking about using a 3 plus 3 prompt – 3 papers of one color family, and 3 neutrals. So that was my prompt for this series. There are a few pieces where I split one of the papers and repeated it but the prompt was still mainly followed. Most of the papers were created by me with a few exceptions. The collage papers were painted with acrylic paint or ink, or drawn with marker or pen, or made using my gel plate. Some are regular (non-see through) paper, many are tissue or rice papers. I did not add any embellishments besides the pasted paper. This post is part 4 of 6 posts showing all 58 collages in the series. I hope you enjoy.

I hope you enjoyed seeing my collages. Be sure to check out the other posts in this series (this is post 4 of 6).

Daily collage practice 2026 – Part 3

Info about this series: At the beginning of the year, I found a little notebook at a thrift shop, and decided to try to do a daily collage to fill it. I created 58 daily collages. I am really proud of the work I did. Not all of the pieces are as successful as the others but they all turned out good in my eyes. Another artist online (I cannot remember who) was talking about using a 3 plus 3 prompt – 3 papers of one color family, and 3 neutrals. So that was my prompt for this series. There are a few pieces where I split one of the papers and repeated it but the prompt was still mainly followed. Most of the papers were created by me with a few exceptions. The collage papers were painted with acrylic paint or ink, or drawn with marker or pen, or made using my gel plate. Some are regular (non-see through) paper, many are tissue or rice papers. I did not add any embellishments besides the pasted paper. This post is part 3 of 6 posts showing all 58 collages in the series. I hope you enjoy.

I hope you enjoyed my collages. Please be sure to check out the other installments of this series if you’d like to see the others.

Daily collage practice 2026 – Part 2

Info about this series: At the beginning of the year, I found a little notebook at a thrift shop, and decided to try to do a daily collage to fill it. I created 58 daily collages. I am really proud of the work I did. Not all of the pieces are as successful as the others but they all turned out good in my eyes. Another artist online (I cannot remember who) was talking about using a 3 plus 3 prompt – 3 papers of one color family, and 3 neutrals. So that was my prompt for this series. There are a few pieces where I split one of the papers and repeated it but the prompt was still mainly followed. Most of the papers were created by me with a few exceptions. The collage papers were painted with acrylic paint or ink, or drawn with marker or pen, or made using my gel plate. Some are regular (non-see through) paper, many are tissue or rice papers. I did not add any embellishments besides the pasted paper. This post is part 2 of 6 posts showing all 58 collages in the series. I hope you enjoy.

Daily collage practice 2026 – Part 1

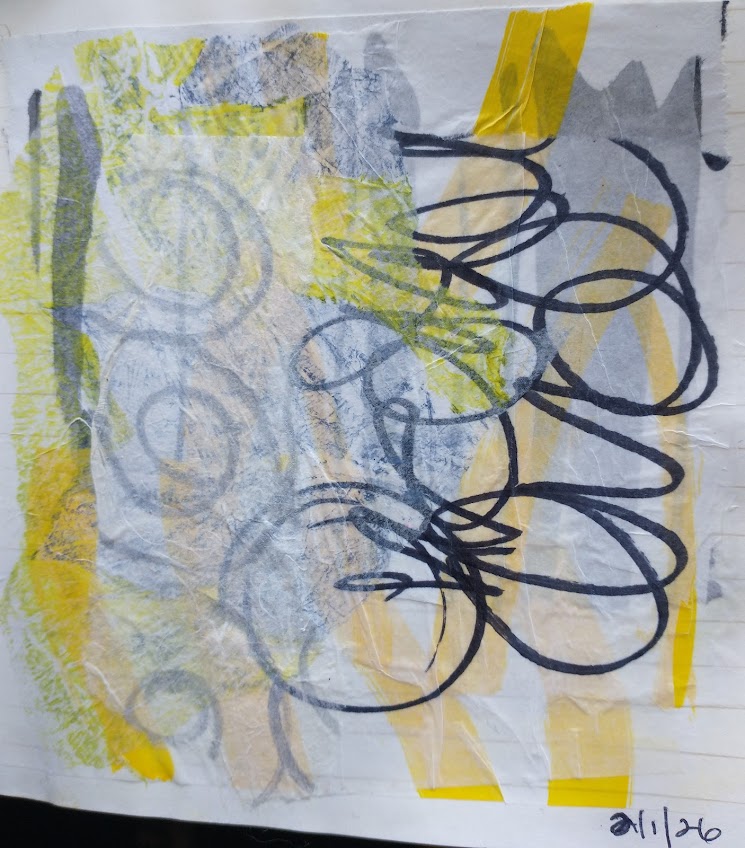
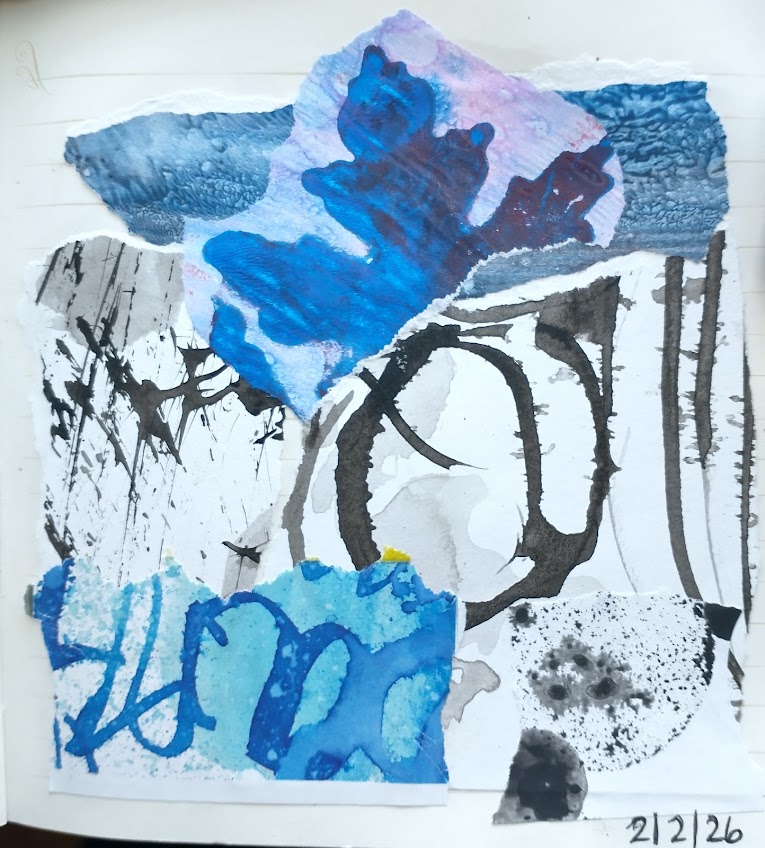
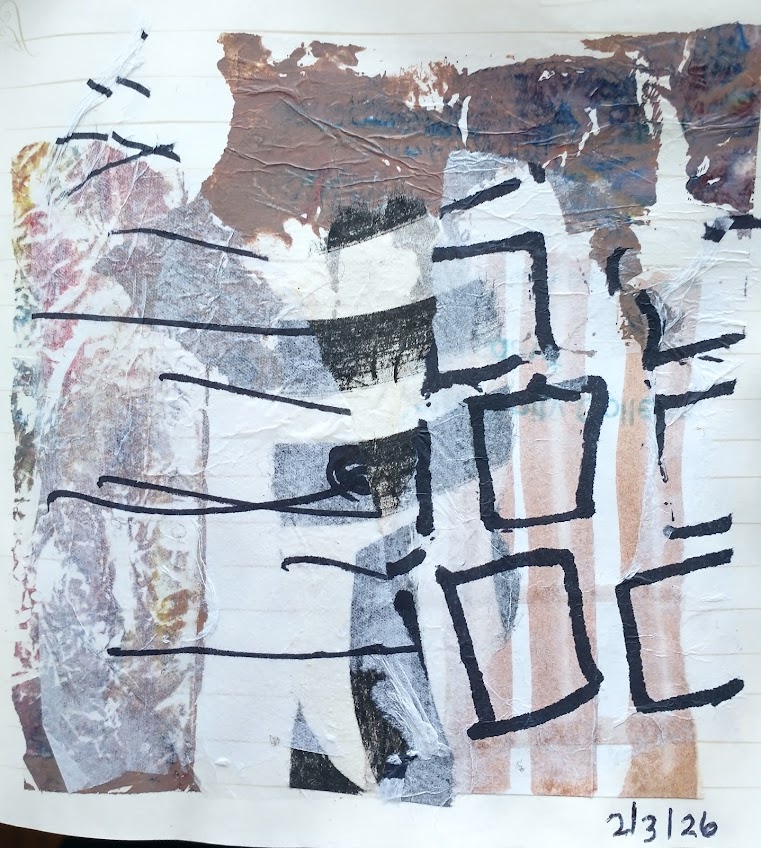
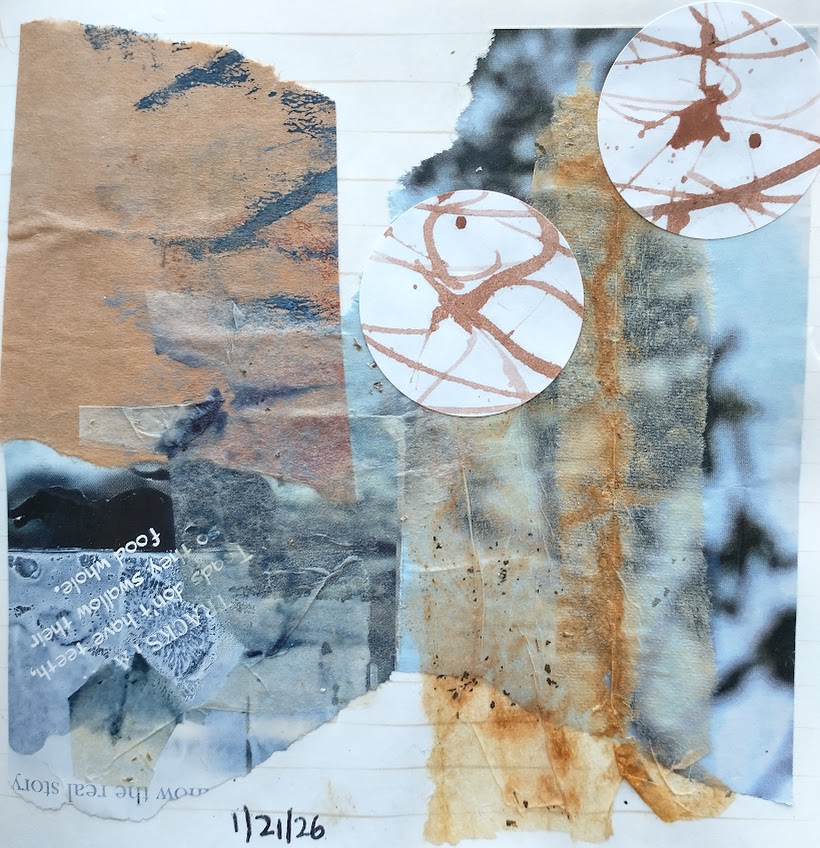
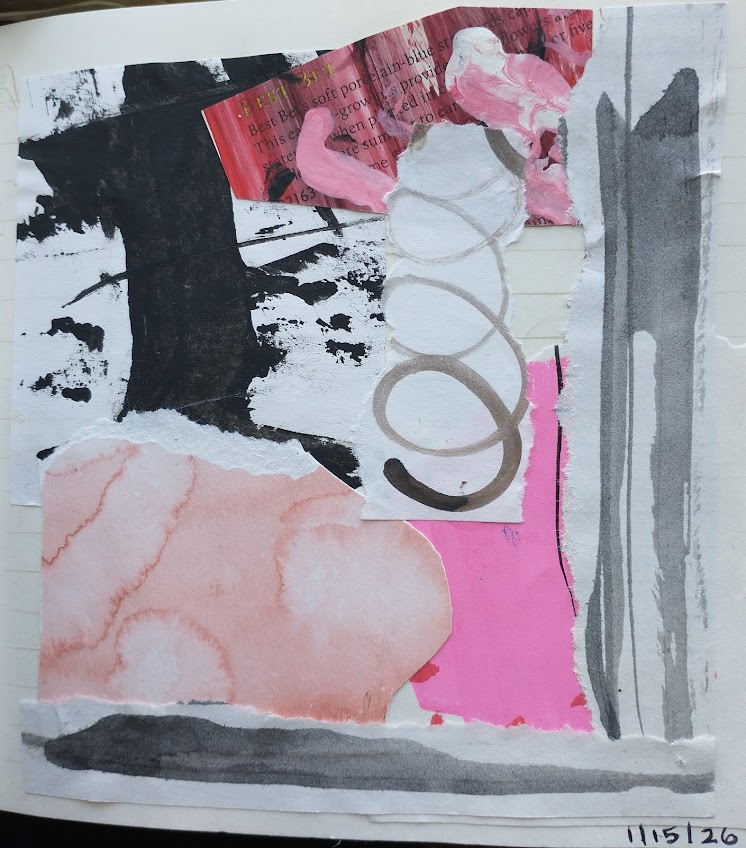
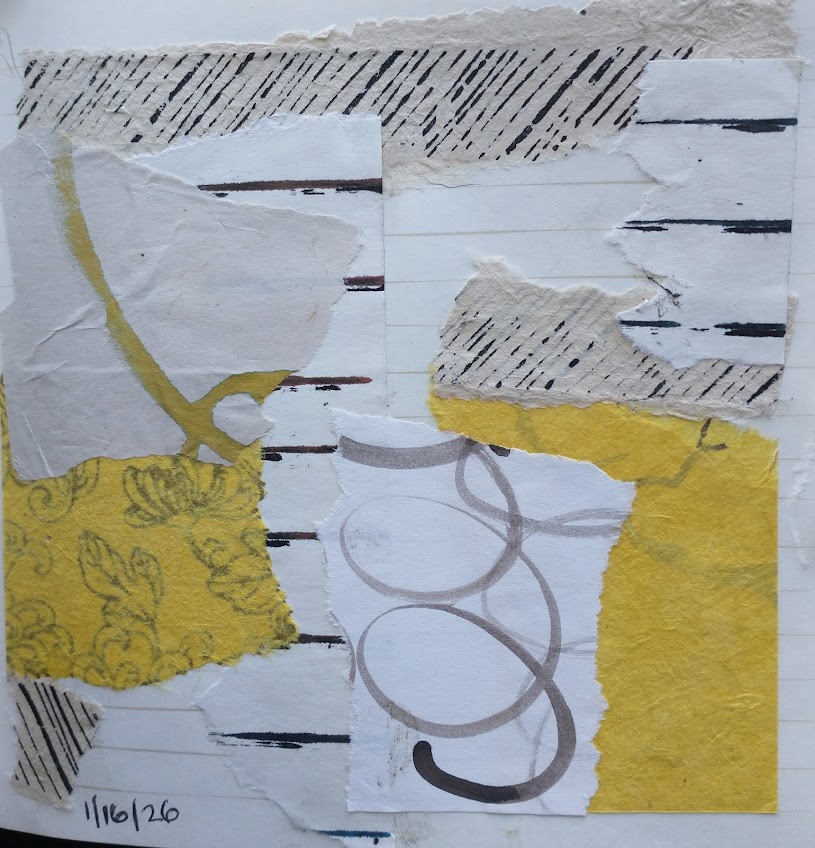
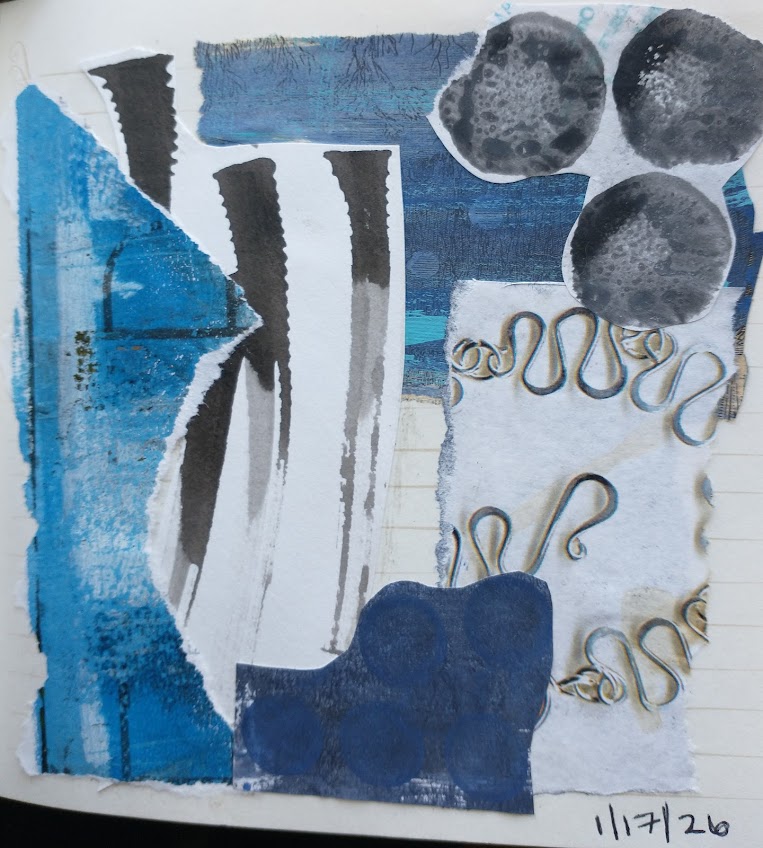
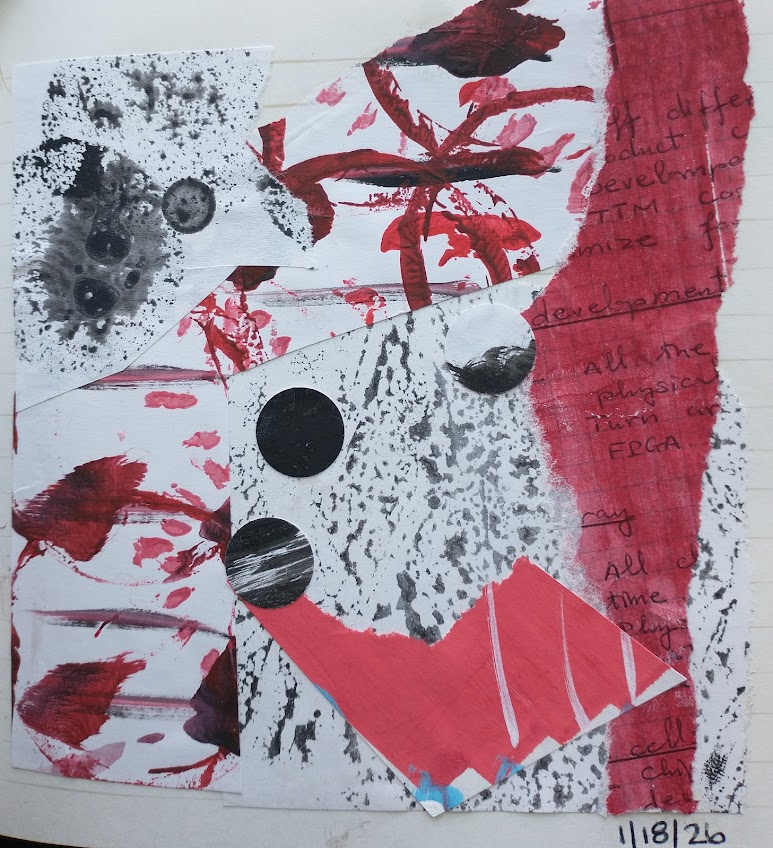
At the beginning of the year, I found a little notebook at a thrift shop, and decided to try to do a daily collage to fill it. I created 58 daily collages. This post is the start of the series of all of them. I am really proud of the work I did. Not all of the pieces are as successful as the others but they all turned out good in my eyes. Another artist online (I cannot remember who) was talking about using a 3 plus 3 prompt – 3 papers of one color family, and 3 neutrals. So that was my prompt for this series. There are a few pieces where I split one of the papers and repeated it but the prompt was still mainly followed. Most of the papers were created by me with a few exceptions. The collage papers were painted with acrylic paint or ink, or drawn with marker or pen, or made using my gel plate. Some are regular (non-see through) paper, many are tissue or rice papers. I did not add any embellishments besides the pasted paper. Below are the first 10 of the 58 I created. I hope you enjoy.

Thank you for checking out my collage series. I will post the others as well.

Collage Quilting

I had a couple weeks off over the holidays and have been wanting to try collage quilting. I’ve been thinking about it for awhile and watching some videos, but had not taken the plunge yet to try. Over break, I made a couple of good attempts.

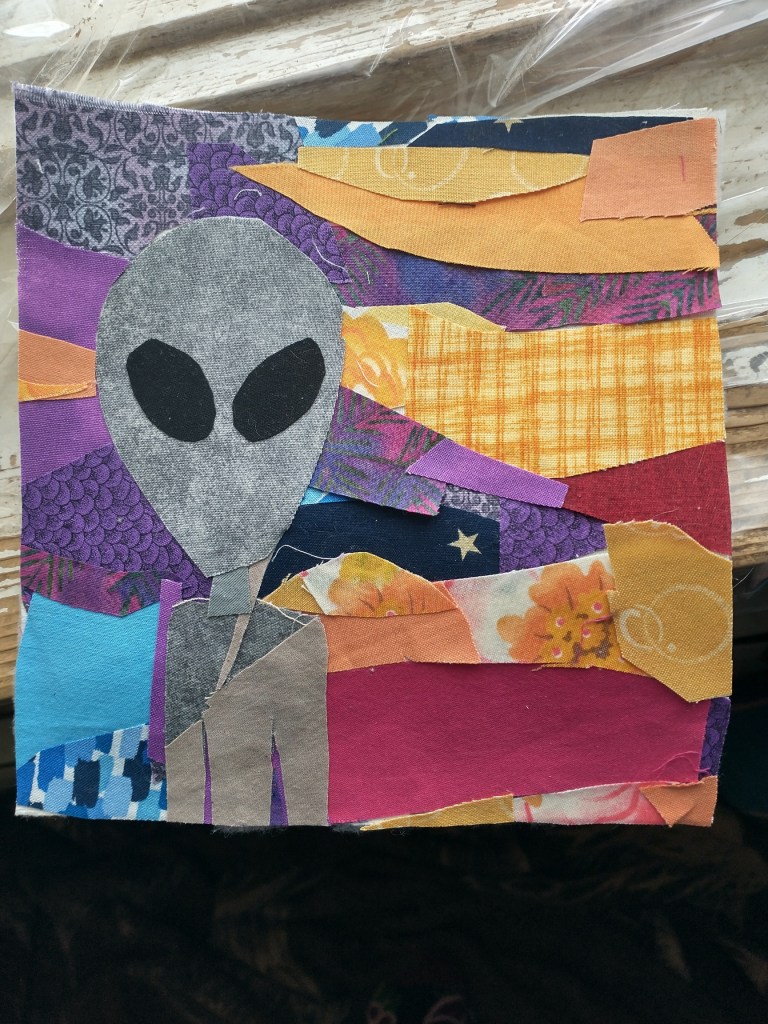
I woke up one morning and decided I was going to just make a simple fabric collage – I decided on an alien as my theme. I began by picking fabrics and ironing them to fusible interfacing, I believe I used Heat n Bond or something similar. I drew a template to follow, and cut shapes to match. I was not sure how to do this so I just laid out my shapes directly on a piece of background fabric. Here is the alien after I laid out the pieces and ironed it:

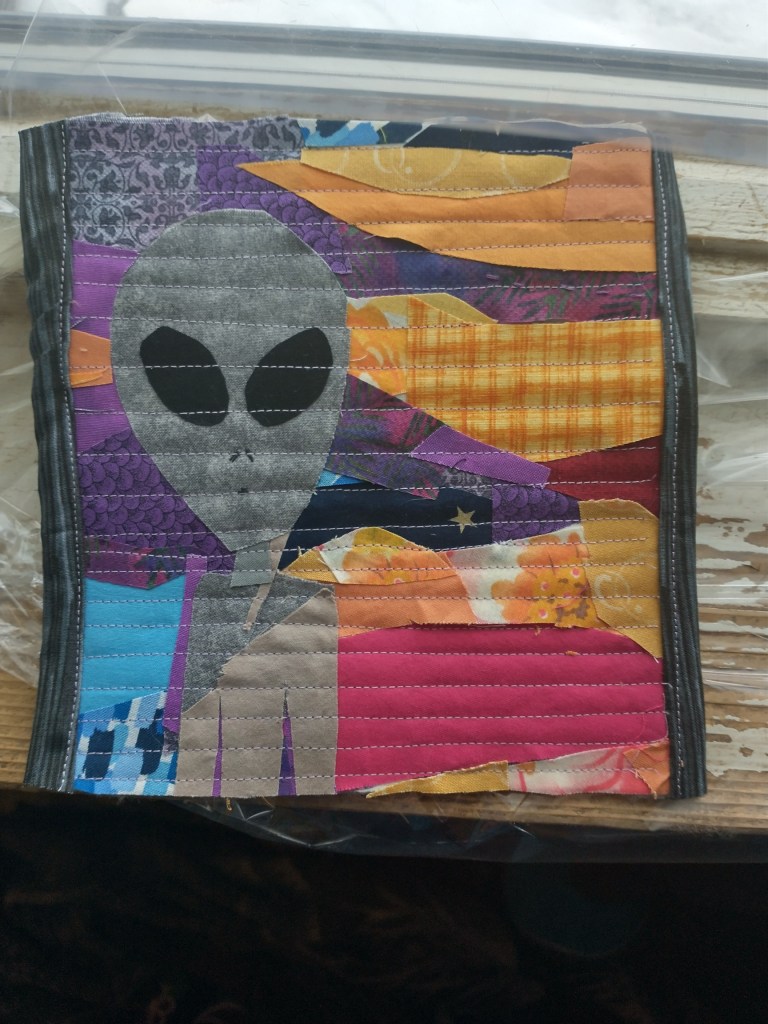
It turned out a little rough, but for my first attempt I like it. The small bits were a little fiddly but I think it looks nice. This is about 8×8 inches square. I then took it to my sewing machine and added some quilting (I have a thin batting and a backing fabric I layered together before quilting.

My backing fabric was not quite tall enough to fold over so the top and bottom are rough edged. It was just to try this out so I’m not too worried about it.

A few days later I had watched some more videos on youtube about the process, and decided I wanted to try again. Someone mentioned you can use parchment paper to lay out your fusibles and fuse them together, and then you can peel the whole thing off and lay it on your background. So that is what I decided to do.

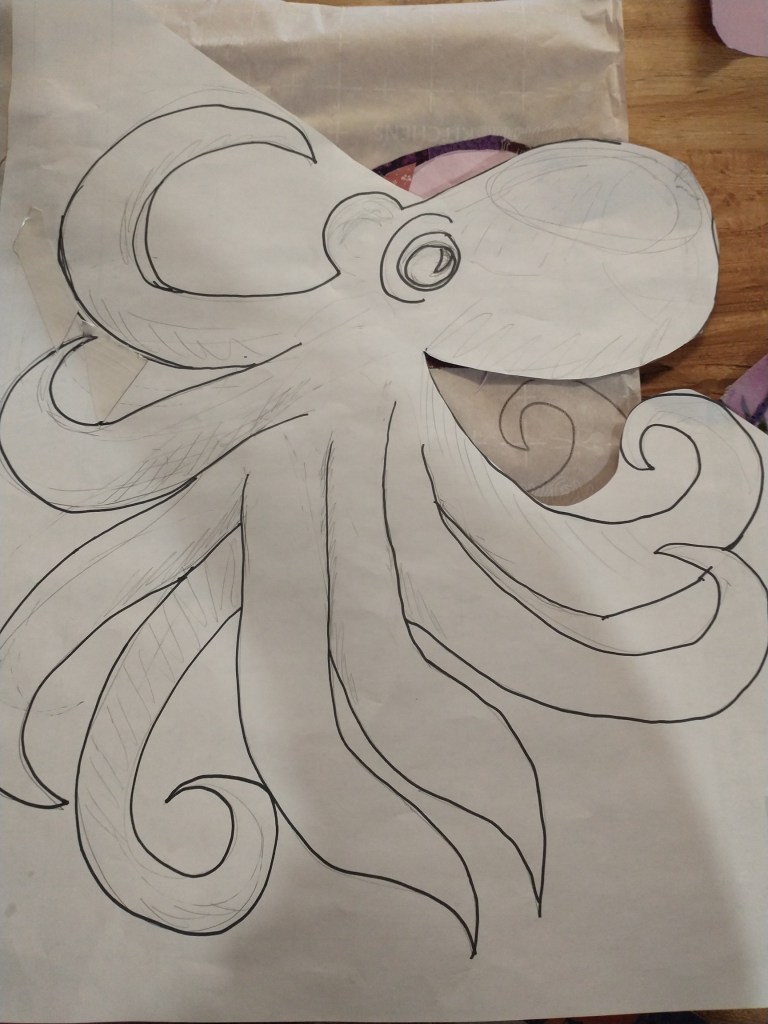
I drew an octopus for this attempt:

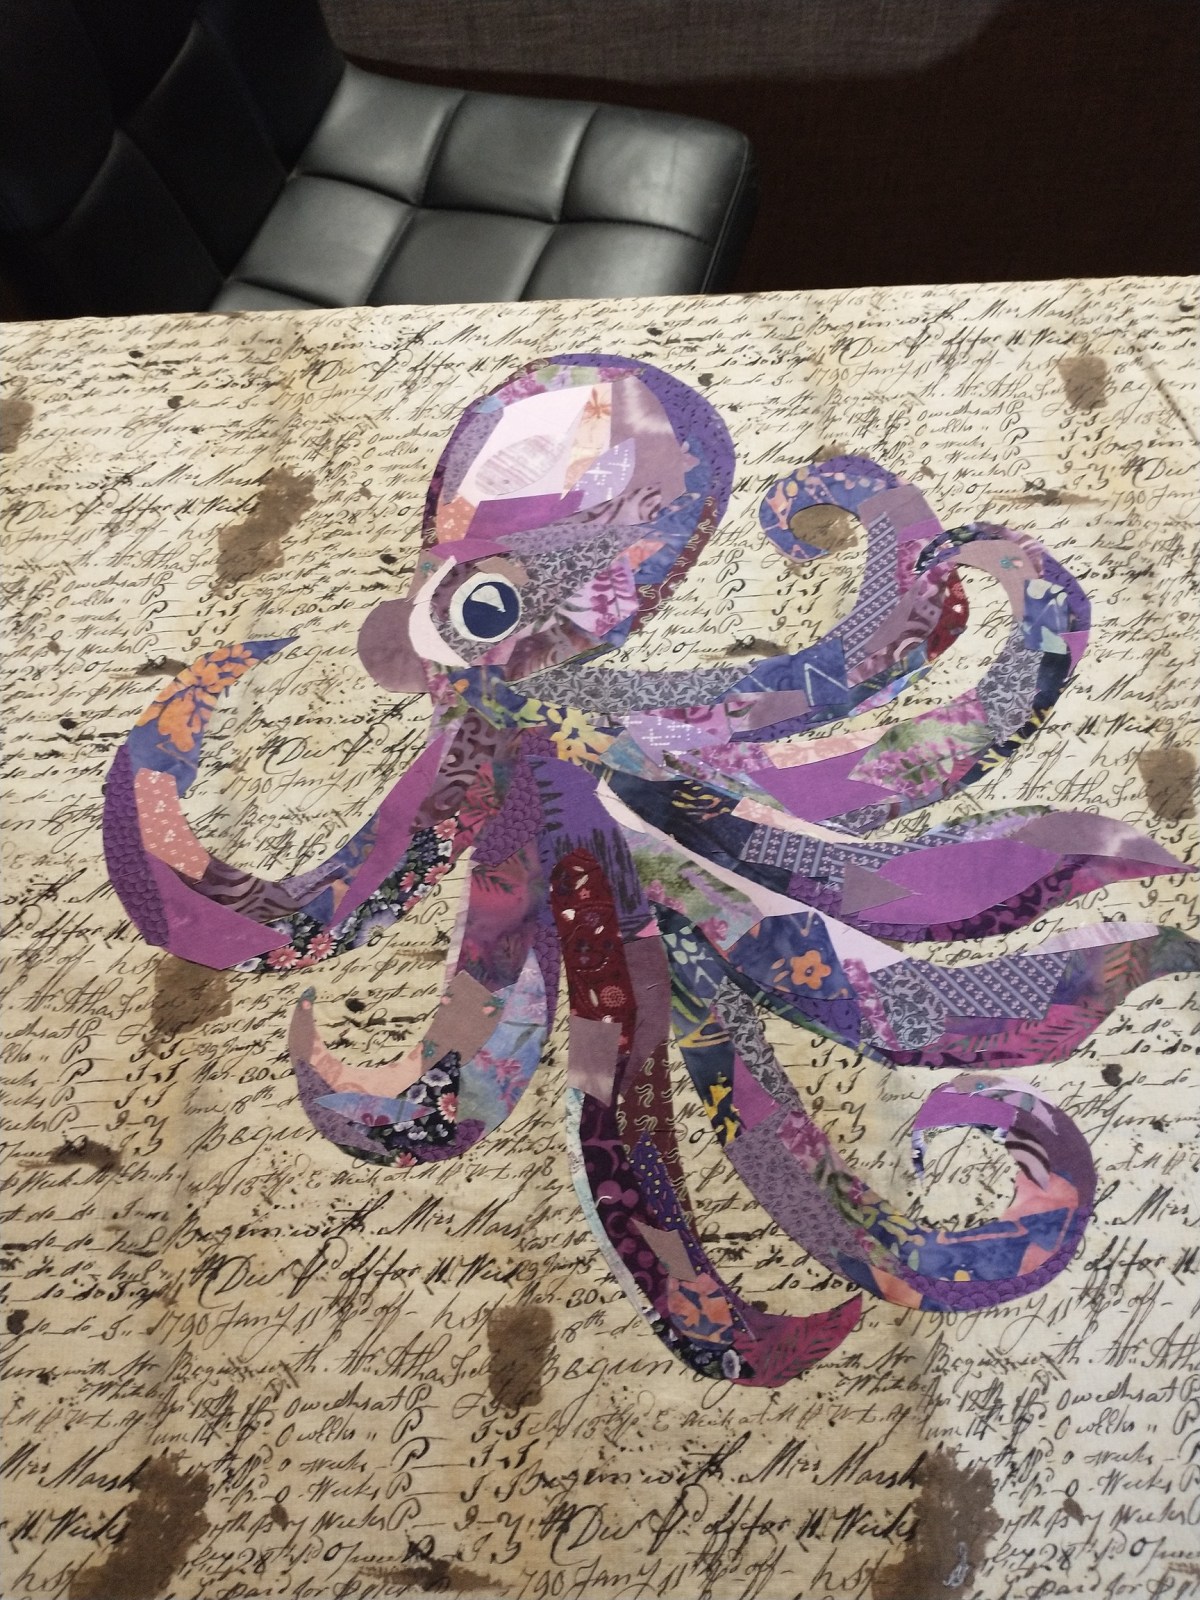
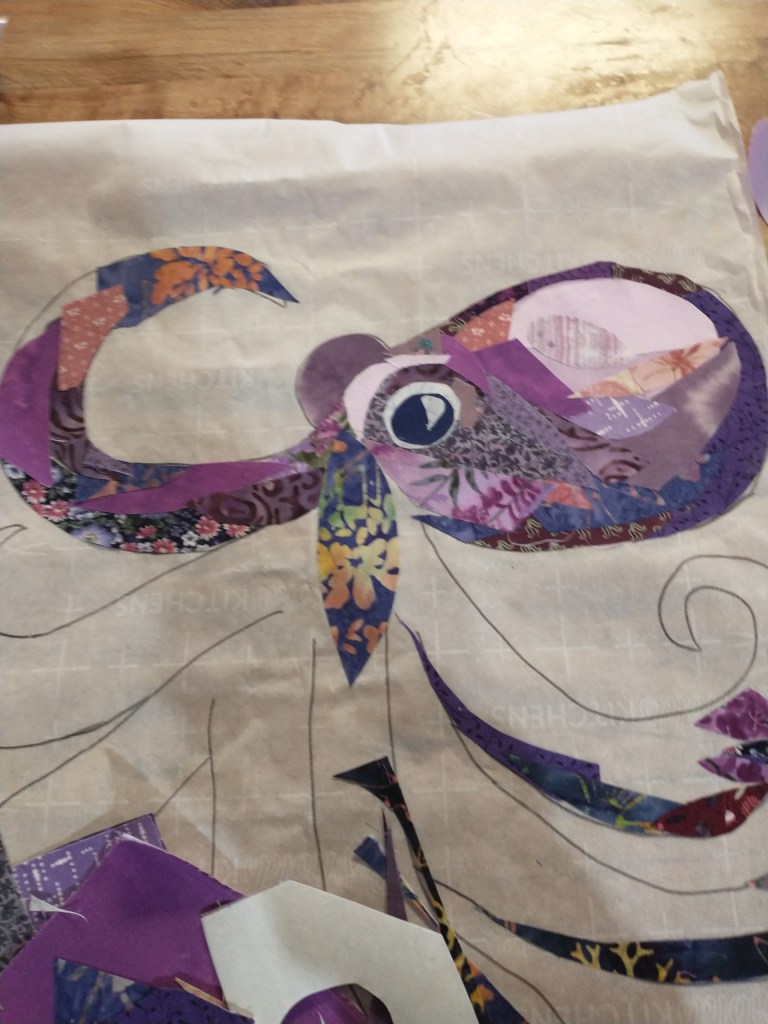
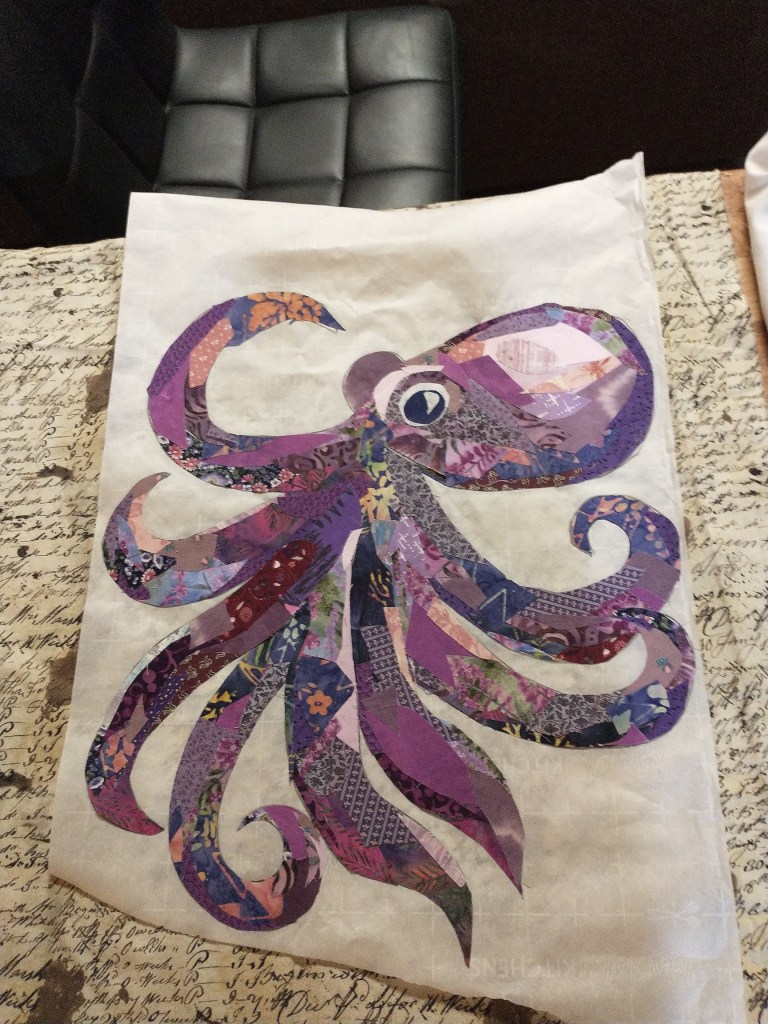
My octopus is about 1.5 – 2 feet tall / 1.5 feet wide. I traced the template onto parchment paper, picked out fabrics and started ironing them all to the fusible interfacing. I then took pieces and attached them.

I decided I wanted him to be purple, and I tried to make sure I had a pile of lights, a pile of mid ranges, and a pile of darker fabrics so that I could try to give the composition some depth and shading. It took me a few hours, but this attempt went better I think than the alien. The pieces were a little larger so that was a little easier to work with. I did have some issues trying to shape the pieces along the tentacles (the exact curves, etc) so I ended up cutting out my drawing and using it as a cutting template to help with that. I thought also that I could maybe put fabrics together and then put the template on top and cut the design out afterward, but I wasn’t sure how the fused bits would hold together if I did that – so that is something I may try in the future.

Here is my completed collage. I have the parchment paper laid on the background fabric I decided to use here. I wanted something neutral and had just purchased a couple of yards of different neutral fabrics (with words or black and white neutral motifs).

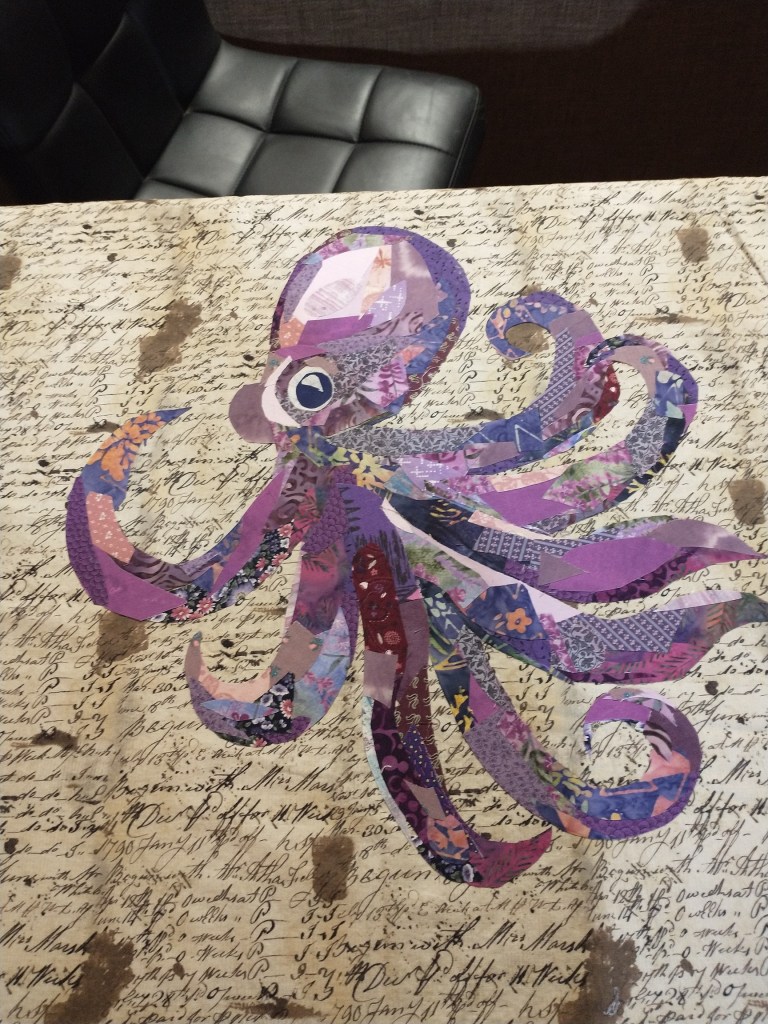
Here is the octopus after I fused it to the background fabric. I have not quilted it yet, because that is another thing I want to experiment with before I attempt it on here. I have a couple of sewing machines, and one I bought specifically so I can keep my free motion embroidery foot on it (so I don’t have to keep changing the foot), and that is what I will eventually use I believe. I’m still really new to the free motion foot and how to use it effectively. I want to do some experiments on other fabric before I attempt to quilt the Octopus. I’d like to do shapes and things around it on the background portion, and maybe just the edges of the octopus. I just used my machine with a regular presser foot for the alien.

I really enjoyed doing these projects, so I’m sure I will be doing some more collage quilts / fabric collages in the future.

Homemade collage papers

I needed some more papers for my stash, so I made some this weekend.

A wide range of collage papers

I have been digging in my non-tissue paper stash recently, and realized most of the homemade neutral papers I had were made with ink. The ink I used is not waterproof. I use different glues depending on the project – if I’m using a glue stick it doesn’t really matter if the marks on the pages aren’t water proof, but I have been using a lot more matte medium lately and that will make colors run if they are not waterproof. Sometimes it screws up a piece because I’ll lose color saturation if my drawn marks run, or the color ends up in other places I didn’t want it to go. I decided I needed to make a bunch of neutral papers with acrylic paint, so that I won’t have this problem.

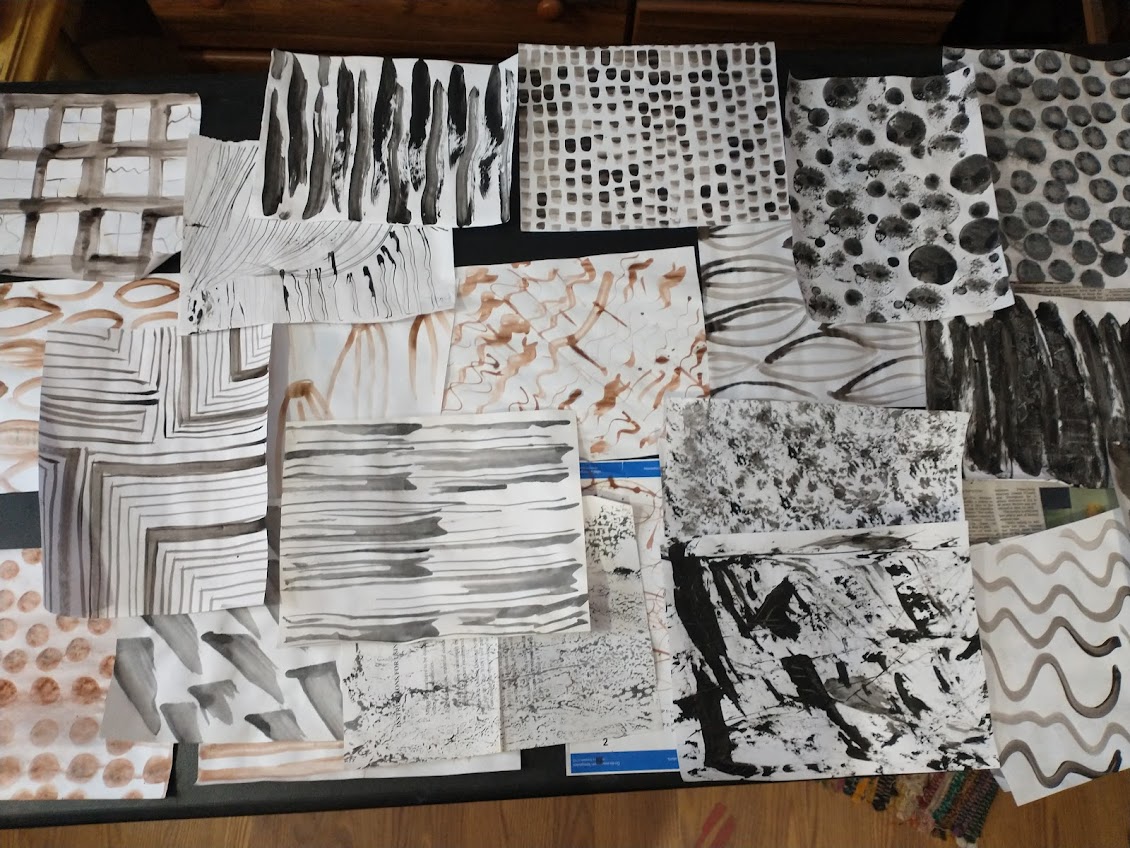
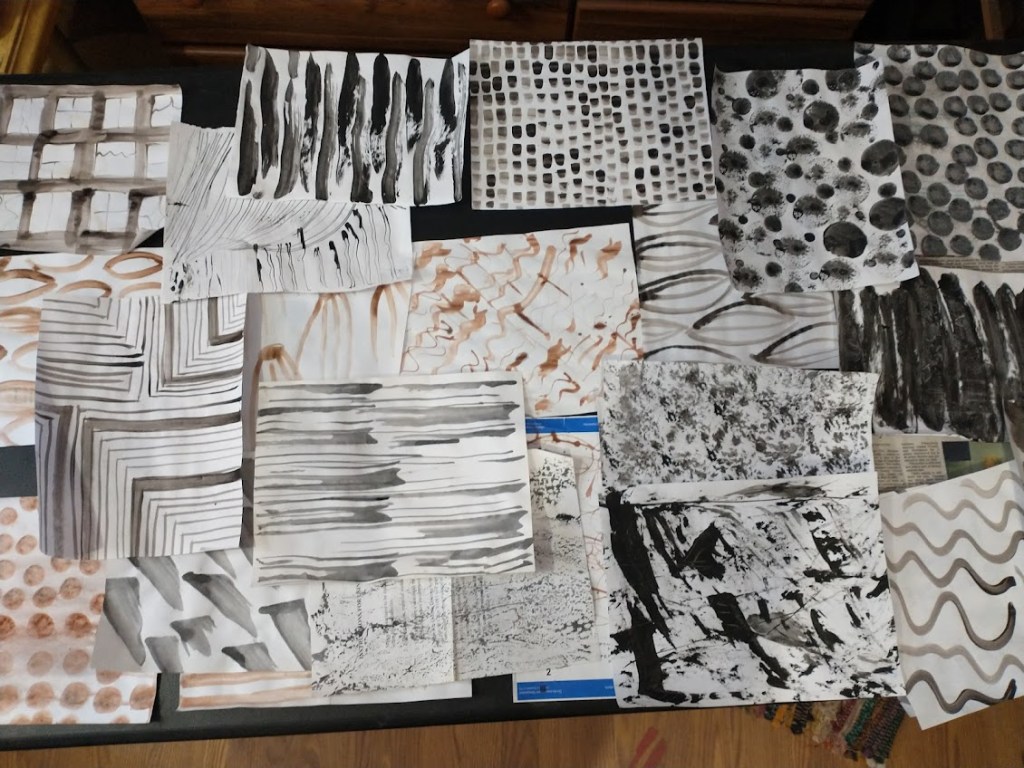
I have a large stash of scrap paper – essentially recycling copy or inkjet paper that I had printed on previously. I prefer to work with copy paper over thicker drawing paper because it seems to glue best for me. I took several sheets of those old printed papers and made a bunch of marks on the back, first with black paint, then grays, then brown or browny-gray. I tried to vary the marks so I have a nice variety to work with. They range from geometric shapes or lines to circles and more organic shapes, to dabbed dots. I used different paint brushes, some homemade mark-making tools, sponges, and daubers. I even took a spray bottle and squirted a couple of pages when the paint was still wet to get it to run, and this gave some more interest to those pages.

Now I have a lot more neutral-colored collage papers to work with.

Neutrals in collage

I talked in a recent post about using tissue papers in my collage work. I had recently just taken a bunch of tissue papers and drew on them so that I had some overlays ready for collage work. I drew some different marks, such as eye shapes and some leaves, circles, and other shapes, in different sizes so I would have a nice variety of papers. I used some of these in some recent, neutral palette works.

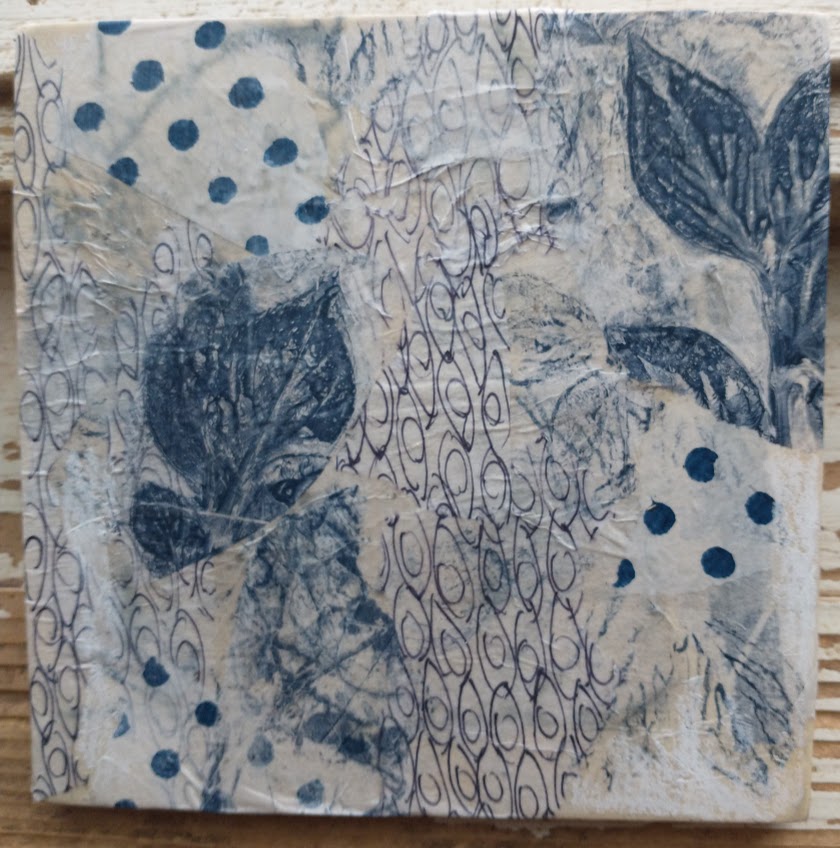
This first piece is called Porcelain, since the colors reminded my husband and I of some porcelain cups that we have. This piece is all tissue papers, including the drawn marked ones and some gel plate prints, over a paper-covered wooden background. It’s about 5 inches by 5 inches.

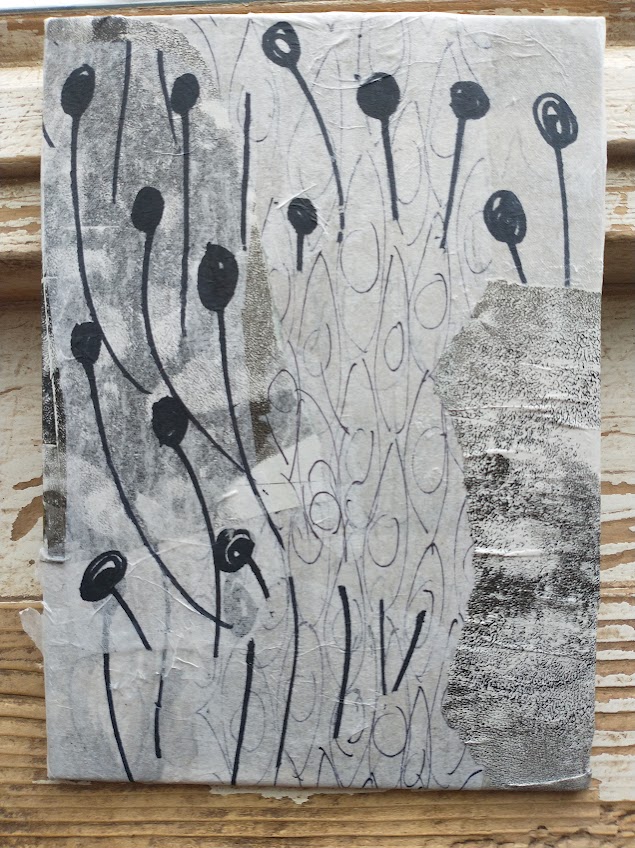
This second piece is just called Neutrals Collage. I used some of my marked up tissue papers and then some non-transparent collage papers layered in. I really enjoy how layering tissue papers adds more depth to the piece. This piece is on a paper-covered canvas. It’s about 5 inches x 7 inches.