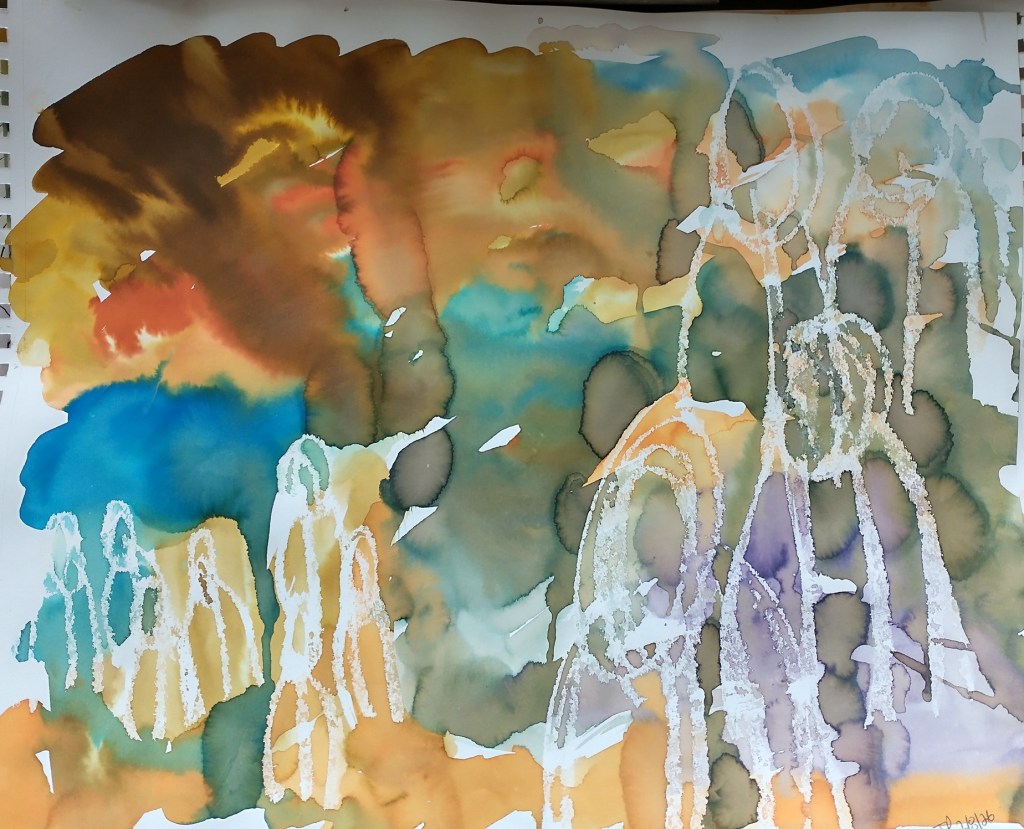
I have been doing some experiments lately with watercolor and pen, and with water-based inks. I like the intensity of the colors I get with inks, although I don’t have as many colors (I buy small bottles of ink). It’s a lot of fun just to play around with the colors. I also tried putting a resist onto pages first with white oil pastel before applying ink. Take a look at my creations:
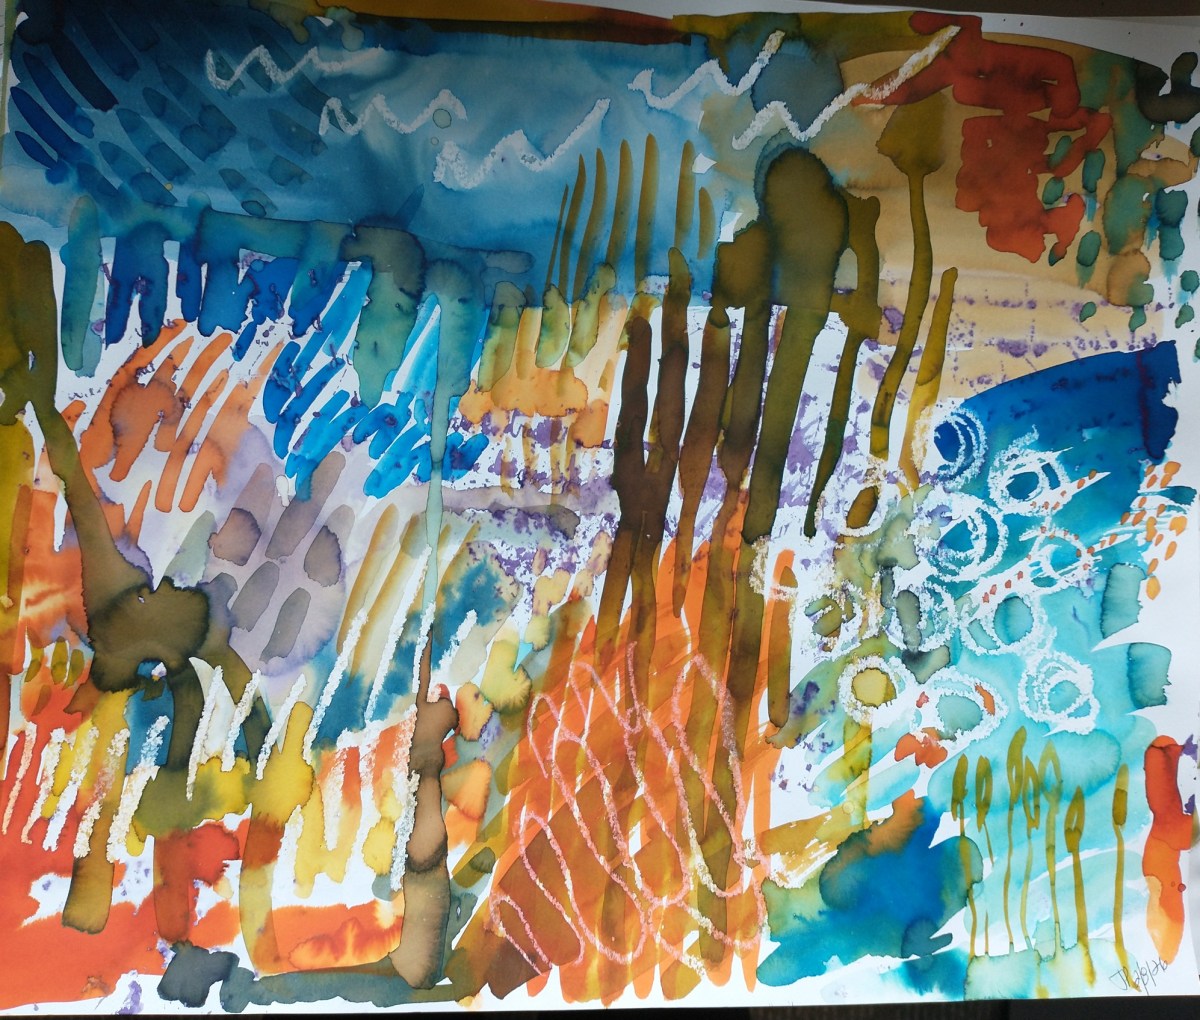
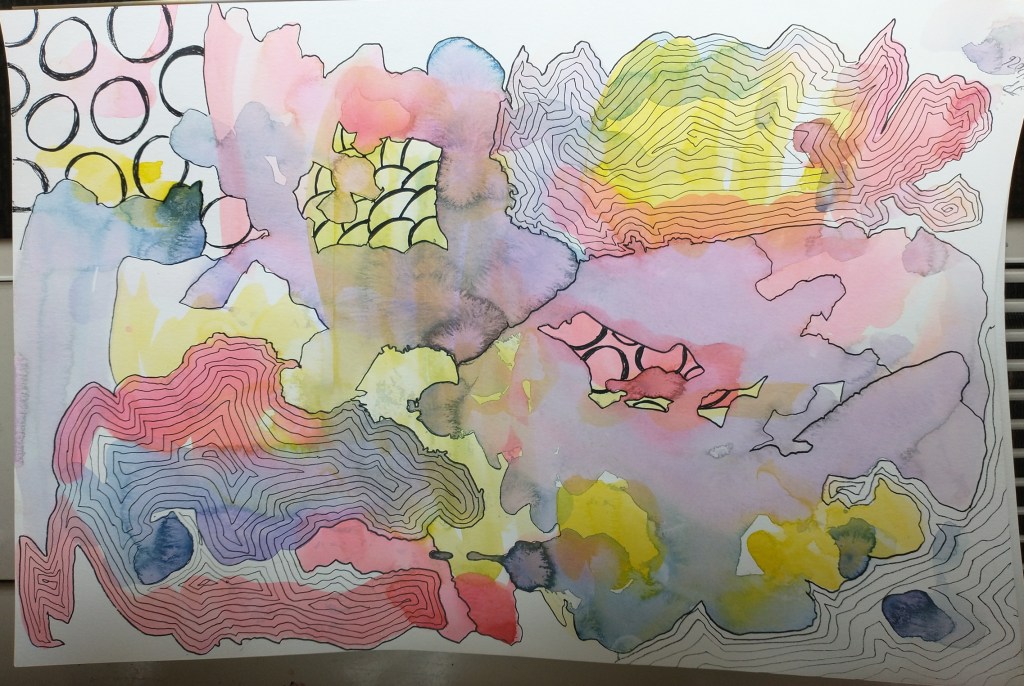
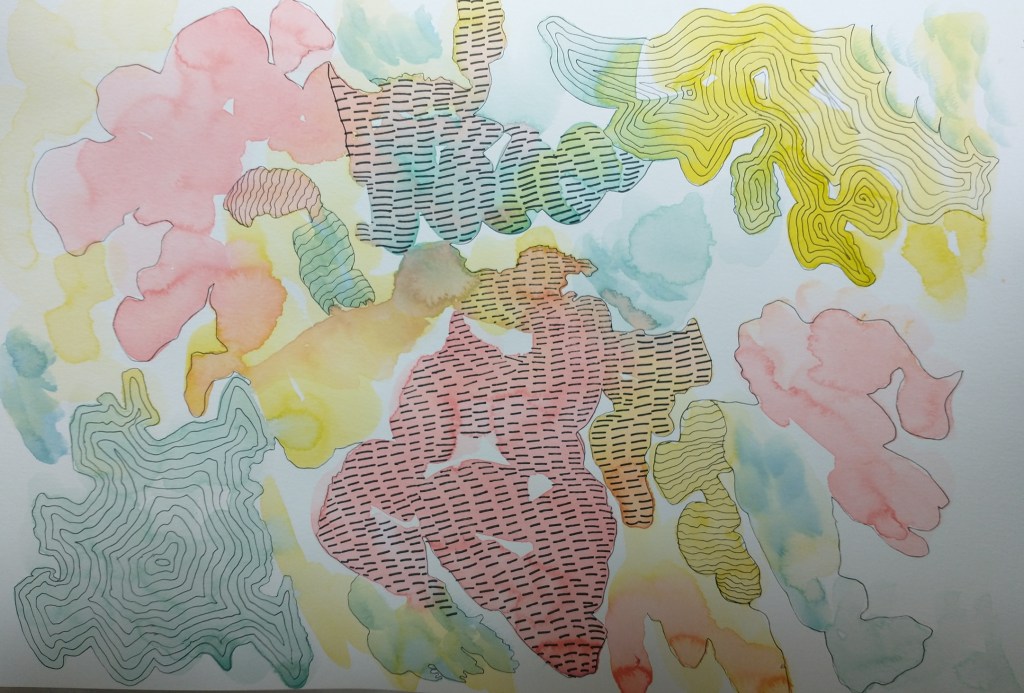
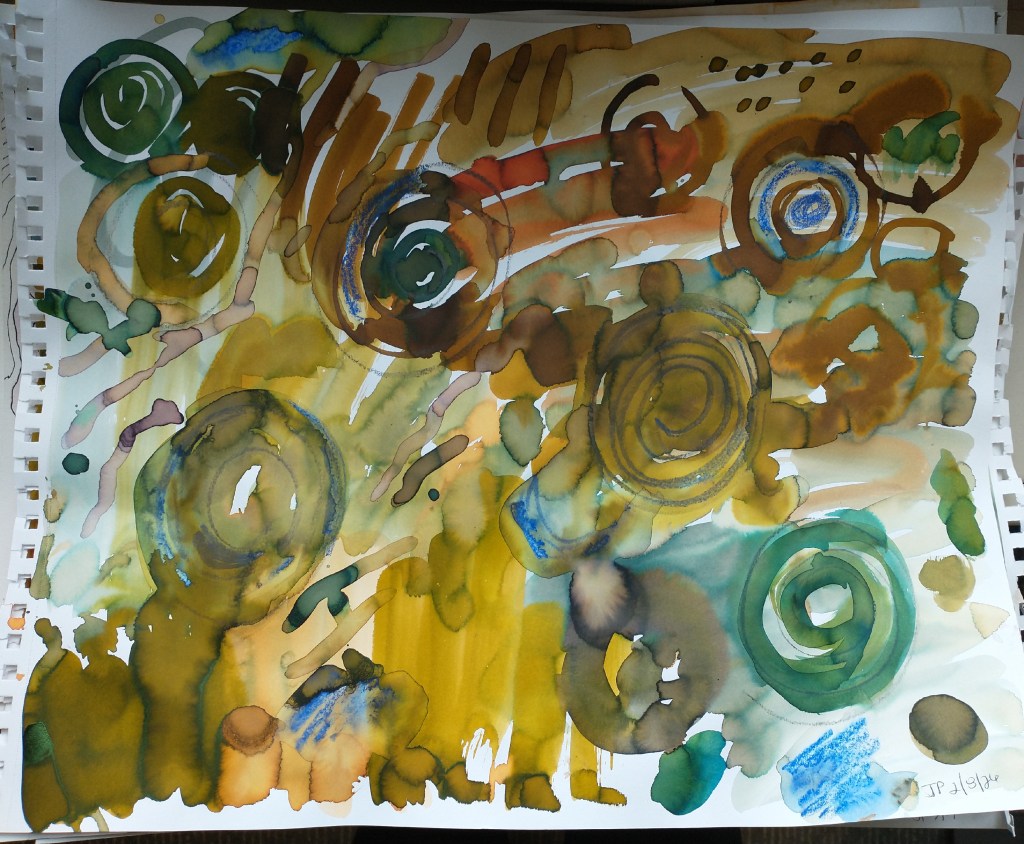
Here is the first experiment I did. I put blocks of color down all over the page, let it dry, and then went back in with pens.Here is another with color blocks / splotches, and then using pen for markmaking.Here I played around with inks. As you can see the colors are a lot more intense. I think you need to add a lot of water for layering / watercolor effects. I added some water soluble crayon to this while the ink was still wet. Here you can see the resist from the oil pastels coming through. I love how the inks create different effects as they dry.Here is another with inks and water soluble crayon (the black marks on this one). This is my favorite from this batch. Although it’s abstract I feel like I’m looking at a desert scene here. I tried the oil pastel effect here, but also on top of one layer of ink (in the orange in the middle foreground) – it gives a cool effect here.
I don’t do a lot of watercolor painting typically but I love how it looks so it’s fun to experiment with it a bit. It’s also a bit meditative to just paint and add intuitive marks. Some of these I may cut up and put into collage, some I may keep as they are. What do you think? Do you like the intensity of the inks or do you prefer the more muted effect of watercolors?
I needed some more papers for my stash, so I made some this weekend.
A wide range of collage papers
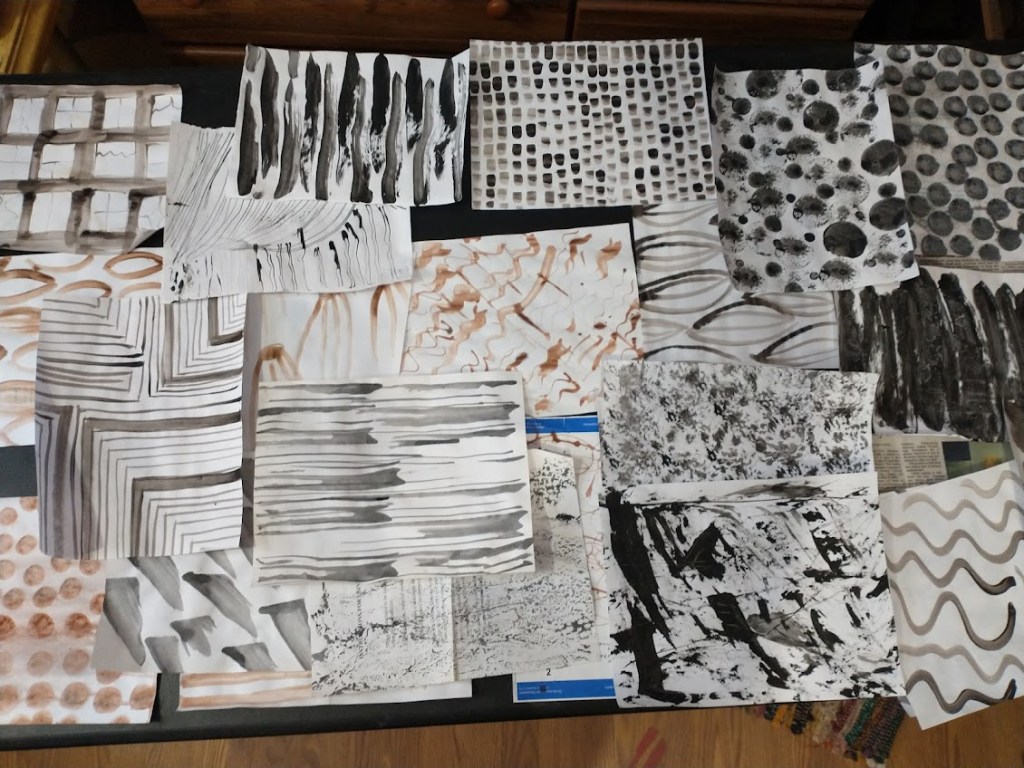
I have been digging in my non-tissue paper stash recently, and realized most of the homemade neutral papers I had were made with ink. The ink I used is not waterproof. I use different glues depending on the project – if I’m using a glue stick it doesn’t really matter if the marks on the pages aren’t water proof, but I have been using a lot more matte medium lately and that will make colors run if they are not waterproof. Sometimes it screws up a piece because I’ll lose color saturation if my drawn marks run, or the color ends up in other places I didn’t want it to go. I decided I needed to make a bunch of neutral papers with acrylic paint, so that I won’t have this problem.
I have a large stash of scrap paper – essentially recycling copy or inkjet paper that I had printed on previously. I prefer to work with copy paper over thicker drawing paper because it seems to glue best for me. I took several sheets of those old printed papers and made a bunch of marks on the back, first with black paint, then grays, then brown or browny-gray. I tried to vary the marks so I have a nice variety to work with. They range from geometric shapes or lines to circles and more organic shapes, to dabbed dots. I used different paint brushes, some homemade mark-making tools, sponges, and daubers. I even took a spray bottle and squirted a couple of pages when the paint was still wet to get it to run, and this gave some more interest to those pages.
Now I have a lot more neutral-colored collage papers to work with.
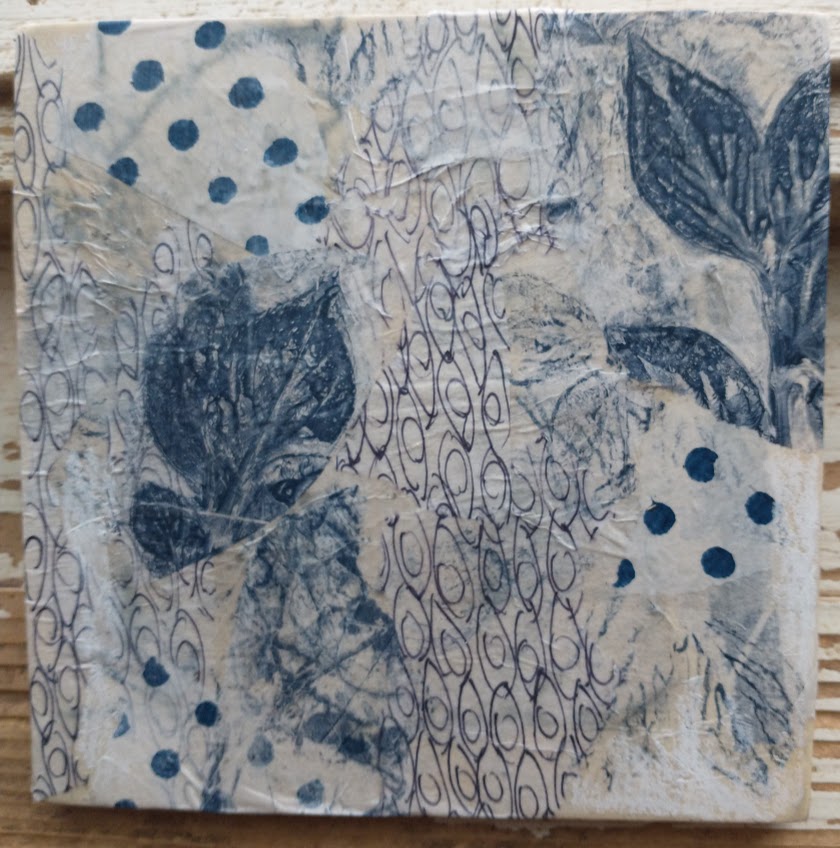
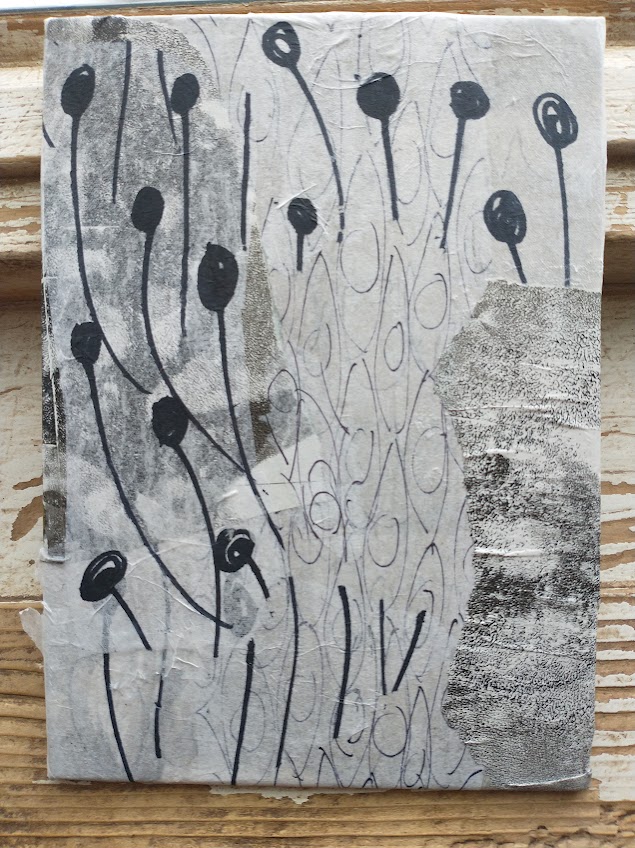
I talked in a recent post about using tissue papers in my collage work. I had recently just taken a bunch of tissue papers and drew on them so that I had some overlays ready for collage work. I drew some different marks, such as eye shapes and some leaves, circles, and other shapes, in different sizes so I would have a nice variety of papers. I used some of these in some recent, neutral palette works.
This first piece is called Porcelain, since the colors reminded my husband and I of some porcelain cups that we have. This piece is all tissue papers, including the drawn marked ones and some gel plate prints, over a paper-covered wooden background. It’s about 5 inches by 5 inches.
This second piece is just called Neutrals Collage. I used some of my marked up tissue papers and then some non-transparent collage papers layered in. I really enjoy how layering tissue papers adds more depth to the piece. This piece is on a paper-covered canvas. It’s about 5 inches x 7 inches.
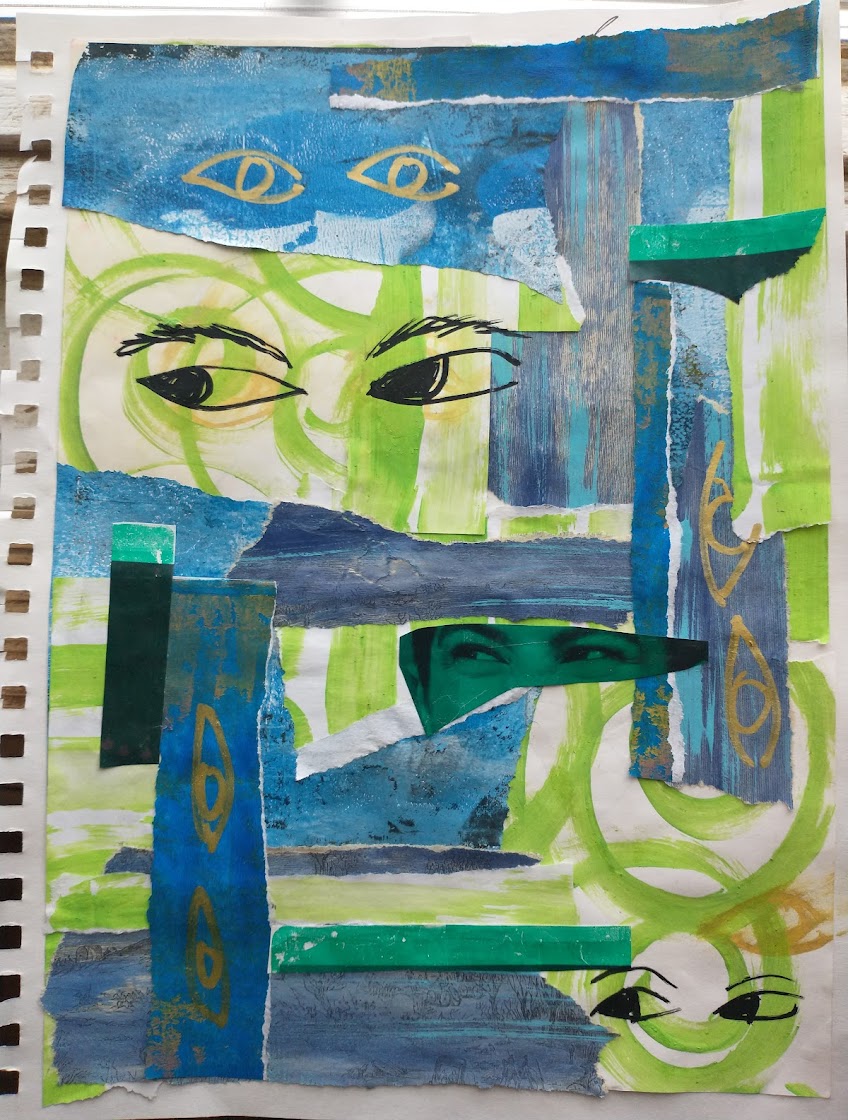
Here is a new sketchbook page I made yesterday. My process (for most of my art) is to work intuitively, and just let the collage happen on its own without much pre-planning. I started by just picking some colors, I was going for green and teal, but I didn’t have any collage papers in teal. So I went for blue and green instead. I grabbed out 5 different papers from my homemade collage paper stash. I also found a picture with someone’s face and so that kind of set the tone at the end with all the eyes. I finished with some Posca pens at the end. I’m really drawn to eyes and they show up in my work a lot. I like how this turned out.
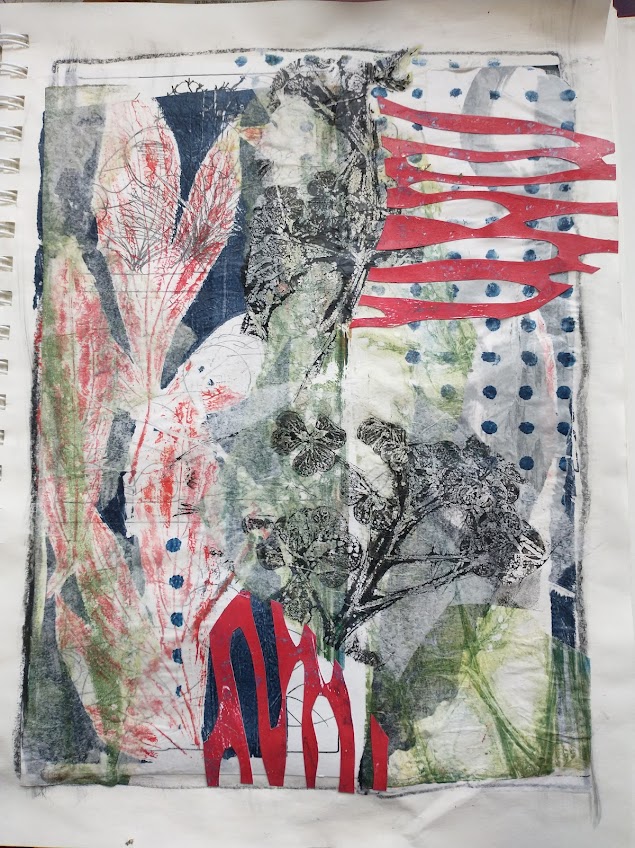
I have been playing with some stuff I’ve learned recently, or relearned. I really like the transparency that tissue paper provides when you layer it in a collage. I have used it in the past a lot but had not used it in a long time. I was reintroduced to it by the class I referenced in my last post, and also by a youtube video I watched recently, showing how to do botanical prints using a gel plate on tissue papers. Those can then be layered in collage. This sketchbook page was fun to make and used tissue paper (and botanical prints I made with my gel plate). I also used water soluble crayons, construction paper, and other collage papers I have made in the past.
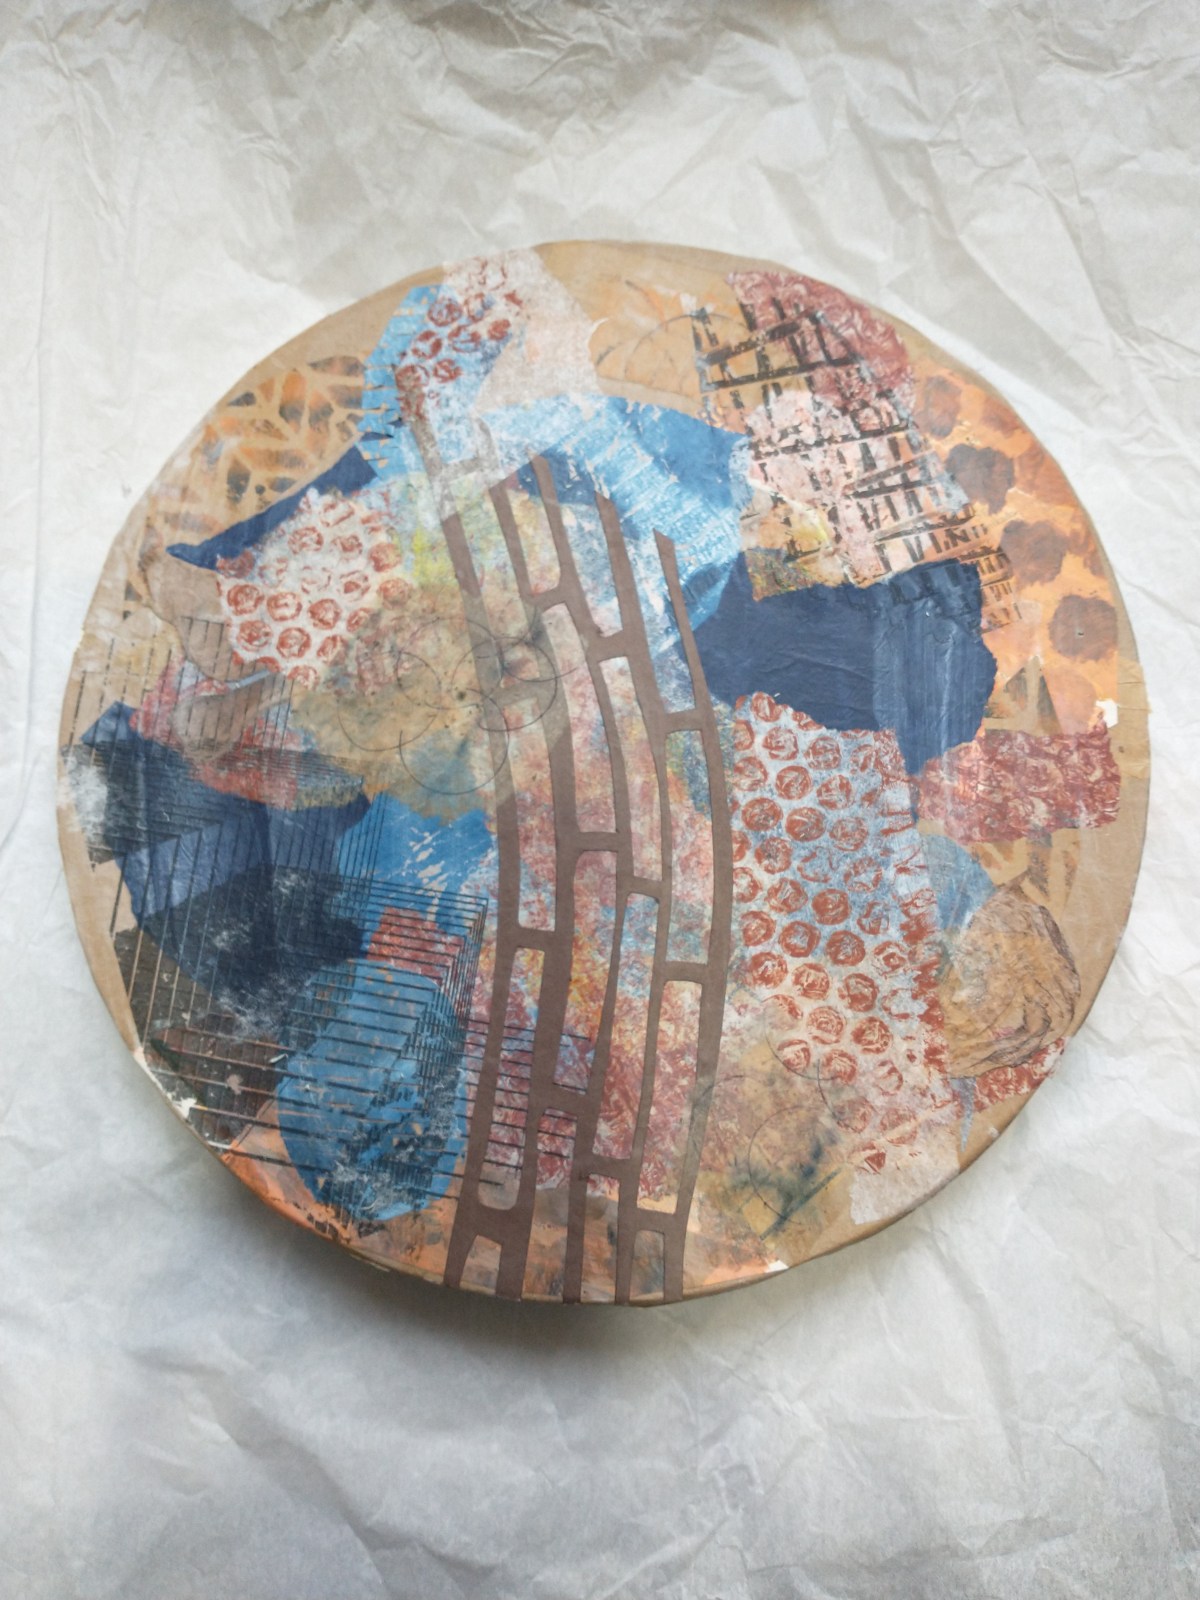
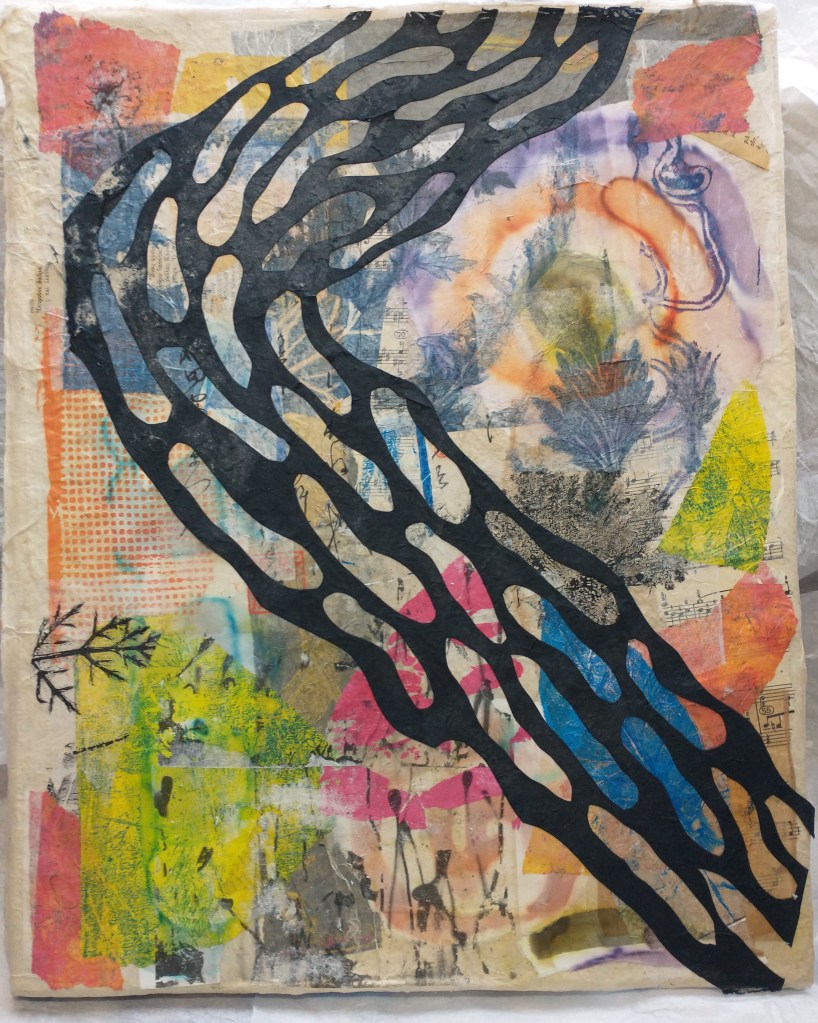
I love taking classes through a site called Fibre Arts Take Two, a company out of Australia that has several online classes with teachers all over the world. I’ve taken several of their classes in the last few years. I recently took a class taught by Cordula Kagemann, a collage artist from Germany. I learned several new techniques and had a lot of fun with this class. Here are a few collages I made from this class.